


In the beginning of my planning stages of meal planning board, I was going to make a cork board covered in fabric where I could pin our meal choices for each day of the week. That project turned into using a cookie sheet to use magnets for attaching meal choices for each day of the week. That project soon turned into painting the cookie sheet with chalkboard paint instead and we could write our meal choices on it. The chalkboard idea came from Jen's post at iHeartOrganizing. Ever since reading this post, I've wanted to try something with chalkboard paint.
I knew I just needed to make a decision and stick with it! Who cares if it is not "PERFECT"!

After realizing the largest cookie sheet I could find was still too small to write a week's worth of meals on, I decided a serving tray might work better. First, I purchased this serving tray from IKEA.
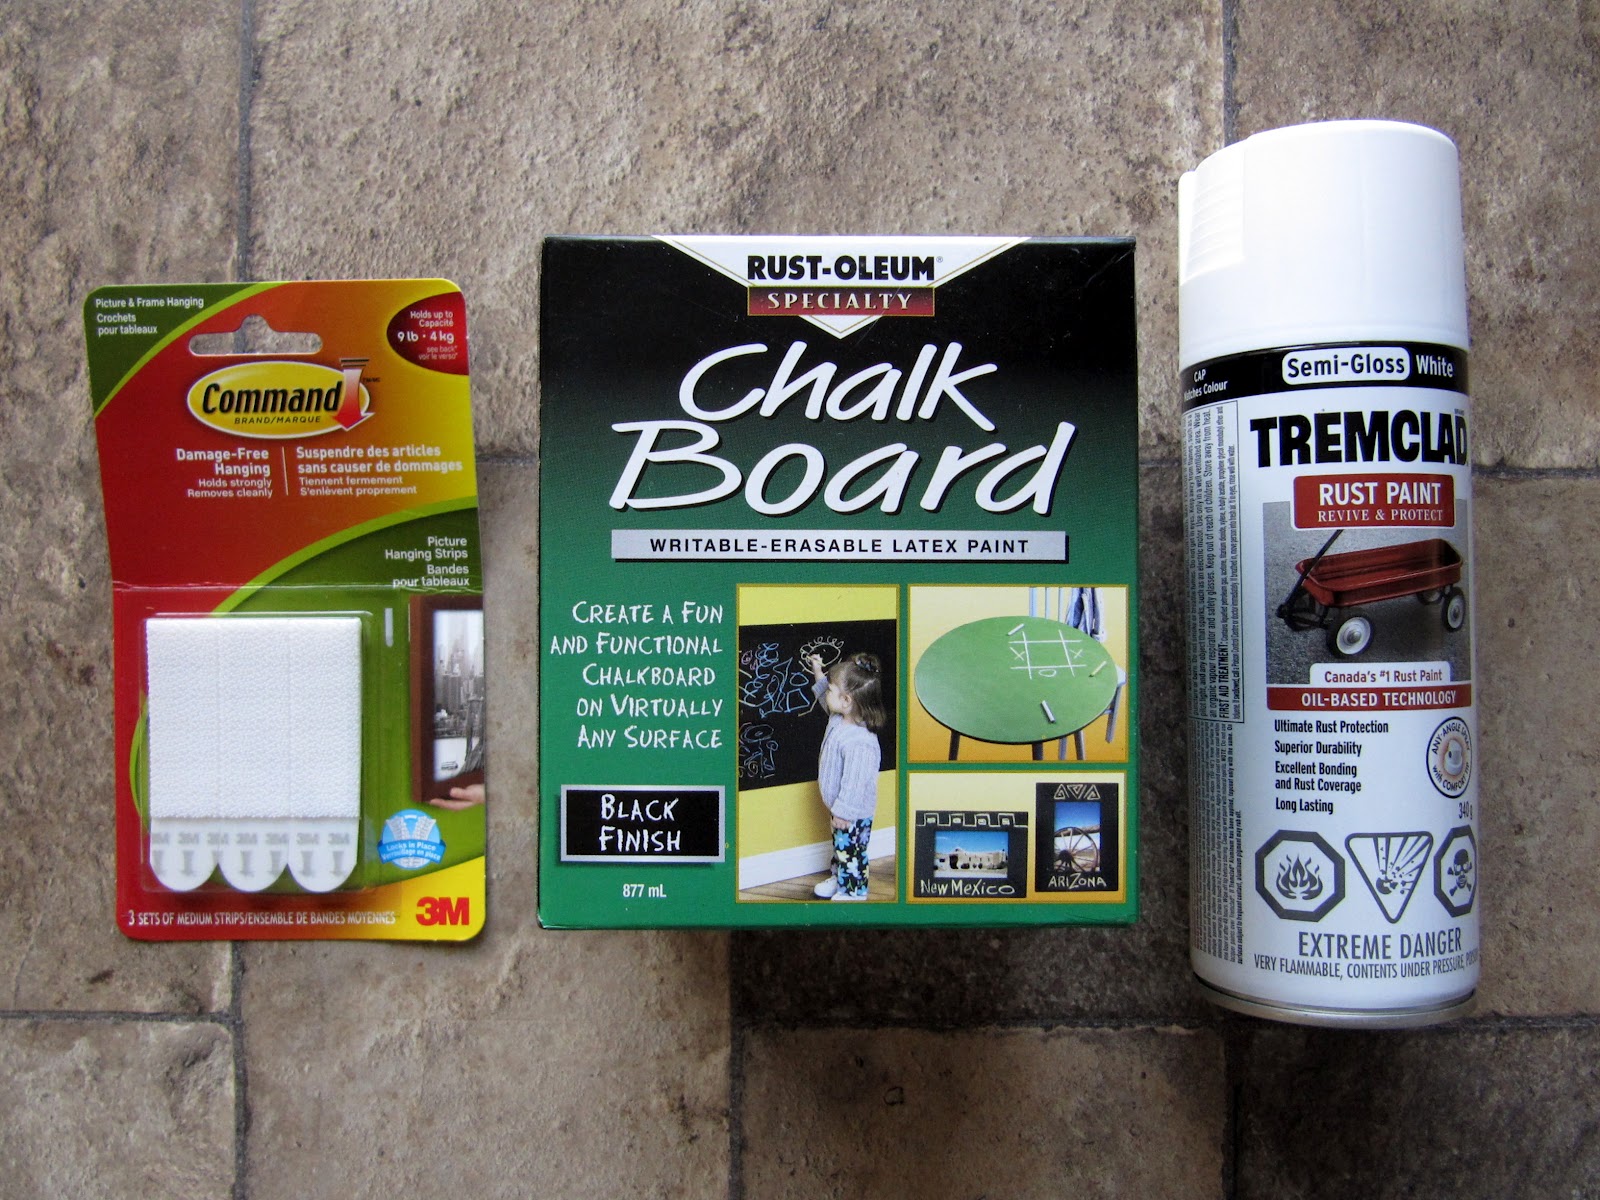
Instead of running out to purchase new paint, I just used the previously purchased Tremclad white paint (I originally purchased the Tremclad paint for the cookie sheet idea).

I painted the whole serving tray in the Tremclad paint. The unpainted flat bottom surface of the IKEA serving tray was shiny so I thought the Tremclad would make a good undercoat for the chalkboard paint to adhere to. After 2 coats of Tremclad (I waited 48 hours between coats), I then painted the bottom with 3 coats of chalkboard paint.
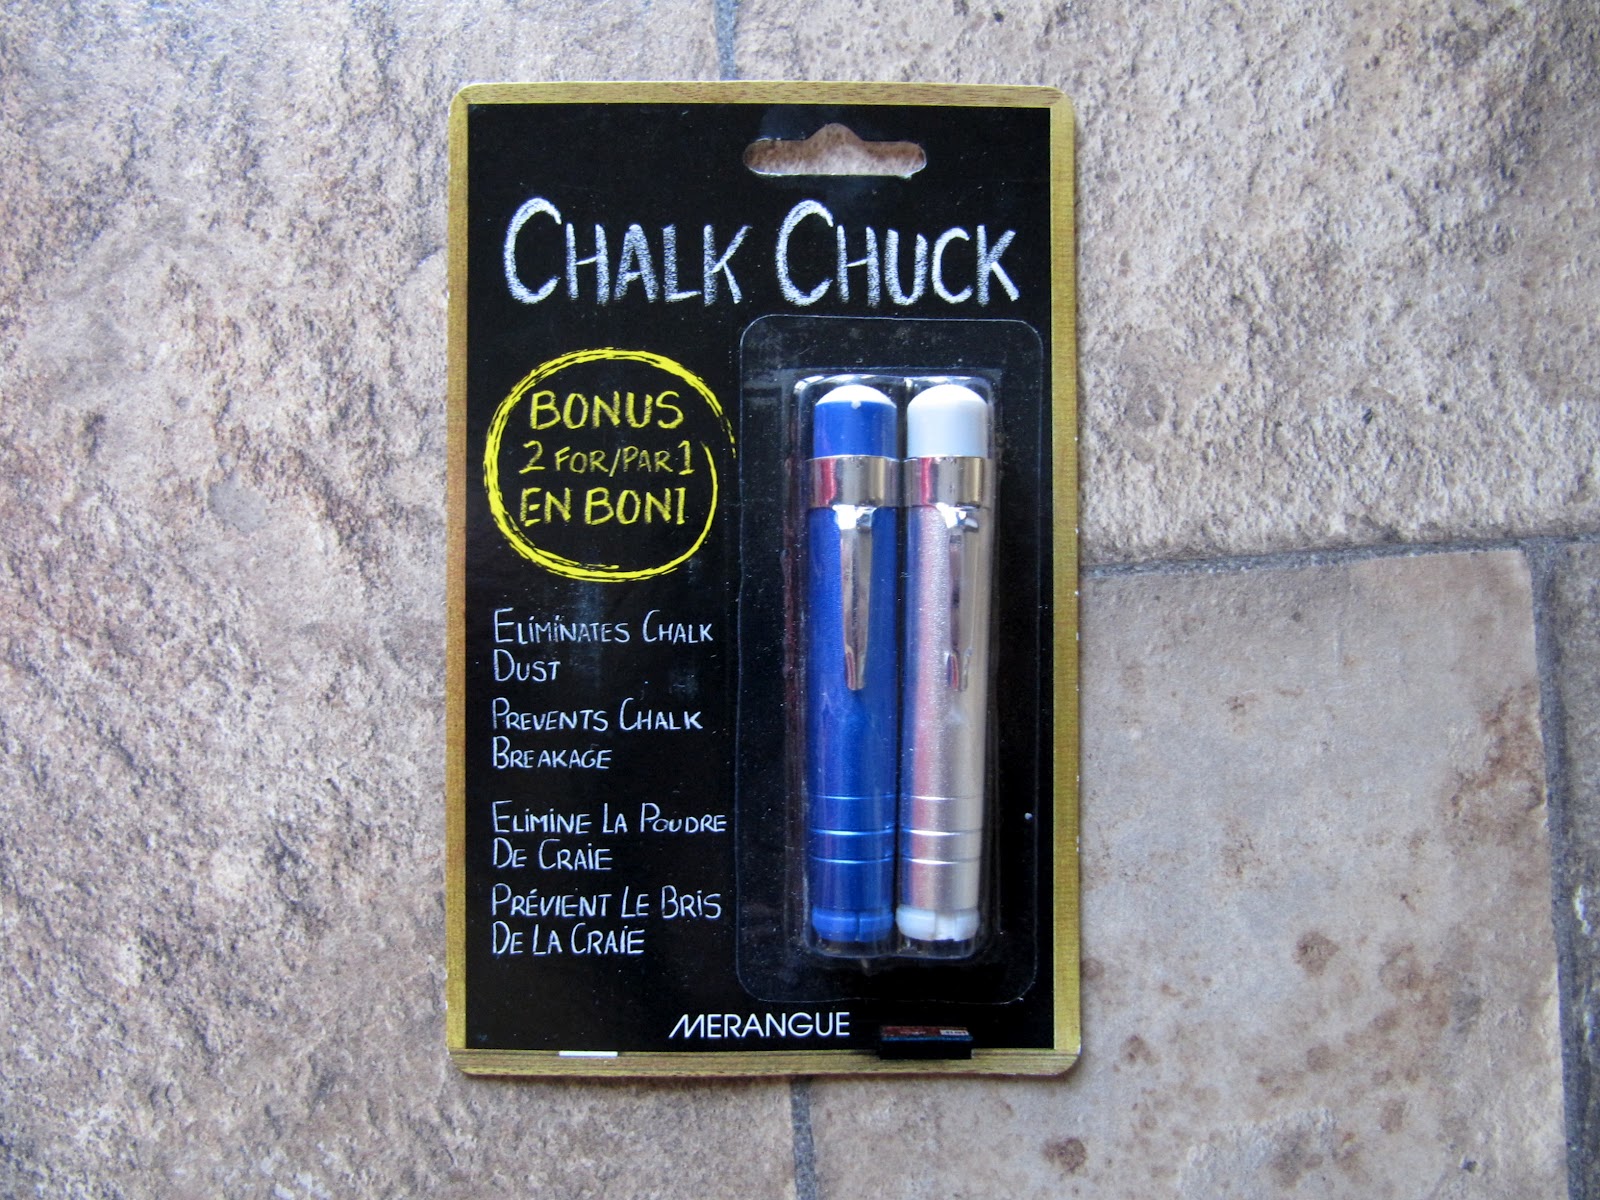
I plan to use a chalk chuck to hold the chalk to make the chalk less messier to hold and to cut down on the dust. Plus, I remember these things from school and how fun it was when your turn came to use the teacher's chalk chuck! And it's also just fun to say - Chalk Chuck!
I'm still waiting for the paint to fully cure before I adhere the 3M picture hanging strips. It says to wait 28 days after painting! This time I'm going to follow the instructions. I hung some pictures after about 10 days of painting in the downstairs office. Two days later all my pictures were lying on the floor after falling from the wall. I'm not risking it this time!
So in the meantime, I rigged up a temporary solution using picture hangers and wire hanging from a big 3M hook. Not very pretty or sturdy or a long term solution so I'm counting down the days till I can use the 3M picture strips!
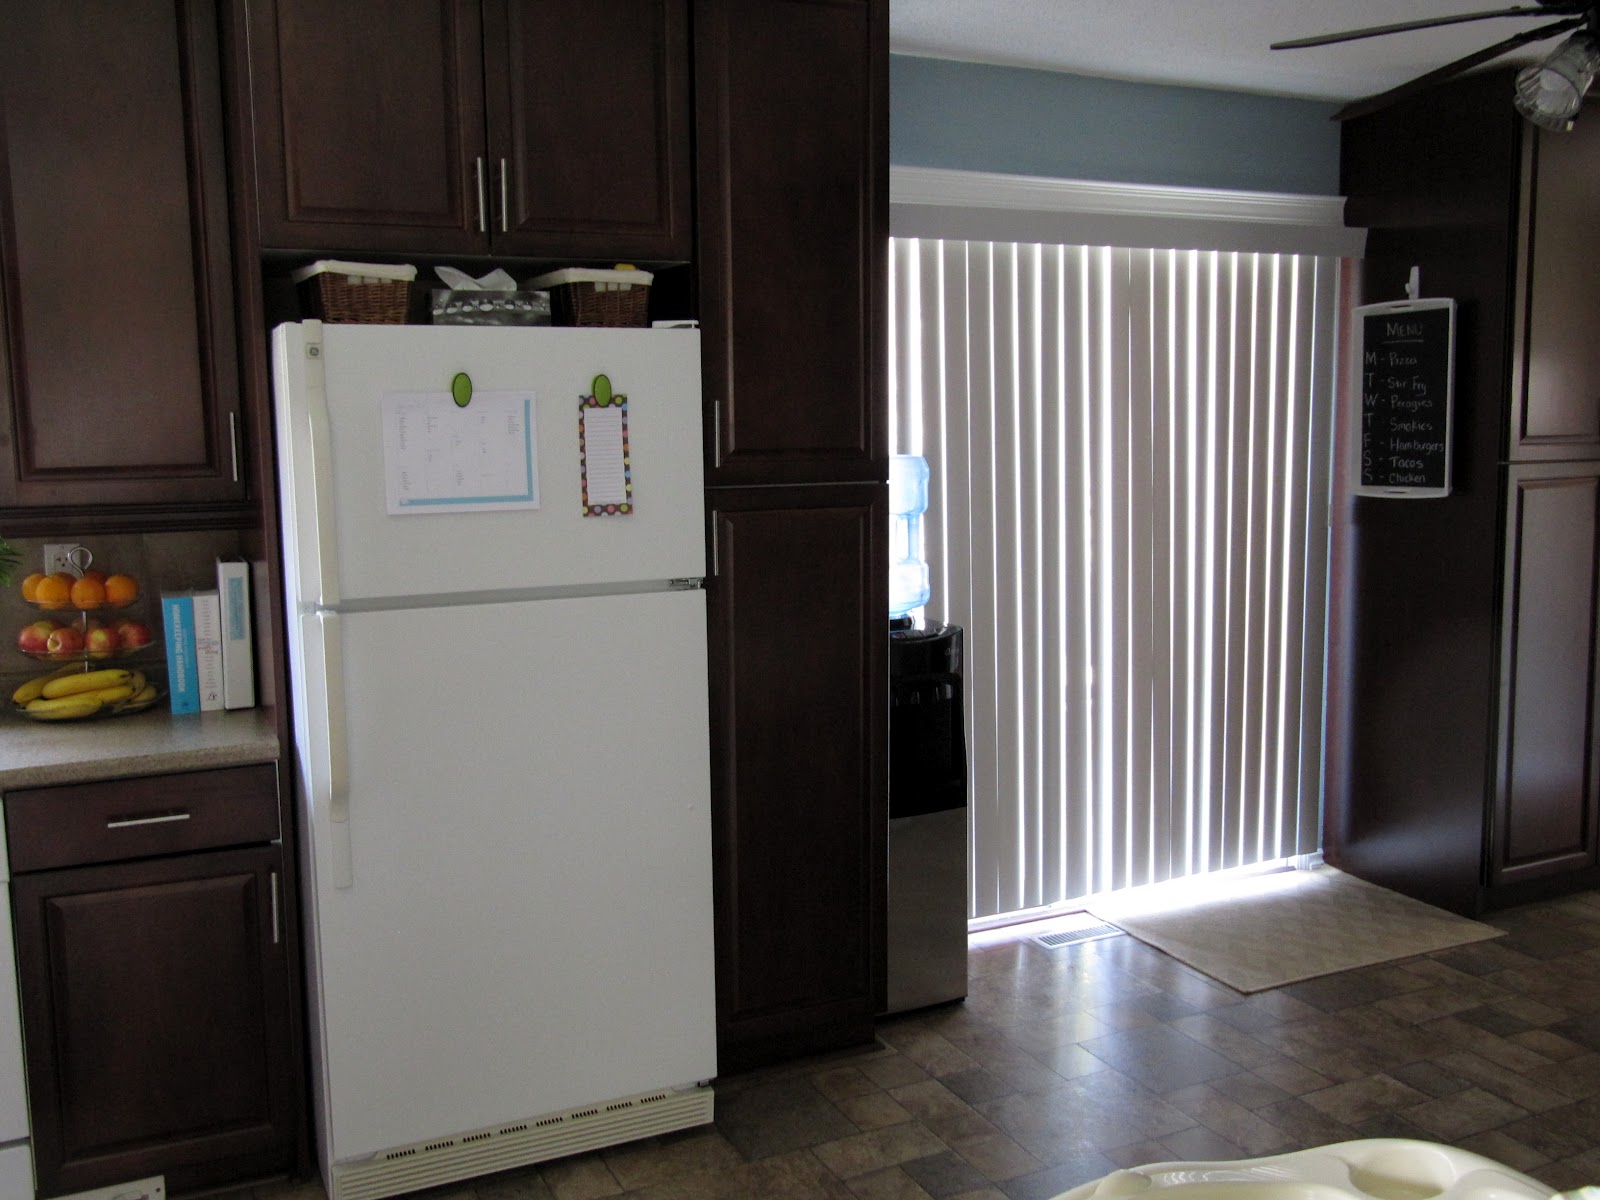
I've hung the chalk board on the side of the pantry and so far it works great! Maybe now I can take the next step and rid myself of my menu planning calendar fears!
As Always,
Sandra
Great idea! I have the perfect serving tray, just waiting for a makeover....
ReplyDeleteThanks Amy! Let me know how your serving tray turns out, I'd love to see pictures! I appreciate your comment, and hope to hear from you in the future :)
DeleteSandra