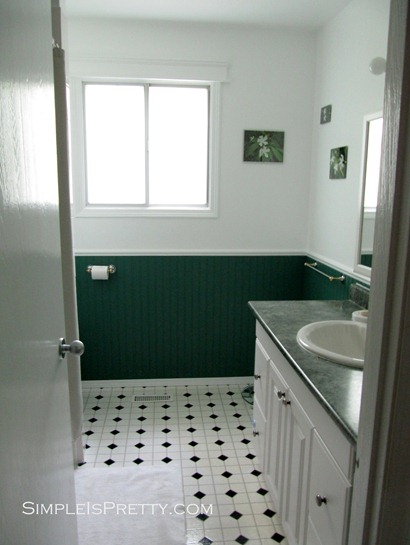
Check out the before…
 |
| Before |
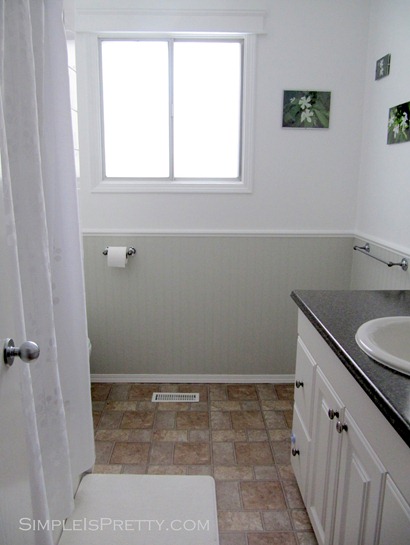
I love looking at Pinterest for inspiration. Right now I’m really drawn to white and grey colors. I just can’t get enough of them! I wanted the room to feel as large as possible so we decided on Gray owl (OC-52) from Benjamin Moore.
Here is the after…
 |
| After |
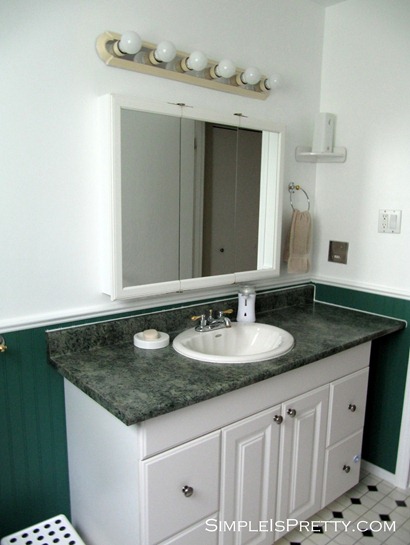
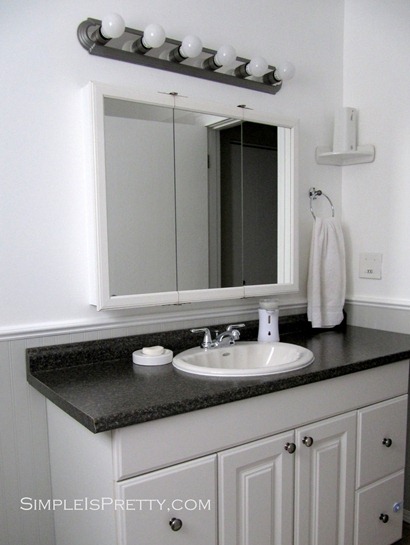
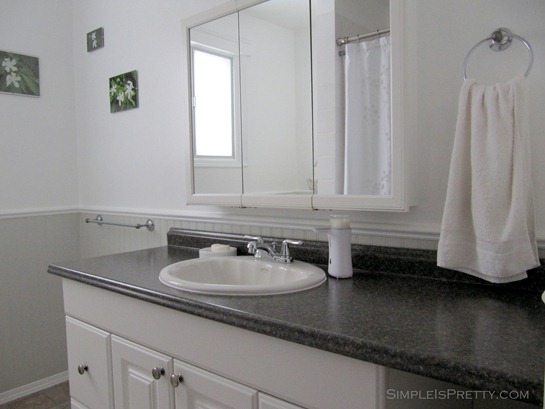
I have 2 small boys who use this room lots. I find less is more. I try not to keep much on the counter. Less to keep clean. As for the medicine cabinet, I gave it a little face lift a little while ago here.
 |
| Before |
 |
| After |
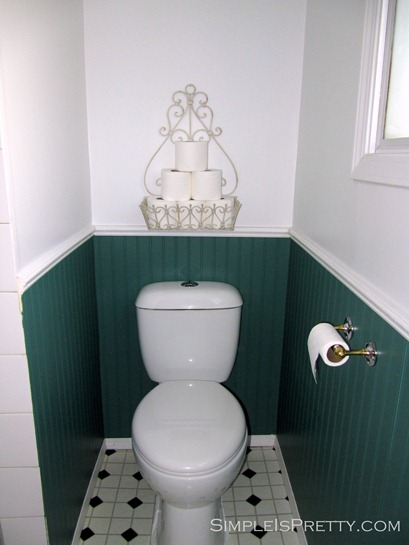
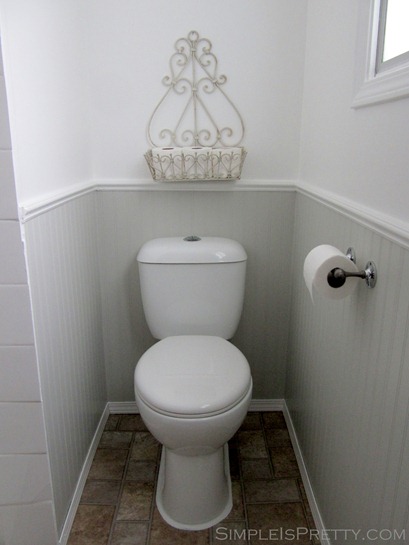
We reused the old toilet, sink, tub and tiles. The toilet was already replaced a few years ago.
 |
| Before |
 |
| After |
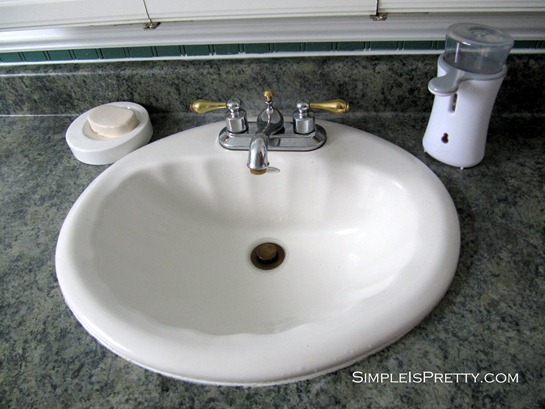
My husband installed a new counter top to replace the old scratched, scarred, green counter top. Such a huge difference.
 |
| Before |
 |
| After |
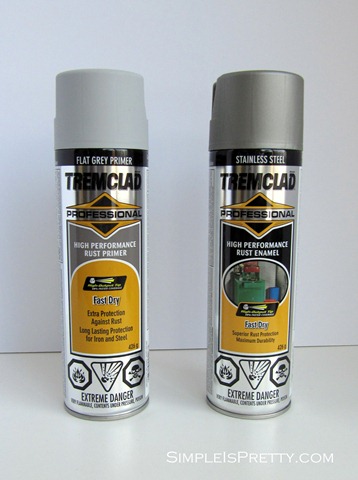
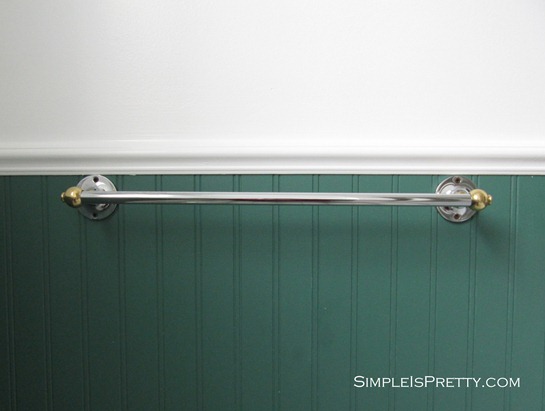
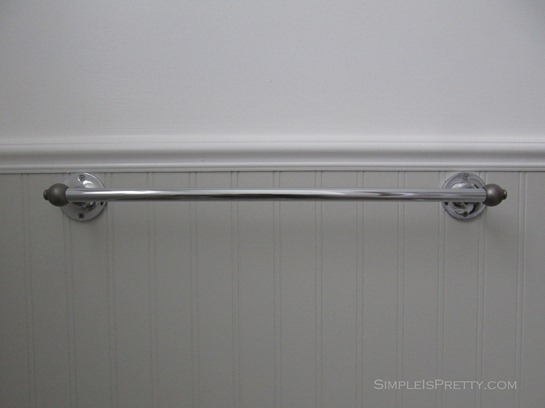
The faucets needed an update so they were replaced. We were able to also reuse most of the hardware and towel racks. I spray painted the brass on the towel bars and toilet paper holder to give it a quick update. The light fixture got a quick spray as well.
 |
| Before |
 |
| After |
The old linoleum had holes in it and was way passed its prime. We installed new vinyl waterproof flooring right over top of the old lino.
 |
| Before |
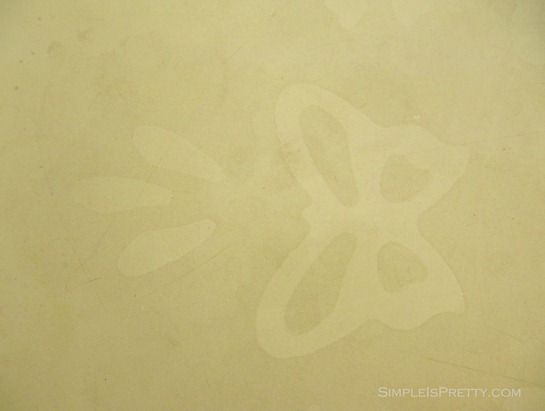
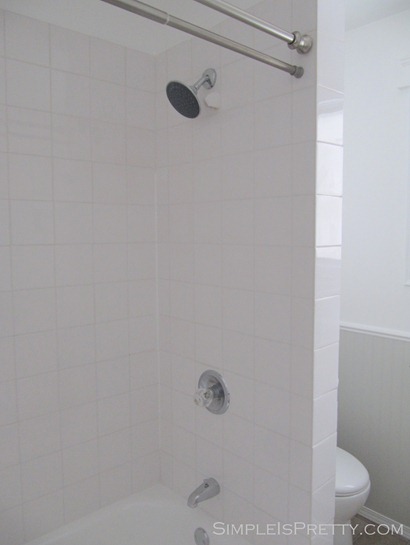
The bathtub needed some attention. The previous owners must have had tub stickers at one time because outlines of little butterflies were on the left bottom of the tub. The tub was almond and the tiles on the walls are white. This difference in color drew even more attention to the almond butterfly tub. Not the look I was going for.
 |
| After |
To save some money, we painted our tub with special white bath tub epoxy and regrouted the bath tiles.
 |
| After |
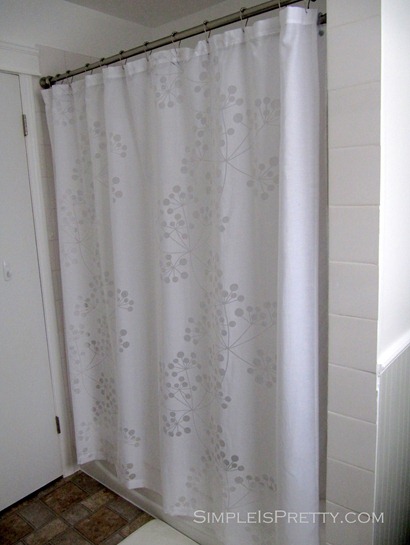
I also used a bright and modern shower curtain to lighten things up.
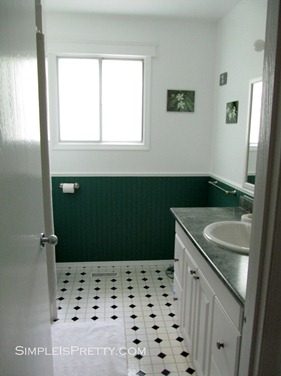
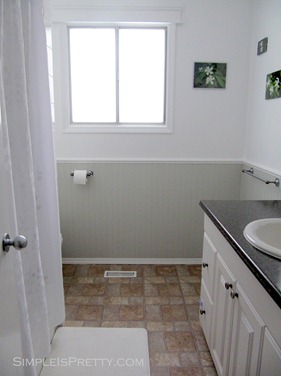
Our bathroom is so much brighter and cleaner. Such an improvement!
UPDATE...
As Always,
Sandra
Simple is Pretty Parties Here…
I'm closing comments for this post due to numerous spam comments. If you would like to comment or ask a question, please contact me at sandrapaul@live.ca. Thanks!
I'm closing comments for this post due to numerous spam comments. If you would like to comment or ask a question, please contact me at sandrapaul@live.ca. Thanks!


I love the neutral grey colors in the bathroom. It feels cleaner and stays up to date longer. I did the same for a kitchen with color in the floor tile and the back splash. Turned out great.
ReplyDeleteThanks Bill. I agree that it feels cleaner, which is definitely good since it is a bathroom! I'd love to see pics of your kitchen remodel!
DeleteSandra
It looks so fresh. Love that color you chose for the beadboard!
ReplyDeleteThanks Shauna :)
ReplyDeleteLove it! Everything looks really clean & bright :) That is a really gorgeous shade of gray, and what a smart idea to perk up the towel racks & other details with spray paint! Well done, m'lady!
ReplyDeleteThanks Casey! :) Congrats on your being a iHeart Contributor! Well done!!
DeleteGorgeous! Great job! :)
ReplyDeleteThanks Margaret!
DeleteI love the bathroom remodel. Looks fantastic. I'm a new follower.
ReplyDeleteIf you have a home organization blog post that you've done or are doing in the next month - I would like for you to link it up at our Linky Home Organization Blog Hop since April is Spring Cleaning month over at our blog. Link up now: http://bit.ly/XDWic2
Khloé,
DeleteThanks for following and liking 'Simple is Pretty' on Facebook! I'm linking up to your Blog Hop, thanks for the invite!
Sandra
Looks lovely - so much lighter.
ReplyDeleteI would love for you to link up at the Mommy Archive. We're focused on bathroom makeovers, organisation and cleaning this week but you can also link up your fab old posts on all sorts of other topics from spring cleaning and green cleaning to housework routines and laundry, Alice@ Mums Make Lists x
Thanks Alice! I appreciate the invite and I've joined your link party :) Great idea!
DeleteThis is so close to what I'm trying to do in our bathroom. I am on such a tight budget that I can only do 1 thing per pay so it's taking forever! Your colours are so pretty and exactly what I'm doing too. I was wondering how the pain has held up on the bath tub. Ours has no finish left from all of the scrubbing over the years and also has flower decal outlines. I've heard good and bad things about paintint tubs so I'm a bit nervous to try it.
ReplyDeleteS,
DeleteThank you! I would recommend doing the tub painting, but one thing I will stress is make sure to do the prep work EXACTLY as instructed. Make sure to get off all residues of silicone and caulking using the instructions. Make sure to have the "fish eye remover" on hand and don't try to look for it after your first coat. "Fish eyes" are what will happen if there are any bits of silicone still left on the tub, and the paint won't adhere properly. We didn't get a chance to really see how the paint would hold up because we moved a few months after painting the tub. But the paint was holding up well when we left. I think you will enjoy the color change and the paint had no trouble covering where the decals were. Let me know what you decide to do, I'd love to see pics!
As Always,
Sandra