Here is a tour of my studio…
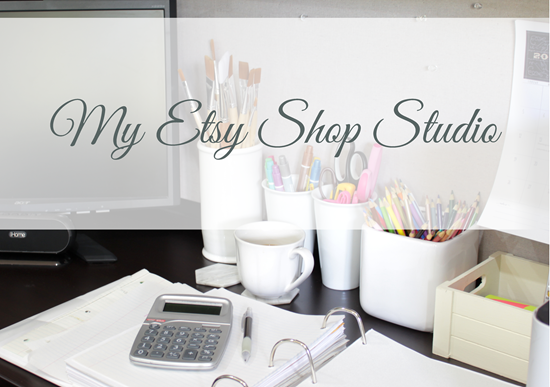
One of my favorite things about my studio is the space gets lots of natural light. Working in natural light makes it enjoyable and easier to work. My office in the old house was in the basement and I’m so thankful that in this house we had space available above ground for my studio area.

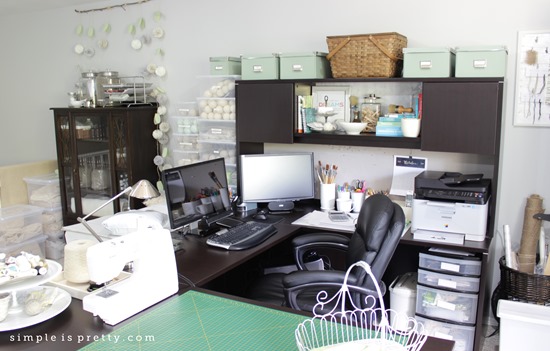
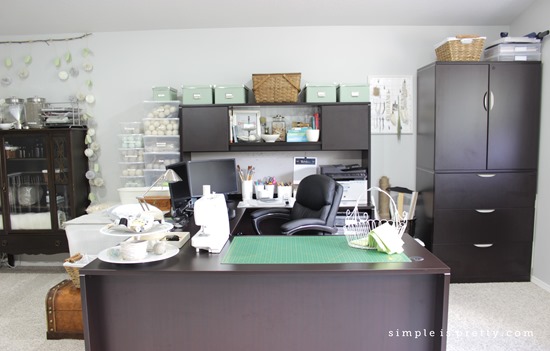
My studio functions as my home office, sewing room, paint studio, shop stock room, inspiration and creating area.
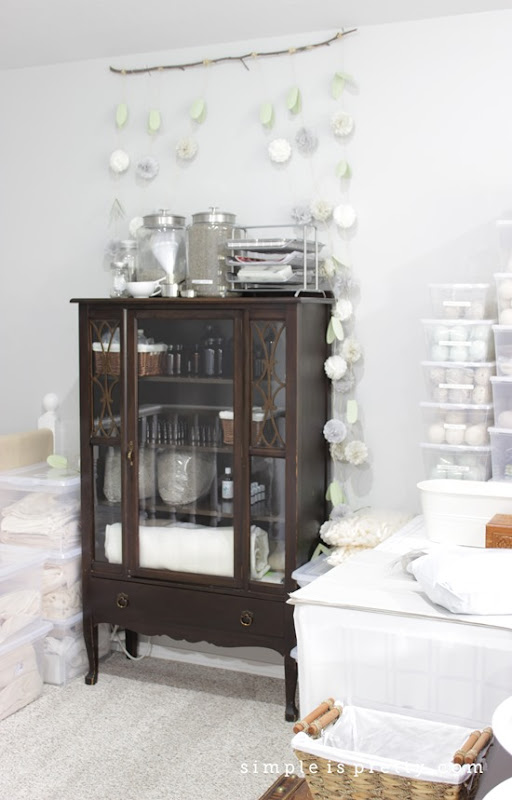
I use my grandmother’s old china cabinet to hold essential oils.
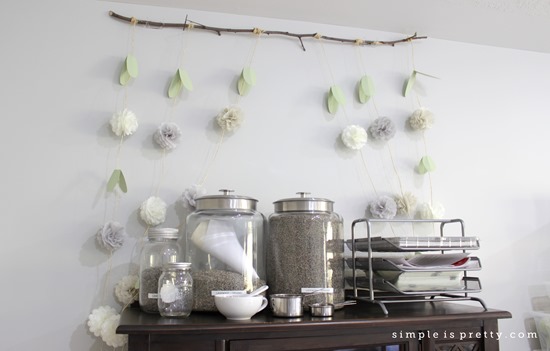
On top of the cabinet, I keep my lavender in sealed glass jars to preserve the freshness. I use lavender in sachets and I sell it by the pound in my shop.
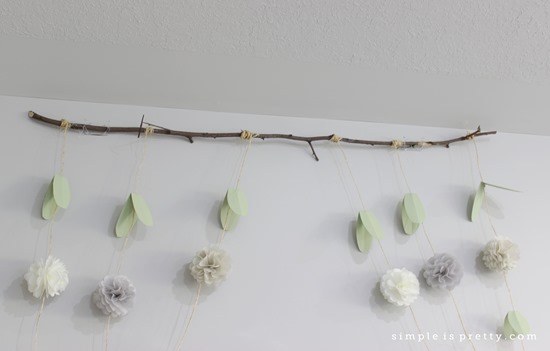
Hanging above the china cabinet, I have my paper pom pom vines. Sarah from Paperwhite Designs created them for me, and I LOVE them! I originally got the vines to help decorate my table for my next craft show, so until then I have hung them above the cabinet until they are needed. I love the colors she suggested, thanks Sarah!
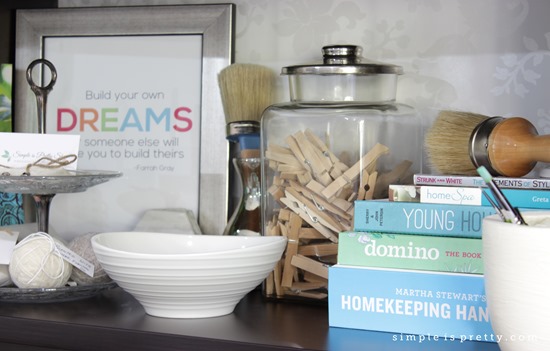
I used gift wrap to line the back of the cabinet to brighten it up a bit. I used the same process I used in the kitchen.
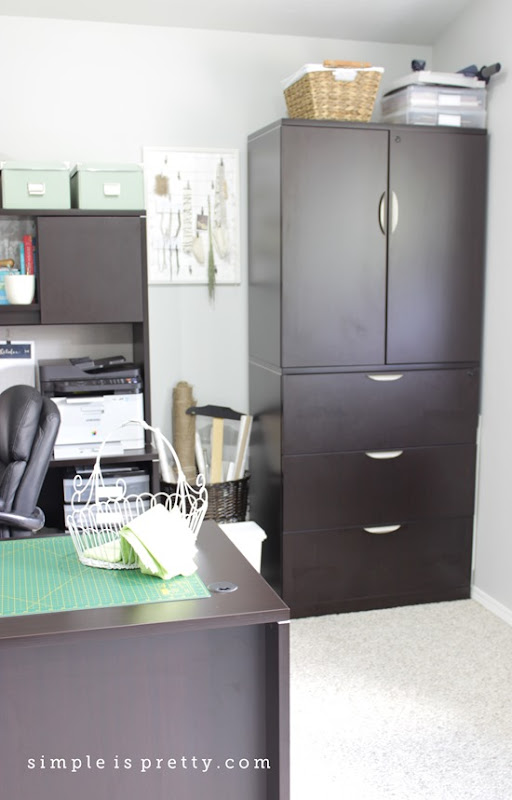
My inspiration board is in between the storage/filing cabinet and the desk. I recovered the tack board on the desk with drop cloth earlier this year.
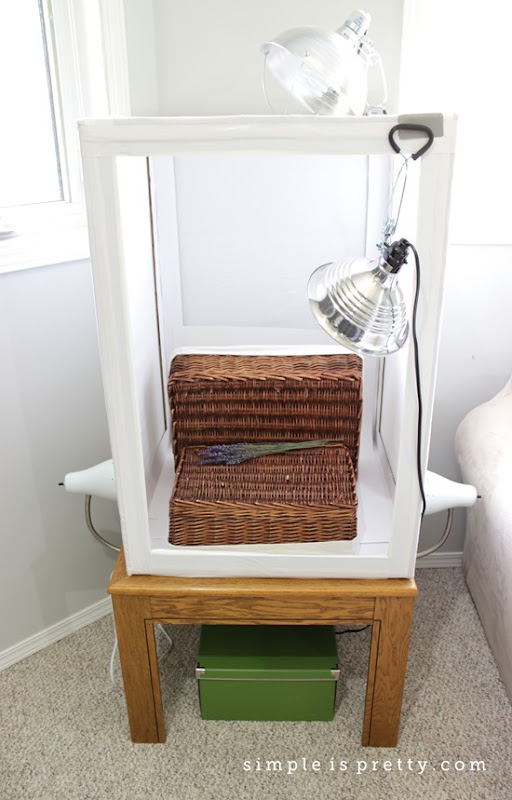
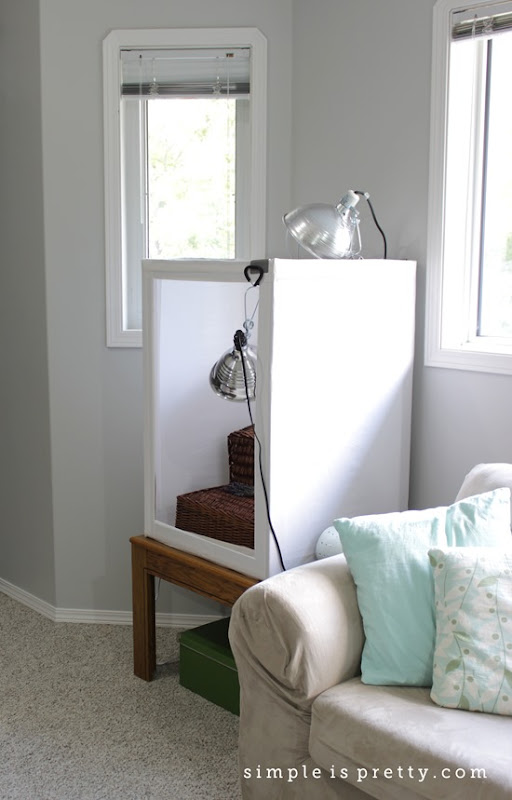
Here is my light box and I use it photo shoots for my shop and blog. To make your own light box, check out my tutorial here.
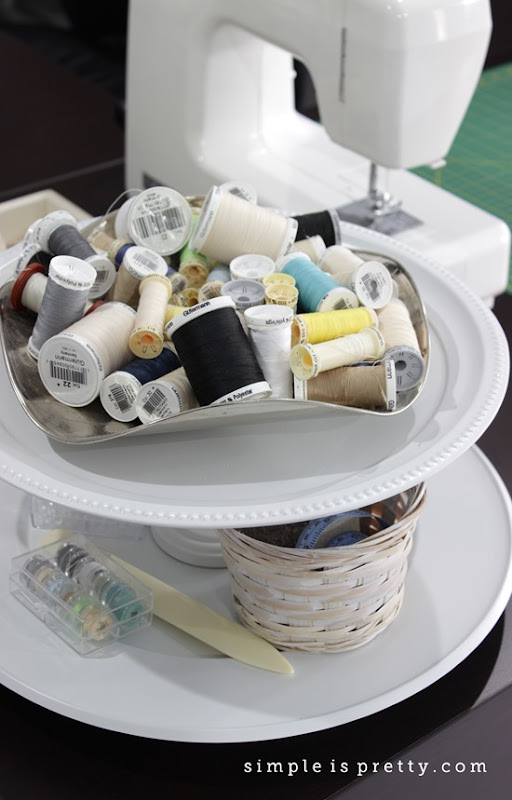
I use my DIY serving tray tower to hold my thread and other sewing items.
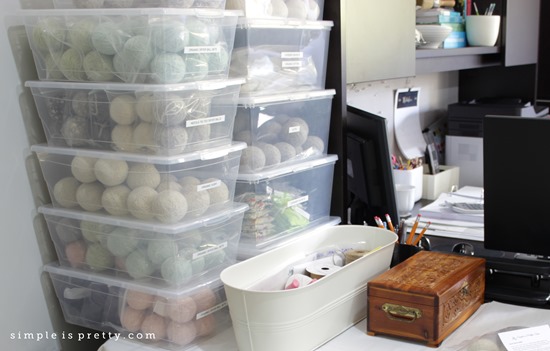
Don’t get me wrong. My studio is not always this neat and tidy. I admit I picked up and dusted to take these photos. But I do find that I work better in a clean and organized environment and this photo shoot gave me a push to take a look at my space in a new light.
I find it easier to snap some pics and then take a look and see what is looking “off” in a space. Photos don’t lie and if you are looking to restyle a room I always find that taking a few pics and then analyzing them helps to find out what is working for a room visually and what is not. Don’t be afraid to move things around in a room. If the item is not working in its new home, you can always move it back.
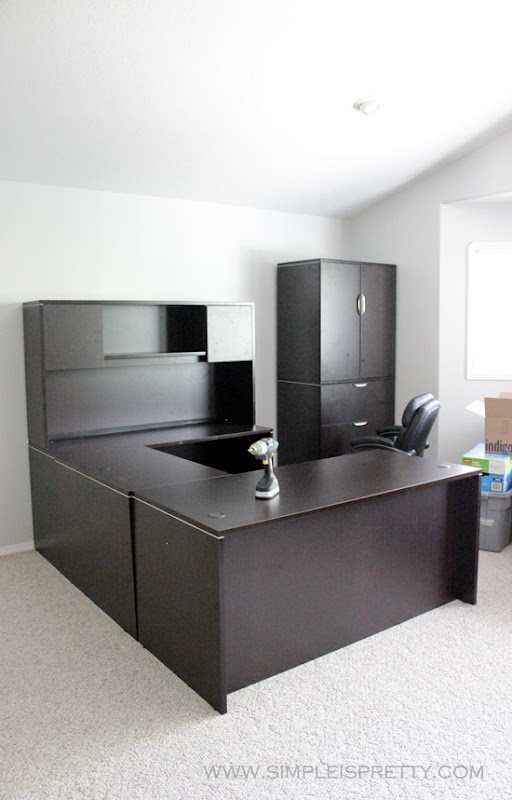
Here is what the studio looked like shortly after we moved in:
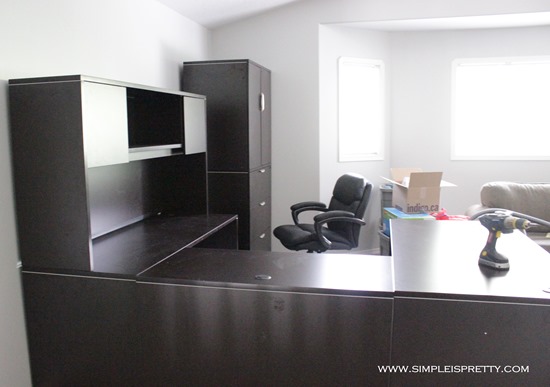
After a year of living with our new office furniture, I love how the space turned out.
Sandra


I am green with envy. Beautiful, well-organized space!
ReplyDeleteThanks so much!
DeleteOh my gosh, your studio is awesome! I am still in the basement for my Audrey Would! work, and it often feels like I'm headed down to the dungeon. I have an office upstairs, but I share it with my hubs so you never know what state it's going to be in (and that works both ways - eek!). I love the size of your light box - what kind/size bulbs do you use?
ReplyDeleteThanks Sheila! I know that feeling of working in the basement all too well!
DeleteI use two 60 watt, daylight (6500K) compact florescent light bulbs in the clip lights. I use 150 watt, daylight (6500K) compact florescent bulb in the large clamp light (overhead) and the also in the clamp light near the front. (http://www.simpleispretty.com/2014/02/diy-light-box.html) Do you use a light box, Sheila? What do you use? Thanks for your comment!
Your studio looks great Sandra, very functional and oh-so-pretty too!
ReplyDeleteThanks, Heather! :)
DeleteIt looks fantastic, Sandra! Oh how I wish I had the room for a studio like that. Someday! Right now I have an office upstairs and a messy storage room in the basement that I use as a "studio" of sorts. So envious!
ReplyDeleteThanks, Shauna! Looking forward to seeing your renos!
Delete