Monday, October 28, 2013

Recovering a Footstool

Recovering a Footstool with Dropcloth from www.simpleispretty.com
I made this footstool in high school during shop class.  Yep, I used a lathe and everything, but don’t ask me to repeat the process.  I really don’t remember what I learned from that class or any class from high school for that matter!

I have wanted to recover this footstool for a while now as it doesn't really match anything.  Originally, I covered the cushion in a light green fabric.

Footstool before from www.simpleispretty.com
I decided to give recovering with canvas drop cloth a try. I turned the footstool over and cut a piece of drop cloth to cover.  After making sure it fit, I quickly made a seam on the edge to prevent fraying.
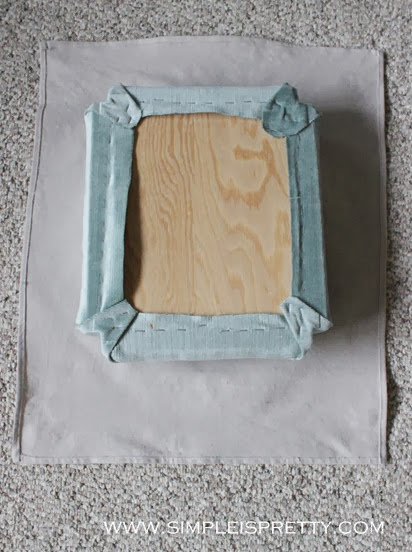
Cut dropcloth to fit from www.simpleispretty.com
Using a staple gun I secured the drop cloth to the bottom of the footstool.
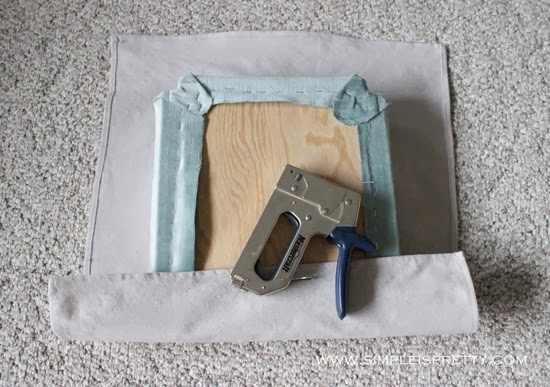
Staple gun from www.simpleispretty.com
Now, I know this doesn't look pretty but who really sees the bottom side anyway?
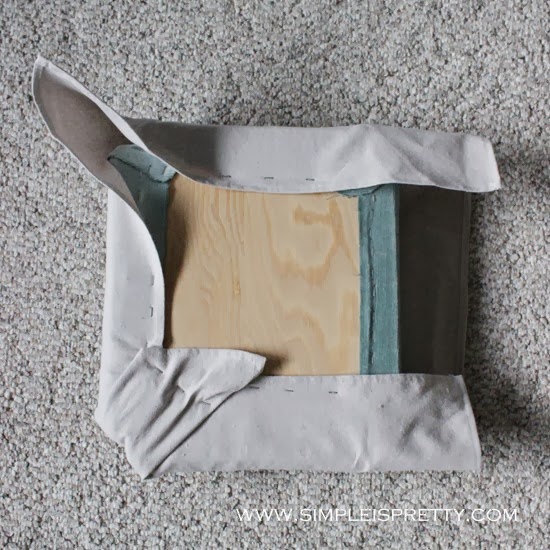
Staple to bottom of footstool from www.simpleispretty.com
Just pull the fabric and staple when smooth.  I find it works better to place a staple in the middle and work your way out to the edges with your staple gun.
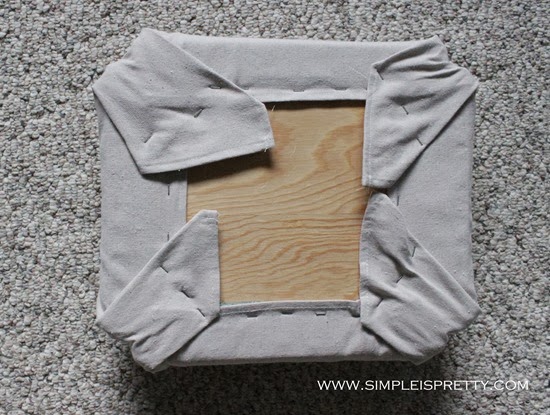
Bottom of footstool after from www.simpleispretty.com
And now the finished top…

Top of footstool after from www.simpleispretty.com
Quick and cheap fix.  If I want to change the fabric, it will be easy just to take out the staples and repeat the process with a new patterned fabric.

Footstool After from www.simpleispretty.com
As Always,
Sandra

Monday, October 21, 2013

Sprucing Up Register Covers

I’m sure many homes have this same problem…

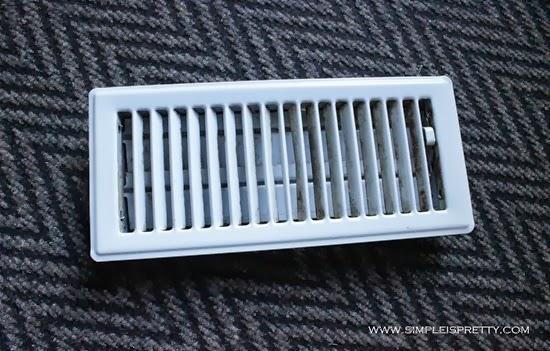
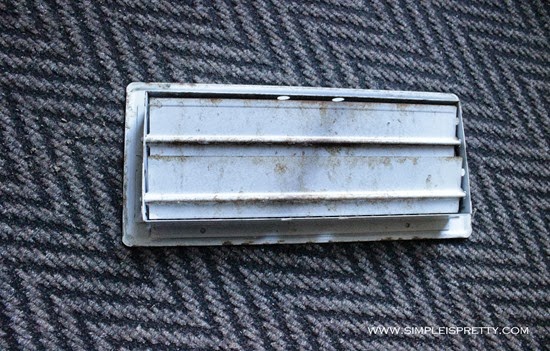
Dirty and rusty register covers.  We have a forced air system to heat and cool our house.  As a result, we have register covers in all of the rooms in the upper levels.  After a while, register covers get dirty and can even start to rust.  The register cover in our main bathroom was looking pretty gross with rust.

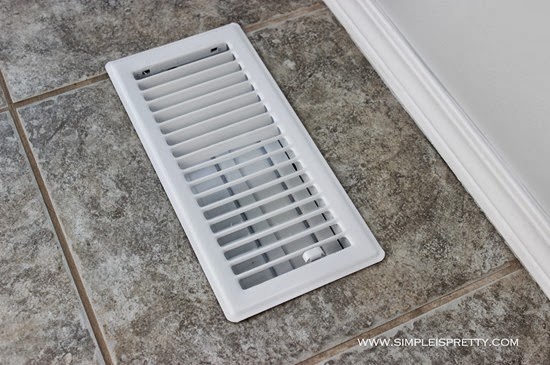
Register Cover before from www.simpleispretty.com

Register Cover Underside Before from www.simpleispretty.com
Here is what you can do to make your register covers look better without spending lots of cash to replace them.  Give spray paint a try.  I used Rustoleum Semi-Gloss in White (costs about $10 for a large bottle, which would be enough to cover multiple register covers).

First, wipe the covers clean with a wet paper towel or rag.  You don’t need to clean them super well, try to get most of the dust off if nothing else.  Make sure the register covers are completely dry before you start spray painting.

I took my register covers outside on a large piece of cardboard (a flattened diaper box actually).  I also wear gloves so I don’t get spray paint all over my hands.  I’m a pretty messy painter!

Start by turning over the register cover so the underside is facing up.  Give it a few quick light coats of spray paint to avoid runs.  My cover was pretty rusty so I made sure to coat it well.  Let it dry.  I brought my cardboard with the register covers into the garage for the night.

The next day, I took them outside again and turned them over and spray painted the other side (the side you normally see).  I coated mine well with light coats to avoid drips and runs.  Again, I brought them in the garage to dry for the night.  Depending on your climate, the covers may dry faster or slower.  If they are tacky to the touch, give them more time before turning them over to finish painting.

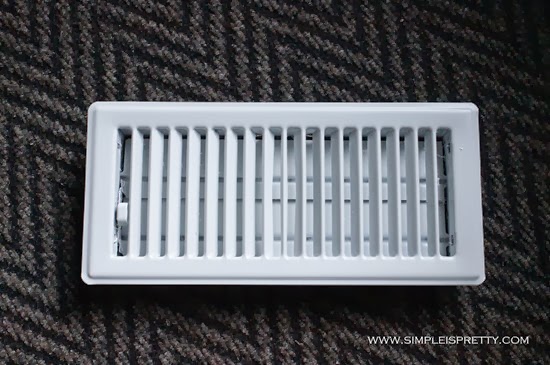
Register Cover After Spray Painting from www.simpleispretty.com
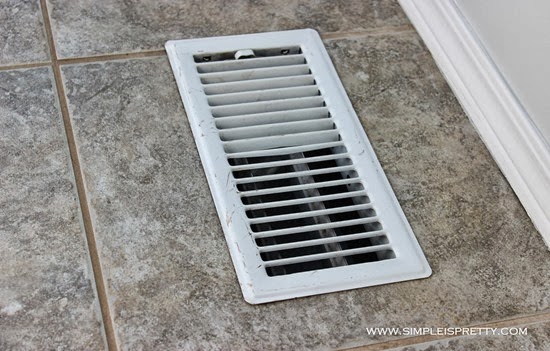
This register cover is for our bathroom but I gave it a try in our dining room to see the difference once the register cover is in the floor. Since our bathroom does not have any natural light, pictures hard to take in there, so I decided to show you how it looks in the dining room instead.

Here is the Before…

Register Cover in Floor Before from www.simpleispretty.com
And the After…

Register Cover in Floor After
So much cleaner.  Do you have any quick ideas for spray paint to save money and give something a new clean look?

As Always,
Sandra

Monday, October 14, 2013

Cleaning a Jet Tub…

Our new house has a jet tub in the master bath.  I have never owned a jet tub before and had no idea of the best way to clean it.  As a result, pink grossies keep appearing in and around the jets and mildew would collect inside the jets and litter the bath water with black chunks. ICK.  I needed a solutions so I could enjoy baths again.

How to Clean a Dirty Jet Tub from www.simpleispretty.com
After a little research, here is what I needed to do.

How to Clean a Dirty Jet Tub from www.simpleispretty.com
A whirlpool or jet system should be flushed twice a month or more, depending on usage.  Check your tubs instructions, but this is what I needed to do:

1. Close air volume controls by turning the jet clockwise.

2. Fill the bath with hot water to a level 2” above the highest jets.

3. Add 4 ounces of household bleach to the water.

4. Run the whirlpool for 5 to 10 minutes, then shut off the whirlpool and drain the water.

How to Clean a Dirty Jet Tub from www.simpleispretty.com
5. Fill the bath with cold water to a level 2” above the highest jets, and run the whirlpool for another 5 to 10 minutes to rinse.  Drain the bath and wipe it dry with a soft cloth.

I don’t use the jet tub lots especially since we get our water hauled out (we have a cistern).  But I do enjoy an occasional bath and I’m glad I found a pretty easy way to clean and sanitize it.  Now I can enjoy baths again!

As Always,
Sandra

Tuesday, October 8, 2013

Coffee Station

I’d say I only really started drinking coffee in the last 3 years.  Before that, I would have the occasional cup, mostly at a coffee shop while out with friends.  Since my husband bought me a Keurig for a Christmas present a few years ago (by the way I love it), coffee has become a morning ritual.  I still only have about 2 cups as a maximum each day, and my husband is the same.  So our Keurig makes sense for us, as we only drink about a cup or so a day each.

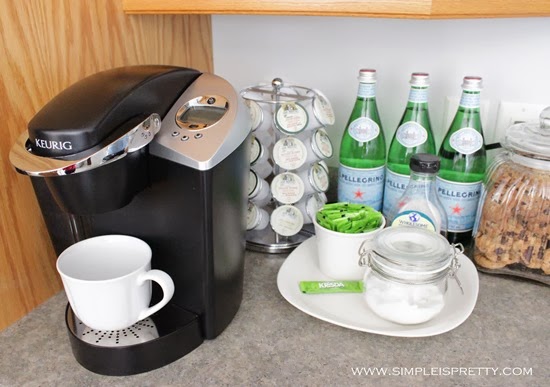
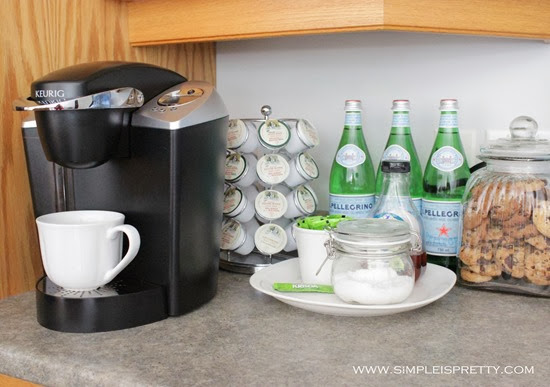
Coffee and Beverage Station from www.simpleispretty.com
Here is how I set up our coffee/beverage station.  First, it resides right next to the water cooler.  Perfect spot, especially since we don’t drink our cistern tap water and we only use water from the cooler to drink and fill up the Keurig.

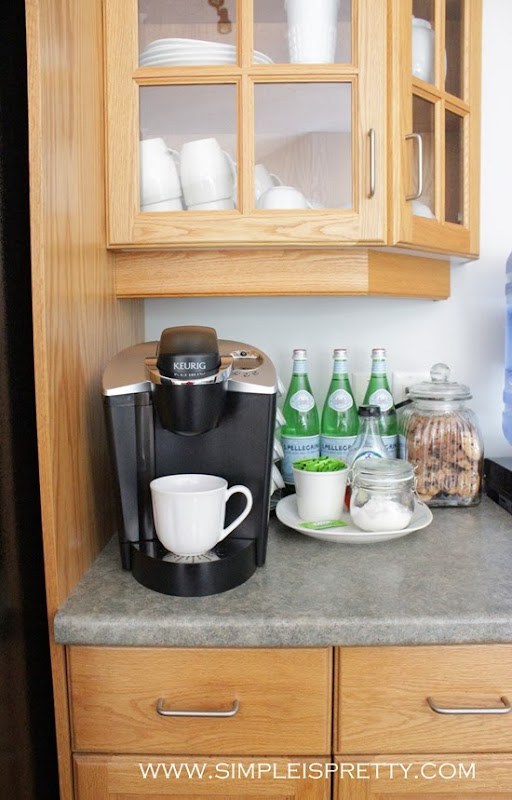
Coffee Station from www.simpleispretty.com
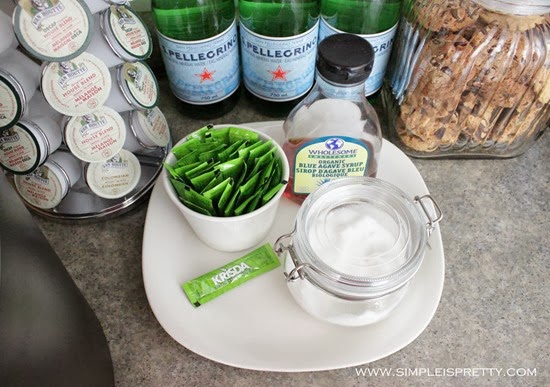
Cups are in the cabinet above the Keurig.  I keep a jar of white sugar, container of Krisda stevia extract sweetener packages, and a bottle of agave syrup on a plate.  I try to stay away from the sugar as much as I can and use natural sweeteners in my beverages. I try ;)

Easy Coffee Station from www.simpleispretty.com
I keep 3 bottles of Pellegrino water at the back for color.  I confess I don’t drink it.  A cookie jar also lives on this counter and it works well to hide the cord from the water cooler.  Store bought cookies in the jar, I’m not much of a baker.  Or really any type of a baker for that matter.

Coffee and Beverage Station  from www.simpleispretty.com
The K-cups for the Keurig are stored in a holder behind the Keurig.  The holder spins so I can easily grab the flavour of coffee I want.  Our extra K-cups live in our pantry.

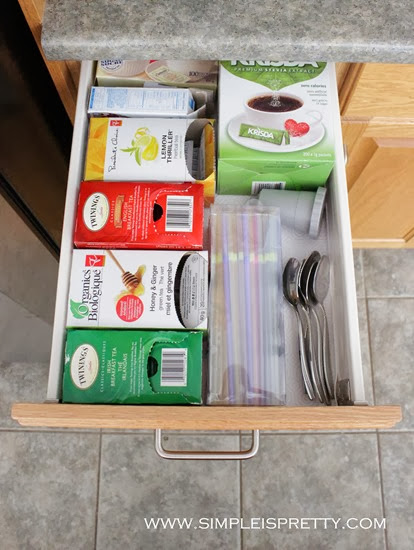
Inside Coffee Station Drawer  from www.simpleispretty.com
In the drawer below, I store our teas and other miscellaneous beverage items. Such as… teaspoons, straws, extra sweetener, and a refillable/reusable K-cup.

As Always,
Sandra

Wednesday, October 2, 2013

Easy Zucchini and Bread Soup

I woke up to snow covering our yard this morning.  YUCK.  It’s only October 2!  I know it won’t stick around but nonetheless, I was not prepared for it!  It has kinda sent me into panic mode, I have so much to do before winter gets here!  To make myself feel better I decided to make it a soup day.

Zucchini and Bread Soup from Simple is Pretty..

Here is what you need to make this EASY Zucchini and Bread Soup…

Zucchini and Bread Soup Ingredients from www.simpleispretty.com

Ingredients:
2 onions
2 cloves of garlic
1 large zucchini or about 4 small (I had a large yellow variety on hand)
1 chicken bouillon cube
a few table spoons of Extra virgin olive oil
fresh mint to taste (optional)
8 slices of bread (frozen if you have)

Method:

Zucchini, onion, and garlic from www.simpleispretty.com

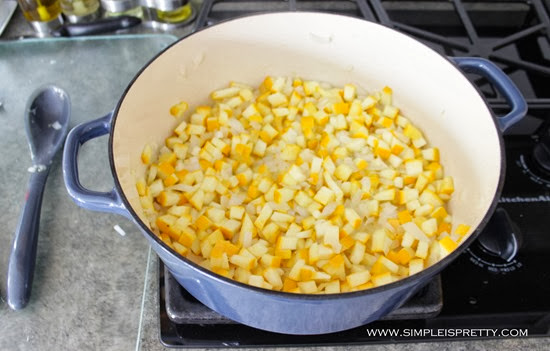
Peel and chop the onions.  Finely chop the garlic.  Trim the ends off the zucchini, cut them in half lengthwise and dig out the stringy and seed filled inside.  Chop up the zucchini.  Add the onion, garlic and zucchini to a large saucepan on medium-low heat, with a few table spoons of olive oil.

Cook for about 1 hour, stirring occasionally and add a little water if you need to.  Caramelize together to get the best flavour.

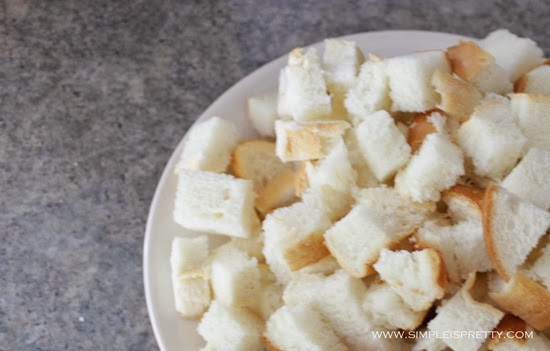
Bread cubes from www.simpleispretty.com

Cut up about 6 to 8 slices of bread into cubes.  I used frozen bread because it is easier to cut.

Add bread cubes from www.simpleispretty.com

After the zucchini mixture has cooked for about 1 hour, crumble in the bouillon cube and stir in the bread. 

Add water from www.simpleispretty.com

Pour in 4 sups of boiling water, and bring the mixture back to a boil.  Simmer for about 10 minutes.  Season with salt and pepper.  Add finely chopped mint to top of bowl or stir into soup and serve.

Zucchini and Bread Soup Recipe from www.simpleispretty.com

As Always,
Sandra

Simple is Pretty Parties Here…

Tuesday, October 1, 2013

Splitting Up My Wall Art

In our house, I decided to split up our wall art.  The framed pieces originally hung over our dining room table in our old house.

Pictures above table in old house www.simpleispretty.com

Instead of grouping them all together, I decided to split them up a bit.  Three now hang over the new sectional in our living room…

Pictures above sectional in new house www.simpleispretty.com

And the smaller three pictures are now in the entrance area of our house…

Pictures above dresser in entrance in new house www.simpleispretty.com

As Always,
Sandra