Thursday, November 28, 2013

Black Friday Sale!

Black Friday Sale starts now in my shop!

https://www.etsy.com/ca/shop/SimpleisPrettyShop

Use code BLACKFRIDAY2013 for 20% off all items!  Happy Thanksgiving and Happy Shopping!


As Always,
Sandra

Thankful For...

I know Thanksgiving for us in Canada has already passed for the year but today is Thanksgiving in the US.  So today, I'm going to take a little time to reflect on my last year.

The last year has been filled with good memories.  I have so much to be thankful for.  My family and I said goodbye to our house and moved to a new home.  In this last year, we have been busy and have managed to make time for each other.  I treasure all the memories.

I'm thankful for my loving and supportive family.   Without their support, I wouldn't have been able to start my own Etsy shop.  I've always wanted to own my own shop/store and although I have only started building my shop, I'm so happy to start something that is my own and to start realizing my dream.

I'm thankful for all the support I have received from my readers and bloggy friends.  Your kind words give me motivation to keep going.  Anyone who blogs knows how time consuming blogging becomes and how hard it is to put yourself out there.  I appreciate all your kind words of encouragement, they mean so much.

As Always,
Sandra

Thankful Link Up

Thursday, November 21, 2013

Guest Post for Pretty Organized, and a Giveaway!

I'm over at Pretty Organized today share my laundry tips.  I'm giving away some of products from my Etsy shop, plus everyone receives a 15% coupon code for my shop.  Be sure to check out the post and enter at Casey's lovely blog... Pretty Organized!

Enter the Lovely Laundry Giveaway at PrettyOrganized.com

As Always,
Sandra

Monday, November 18, 2013

Master Bedroom

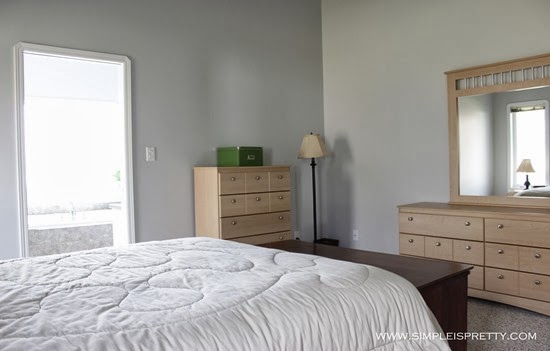
Here is a peek at our master bedroom in our new house.  I say “new” but we have been living in it since the end of May!

Master Bedroom from www.simpleispretty.com

Master Bedroom from www.simpleispretty.com

Master Bedroom from www.simpleispretty.com

Master Bedroom from www.simpleispretty.com
Currently, nothing on the walls and this room needs some personality.  Recently, I bought some new bedding (which I LOVE).  Guess what color... You guessed it... White!  I will take some pics and get them up soon.  So now I need to start looking at other pieces to bring into this room to add some style.  Hmmmm…..

As Always,
Sandra

Monday, November 4, 2013

Recaulking Our Master Bath Shower…

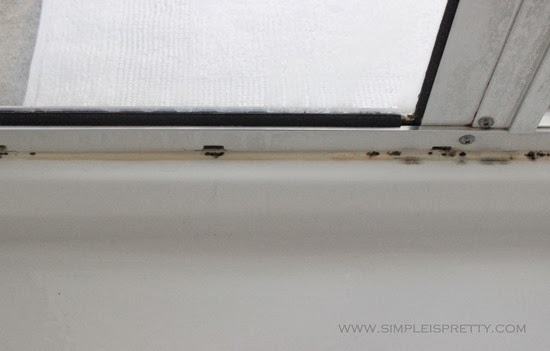
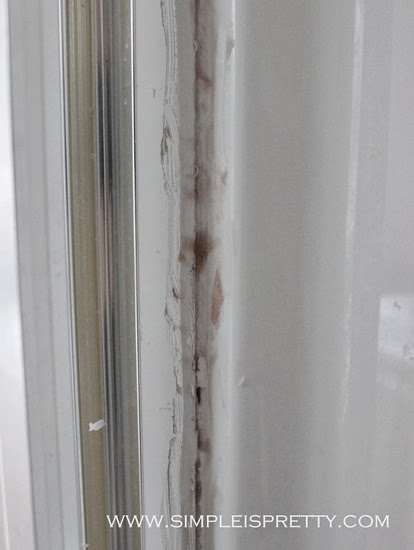
When we first moved into our house the master bath shower was in bad shape.  All the caulking was black with mildew and mold.  It was GROSS, to put it mildly.
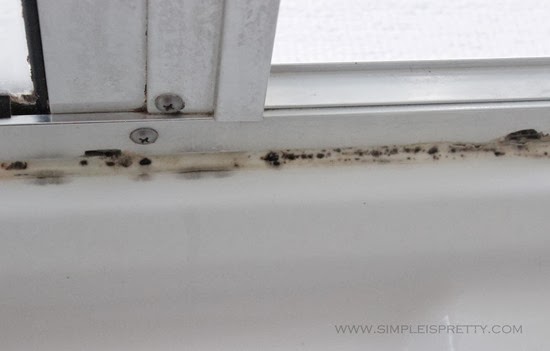
Recaulking Our Master Bath from www.simpleispretty.com

Around Door Before from www.simpleispretty.com
I decided to give re-caulking the shower a try.  I knew it couldn't get any worse that what it was.
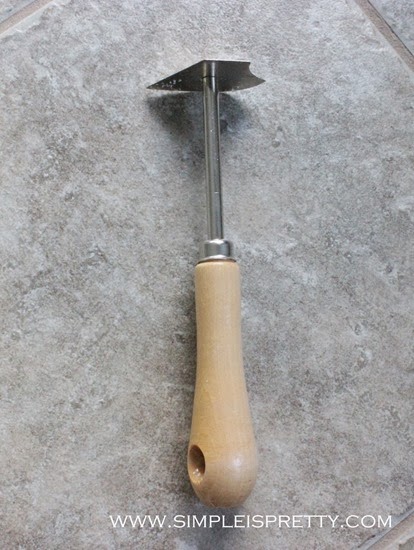
caulking scraper from www.simpleispretty.com
First, I got to work with my scraper and scraped off and cut off as much caulking as I could.
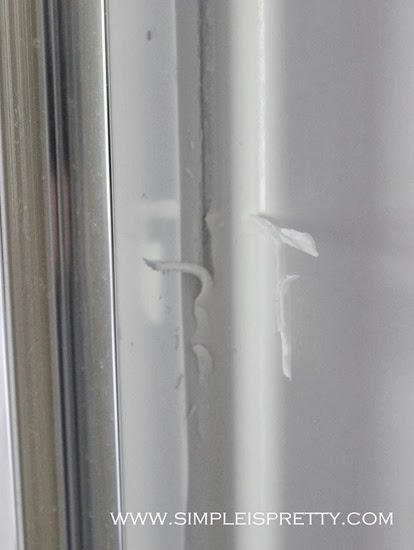
Scrape caulking from www.simpleispretty.com
Here are the rest of the supplies I used to complete the recaulking…
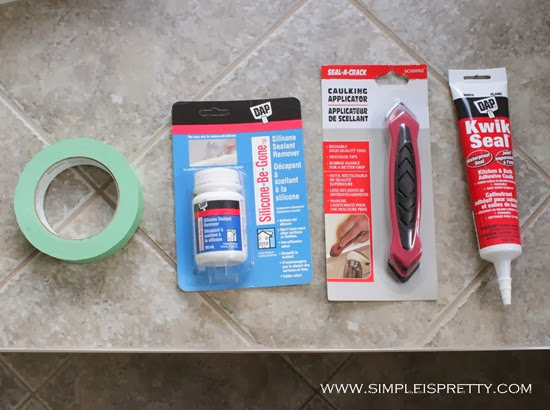
Supplies for caulking from www.simpleispretty.com
Next, I used the silicone remover gel.  I just needed to brush it on with the attached little brush and wait.
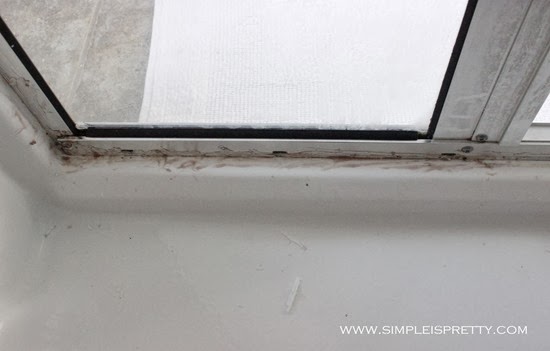
Caulking remover applied bottom of door from www.simpleispretty.com

Caulking remover applied from www.simpleispretty.com
Then I used paper towel and my scraper to remove more silicone caulking.  I had to repeat this process a couple of times in areas, depending how much caulking had to be removed.
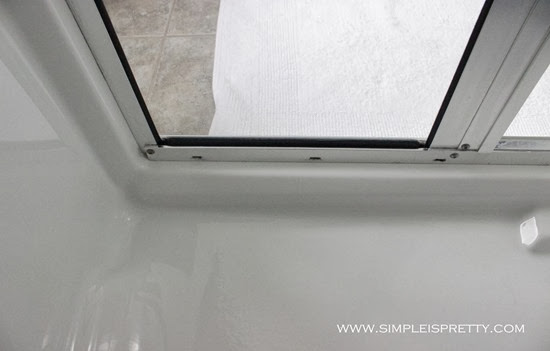
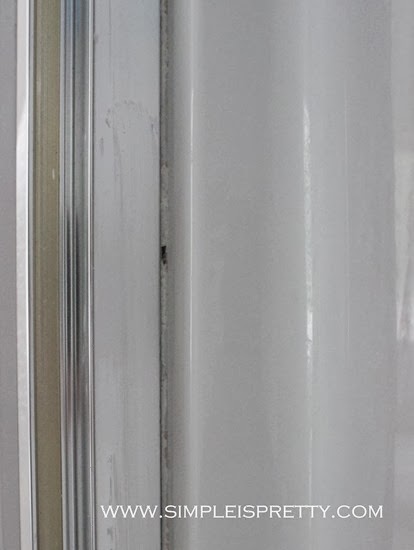
after caulking removed from bottom of door from www.simpleispretty.com

after caulking removed from www.simpleispretty.com
Next, I got to work on killing the mold and mildew.  I used an old paint brush and brushed on the bleach, being very careful not to spill or splash any.  Make sure to wear protective glasses and gloves, and old clothes.  I brushed the bleach onto any surface that had mold or potential for mold to grow.
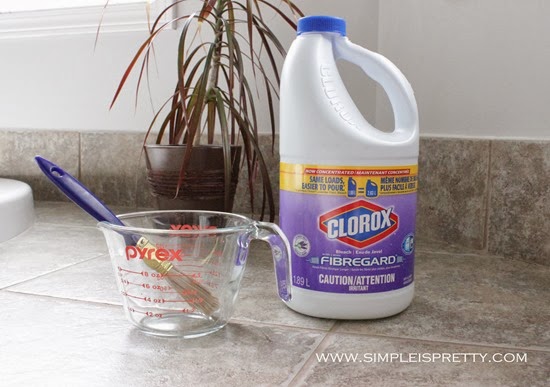
bleach mold from www.simpleispretty.com
After leaving the bleach sit for about an hour, I rinsed it well with water using a rag.  To get off any soap scum and hard water build up, I sprayed and washed the whole shower with vinegar and rinsed well.
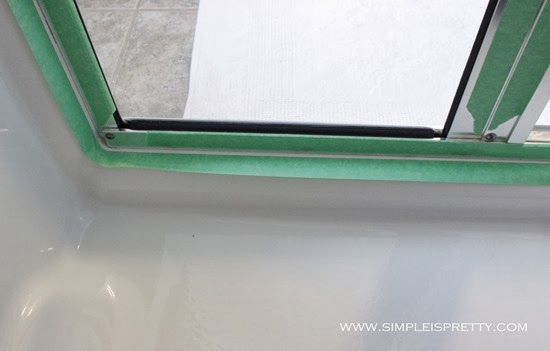
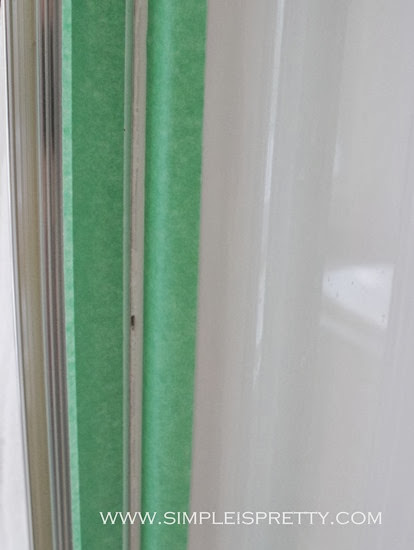
Painter's tape applied to bottom of door from www.simpleispretty.com

Painter's tape from www.simpleispretty.com
I let the shower dry fully for 2 days before I could finally begin caulking.  I used painter’s tape to mark off where I wanted to caulk.  I also wore gloves because caulking is hard to get off skin.
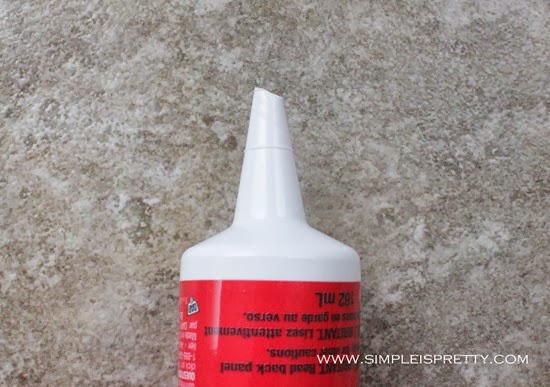
cut caulking tube on an angle from www.simpleispretty.com
I cut the caulking tube on an angle and squeezed the silicone into the areas to caulk.  I find the squeezable tubes easier to control compared to the tubes that require a caulking gun.

Be sure to use caulking formulated for a bath or shower.  After applying the caulking, I spread it with my caulking applicator tool.  So much easier than using your finger and less messy too.  I find it easier to remove the tape when the caulking is still wet.
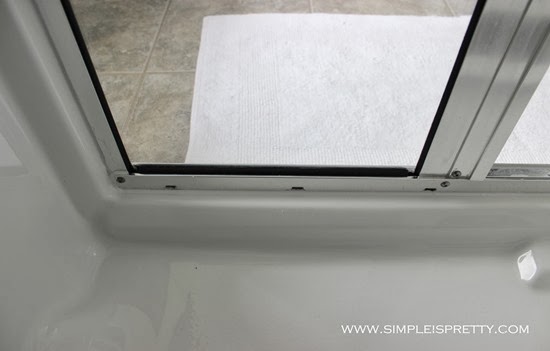
Caulking by door completed from www.simpleispretty.com

Caulking complete from www.simpleispretty.com

Such a huge difference!

As Always,
Sandra