Monday, February 24, 2014

Inspiration Corkboard

We’ve had this plain cork board for years, and I always wanted to update it somehow.  A couple years ago, I bought some fabric which I originally wanted to use to cover the cork but I just couldn’t work out how to make it look polished and put together in my head, so I just avoided the project.  I ended up using the fabric to update our china cabinet instead.

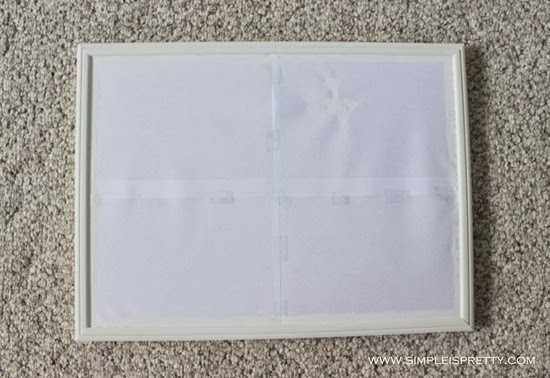
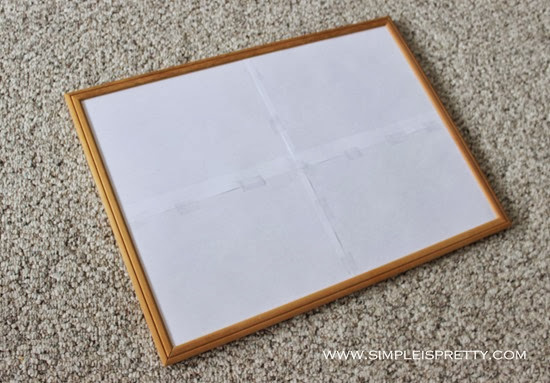
Our cork board looked very plain and was covered in holes from push pins before I started.  I knew I wanted to paint the outside wood trim, so I covered the cork with white letter size paper.  Where I could, I tried to tuck the paper under the wood trim so the paint wouldn’t get on the cork in case I wanted to reuse this cork board in the future.

Painting Corkboard
I used some leftover white paint and painted the wood trim with a brush.

Painted Frame for Corkboard
After I finished painting and let it dry, the paint had sealed the white paper to the edges of the trim.  Not my intent, but this ended up being a good thing.  I left the white paper covering the cork board and then I used double stick tape on the white paper to adhere some patterned white gift wrap.

Corkboard After
The white paper underneath the gift wrap worked perfectly to hide any gaps the gift wrap had to the edge of the trim.

Corkboard After closeup
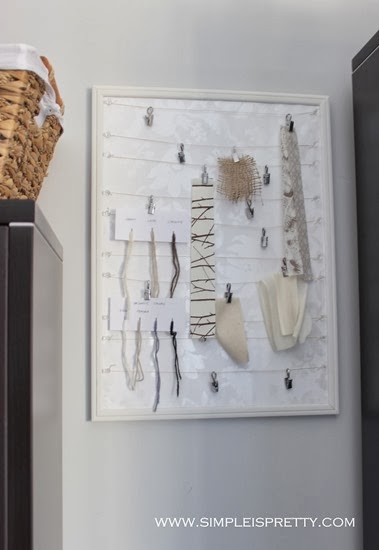
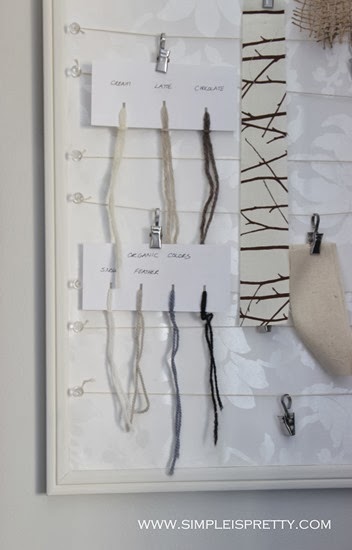
To save the gift wrap from being covered in holes from the push pins, I stuck some clear push pins near the edges of the trim and used some light colored cord strung in between the push pins.  I had some left over IKEA curtain clips from another project that I hung on the cord.  This way I could hang items on the board and rearrange them without having to create new holes in the gift wrap.

Corkboard After in Studio
My new inspiration cork board now hangs in my studio so I can hang up some fabric and other items for my inspiration.  I now just need to hunt for some quotes and find some other things to complete the board.

As Always,
Sandra

Linked to: Satori Design for Living, A Bowl Full of Lemons,

Wednesday, February 5, 2014

DIY Light Box

I have wanted to make my own light box or light tent for a while now.  Since they are so expensive to buy, I wanted to try to make my own inexpensive version of a light tent.

Make a DIY Light Box or Light Tent - www.simpleispretty.com


I finally found a light box tutorial that would work for me.  Be sure to check out Cara’s blog to find out how she made hers.  I used Cara’s light box for inspiration and also used the instructions she linked to in her light box post.
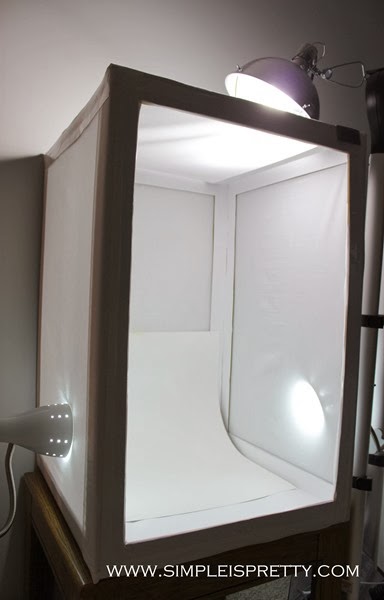
DIY Light Box. Light Tent
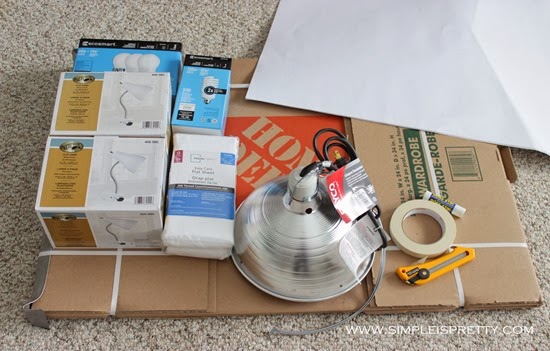
Here is what I used:

Light Box Supplies
-1 Cardboard box, I used an unused wardrobe box I had left over from the move.  it is 24” x 24” x 34”.

-Scissors and exacto knife

-Tape (masking tape and I also used white duck tape)

-Glue stick

-White Bristol board or poster board, I used 3 sheets to cover the inside of the box and one sheet to place as the backdrop.
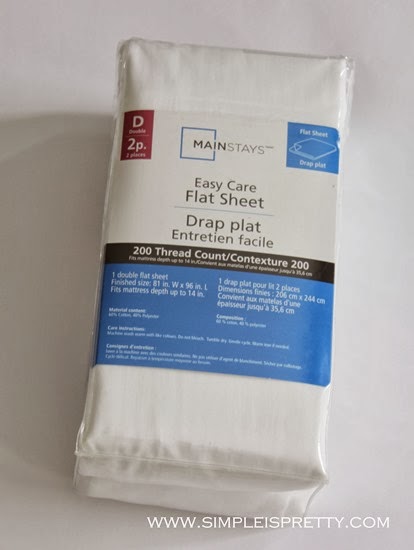
Sheet to cover light box
-Fabric, I used a bed sheet from Wal-Mart, on sale for about $8.00
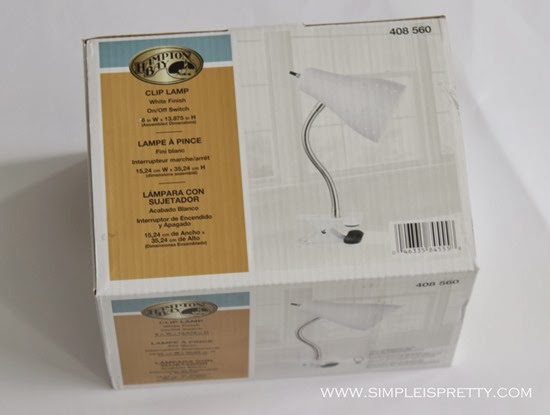
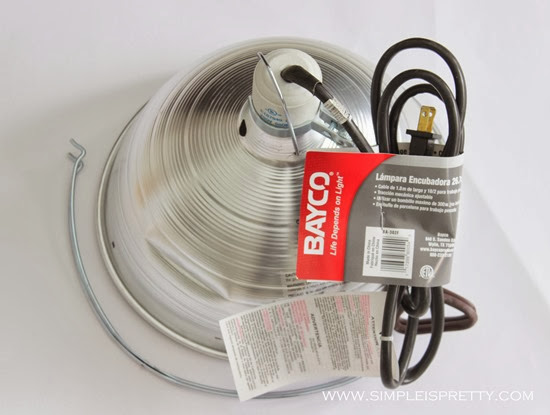
Clip light

Clamp light for Light Box
-Lights, definitely the most expensive part of the light box.  I had trouble finding the lights I wanted.  I originally wanted 3 smaller reflector lights, similar to the large reflector light I ended up purchasing.  But unfortunately, Home Depot was sold out.  They only had one large clamp light (300 watt max) left, which I snagged.  Then, I also purchased 2 small clip lights (60 watt max).

Light bulb 60w

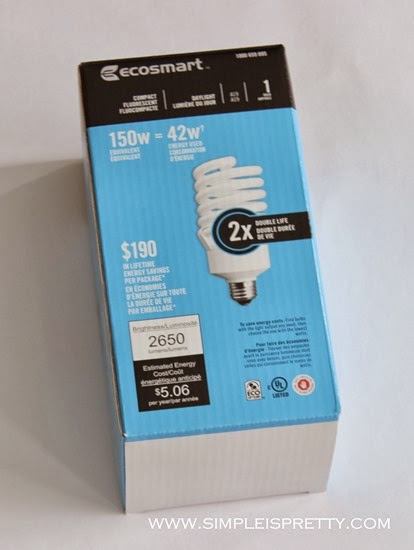
Light bulb 150w
-Light bulbs, also can be expensive.  I used two 60 watt, daylight (6500K) compact florescent light bulbs in the clip lights.  I used one 150 watt, daylight (6500K) compact florescent bulb in the large clamp light.


Here is how I made my light box:

I measured 2” from all edges, marked with a pencil and cut large holes in the four sides of the box, leaving the 2 inches along the edges of the box intact.  I didn’t cut anything on the bottom and I cut off the flaps of cardboard that make the top.
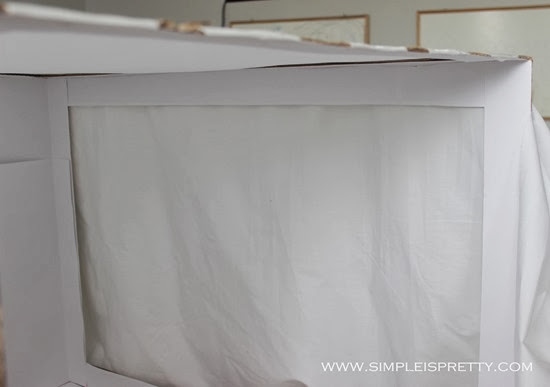
Light box construction
Next, I lined the inside with 2” strips of white Bristol board, gluing them to the inside of the cardboard box.
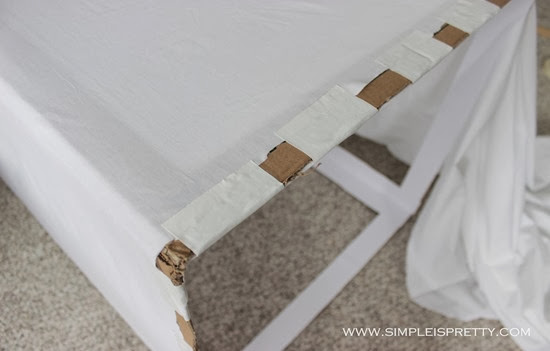
Light box construction, taping fabric
After I finished lining with the Bristol board, I started to attach the fabric.  I ironed the bed sheet to get most of the wrinkles out.  I tacked the fabric to the box using masking tape then I used white duck tape to fully secure it.
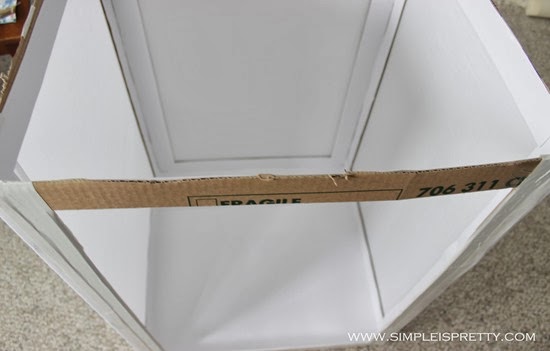
Light box construction 3
I left the top until last.  I attached the fabric the same way as on the sides.
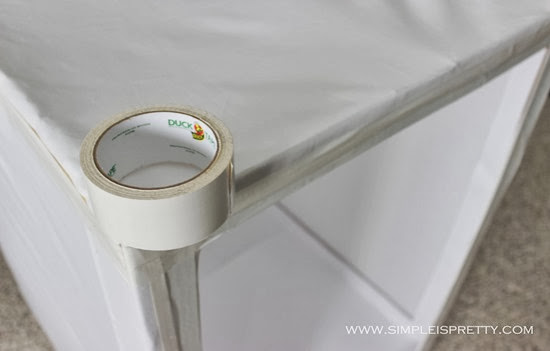
White Duck Tape
The duck tape worked really well to attach the fabric.  Plus the white duck tape covered up the cardboard box so no writing was showing and the whole box was white.
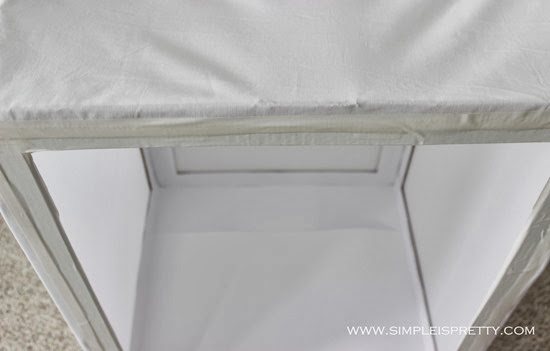
Use Duck Tape to hold down material

Light Box Completed
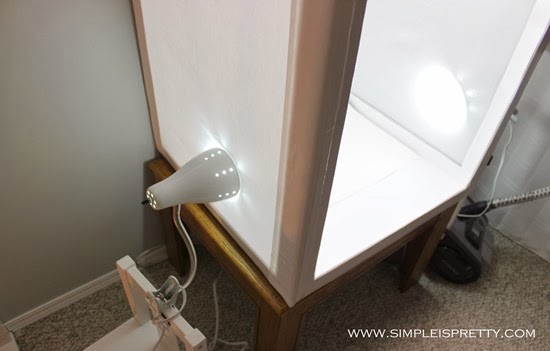
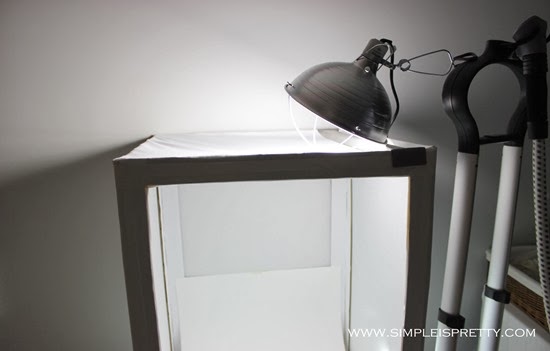
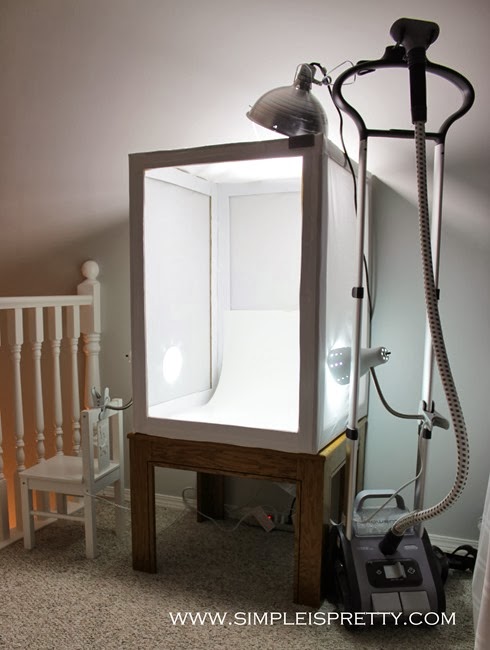
Next, I needed to install the lighting.  Tricky.  I used a coffee table we had stashed downstairs to place my light box on to make it easier to take pictures.  I’d like to have something more permanent, but for now my steamer is holding up 2 lights and the kids’ chair is holding up the other light on the opposite side.

Since the large clamp light doesn’t have an on/off switch, I plugged all the lights into a power bar.  This way, I only need to turn on the power bar and all 3 lights come on.

DIY Light Box

Light Box Completed 2

DIY Light Tent

I used the metal piece that came with the wardrobe box to place across the top of the box so the large clamp light could lean on it and not touch the fabric.

Light box inside

So far the light box is working GREAT, last night I was able to take some photos for my shop.  I never would have been able to do that before!  I was always waiting for the perfect sunlight during the day, which really limited when I could take photos.  Now I have a lot more freedom!


UPDATE:

Here is how my light box looks currently.


I clipped both the bottom lights to the table below the light box, and they are working well there.  I added a 4th light, which has also helped to decrease shadows.


As Always,
Sandra

I shared this post at A Bowl Full of Lemons, Clean and Scentsible, Morganize with Me, Satori Design for Living
Monday, February 3, 2014

DIY Drop Cloth Tack Board

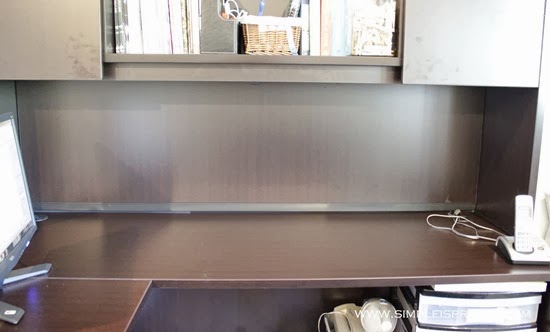
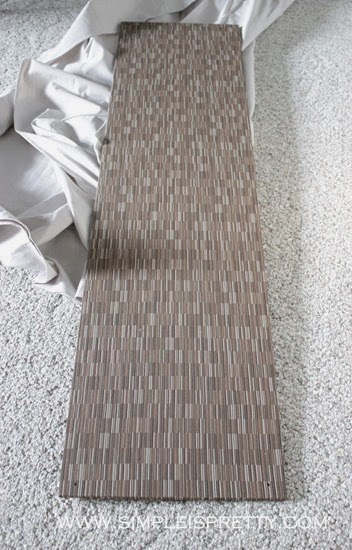
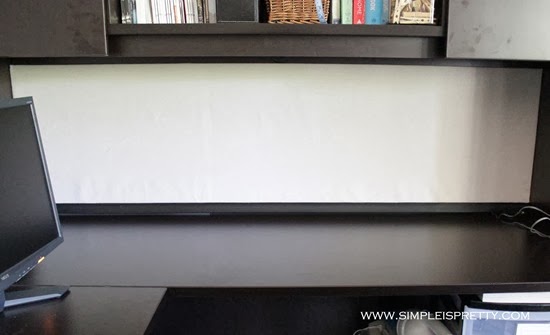
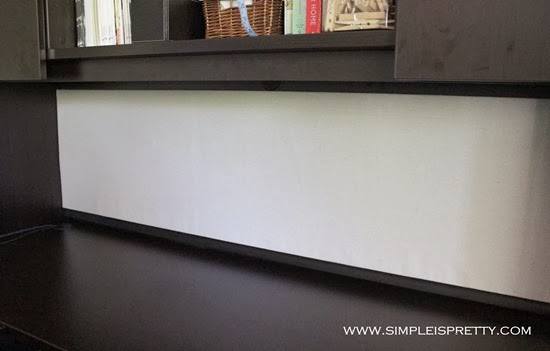
When we got our new office furniture a while ago, I wasn’t happy with the tack board that came with it.  The tack board was to be installed underneath the upper shelving, but I hated the pattern on the fabric covering the tack board.  I decided I needed to do something about it.
Office Before

Tack Board before

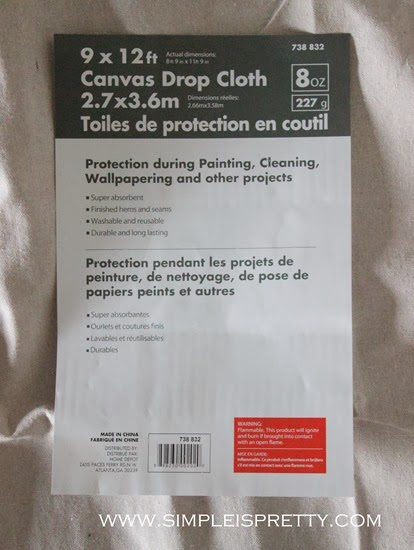
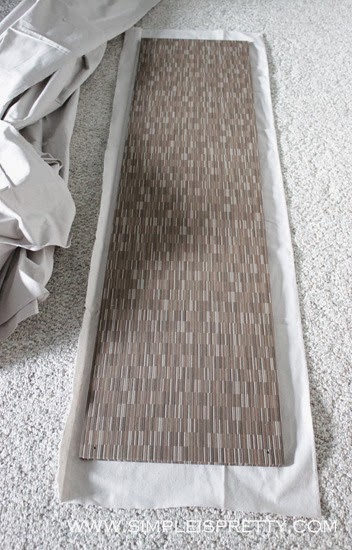
I cut a piece of canvas drop cloth to cover the tack board with a couple inches extra on the sides to fold over.

9 x 12 Canvas Drop Cloth

Cut Dropcloth

Hot Glue Gun

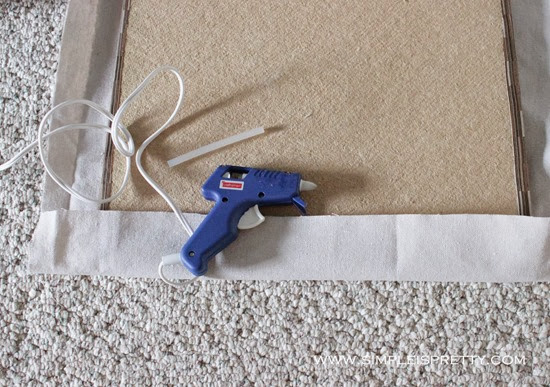
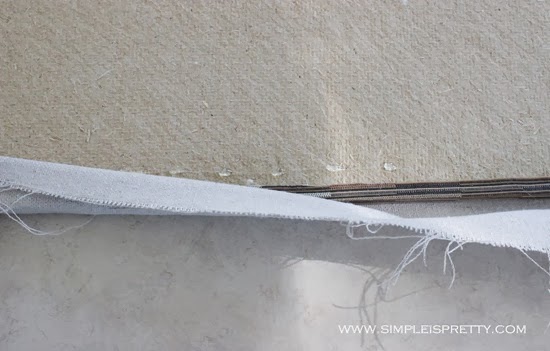
Using my hot glue gun I folded over the fabric and glued it on the back of the tack board.

Glue down cloth

Make relief cuts in cloth

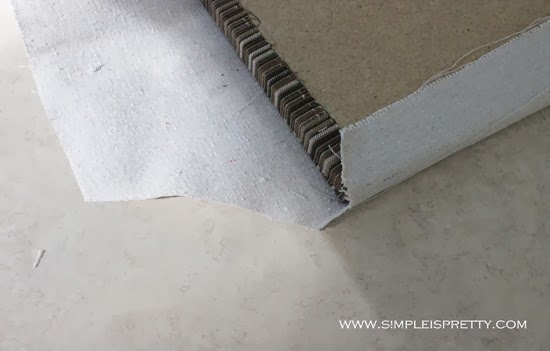
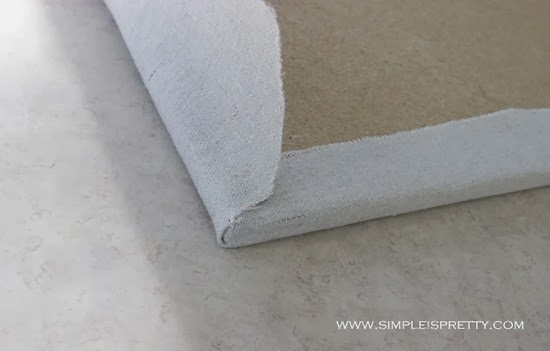
I found it easier to make relief cuts in the corner because the canvas cloth is so bulky to work with.

Make relief cuts in cloth and glue down

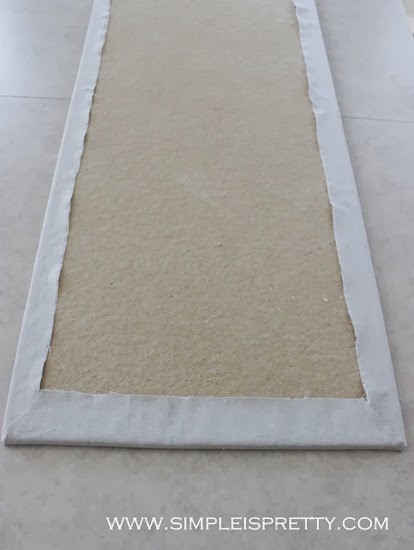
Then I continued until all the sides were glued down.

Back glued down

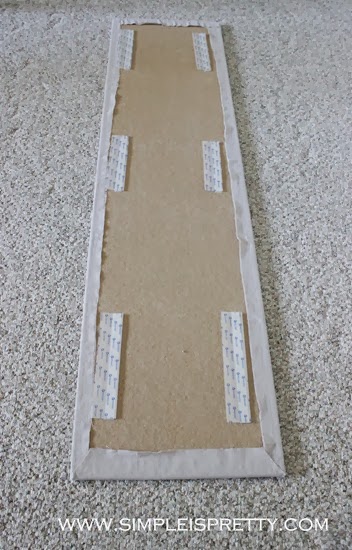
Next, I stuck on strips of Velcro which would secure it to the office furniture.  And with Velcro, I would be able to take the tack board down in case I ever want to recover it again.

velcro back of tackboard in 6 places

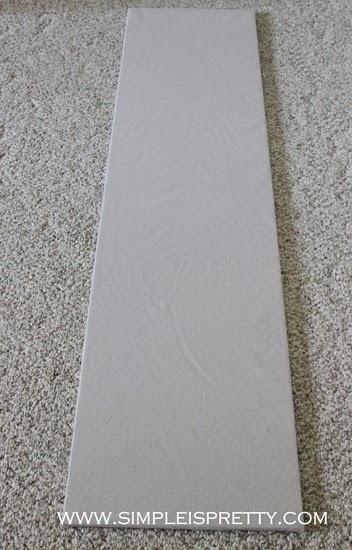
Drop Cloth Tack Board

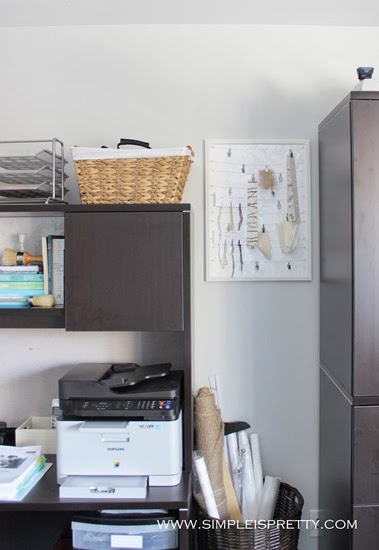
Office Tackboard After

Office Tackboard After 2

Much better than that crazy patterned fabric.  Since the office furniture is a dark black/brown color, the light colored drop cloth brightens it up a little.  Check out another project I completed using drop cloth.

As Always,
Sandra

I shared this post at A Bowl Full of LemonsClean and Scentsible, Morganize with Me, Satori Design for Living