I decided to take this project to the next level and try a larger cabinet. To check out how what you need to complete the project, click here.
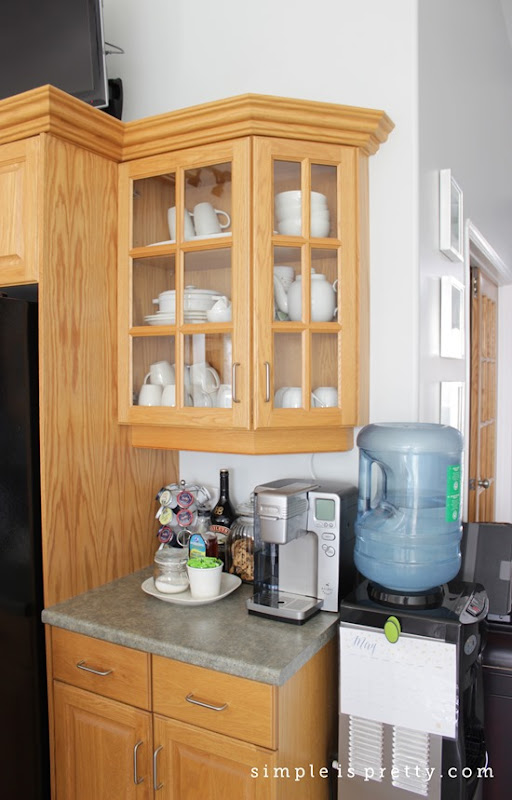
I decided to try the cabinet that is above our Cuisinart Keurig coffee maker.
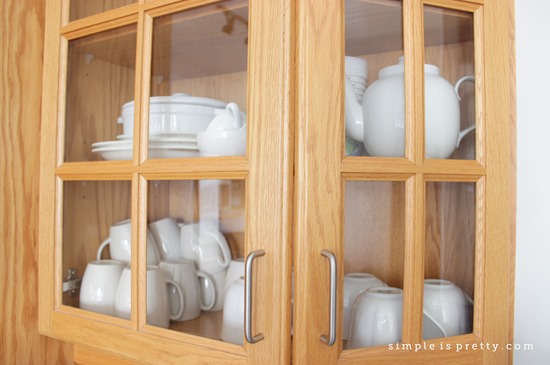
First, I took everything out, including the shelves. I measured the gift wrap and cut it slightly larger than the back of the cabinet.
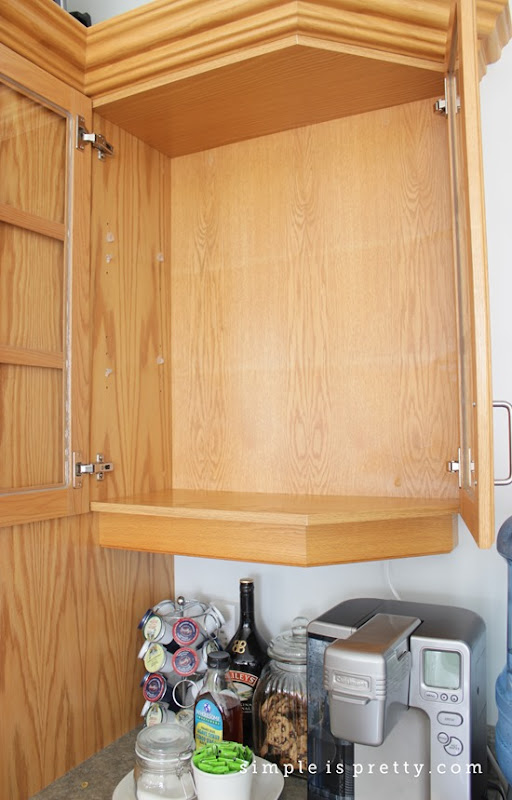
That way, I could just tuck it in again and not use glue or any adhesive to hold it in place.
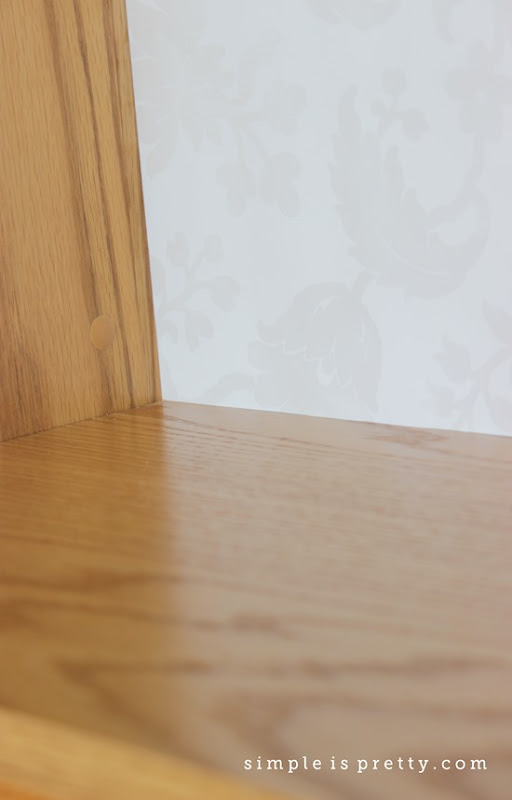
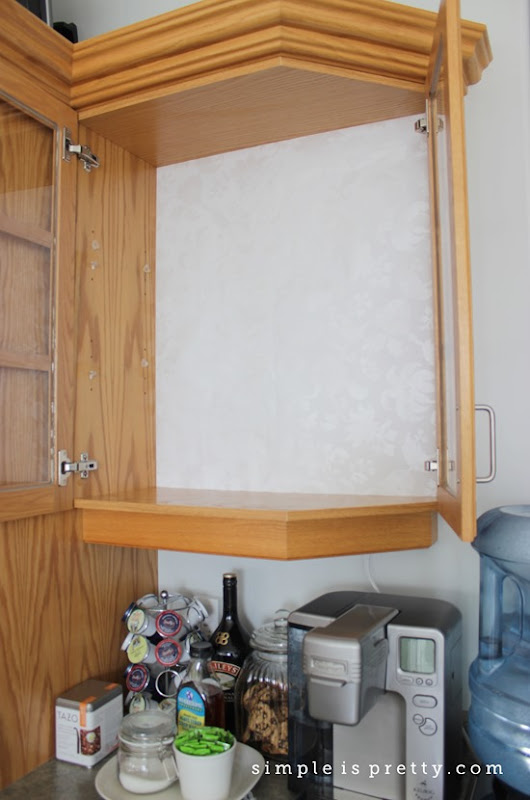
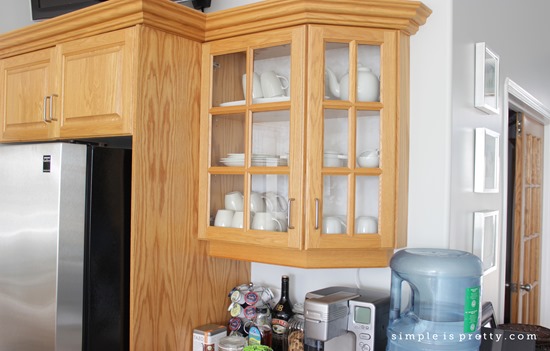

The paper adds a little personality to the cabinets now as well as brightens them. Hopefully someday I’ll get my white kitchen cabinets, but until then this little change has helped change and brighten the space.
As Always,
Sandra
I shared this post at A Bowl Full of Lemons, A Pretty Life in the Suburbs, Joy in Our Home

