Thursday, December 12, 2013

My First Chalk Painting Experience

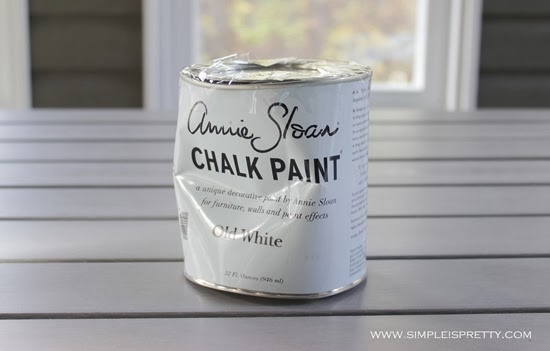
A while ago, I got my order of Annie Sloan chalk paint in ‘old white’.  I was impatiently waiting for my mail to arrive and I was a little taken back when it showed up on my doorstep in a dinted can, but thankfully no leaks.

Annie Sloan Chalk Paint Old White from www.simpleispretty.com
I’ve never worked with chalk paint before and I was excited to give it a try.
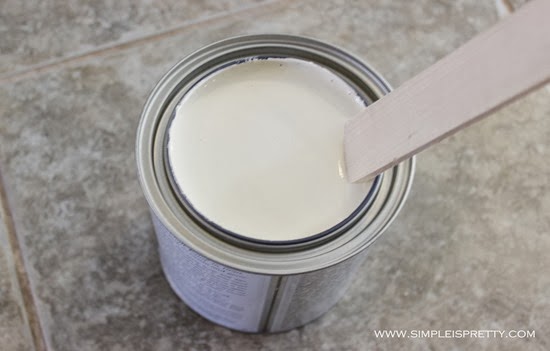
Old White Chalk Paint www.simpleispretty.com
My first test piece to experiment on was a small crate wooden crate I got from the dollar store.  I bought this little guy a couple years ago and never painted it.  I figured if it turns out that the paint is awful (although I knew it wouldn’t be), I would not have damaged something I was really in love with or expensive.  But I’m a pretty cautious person, so I took baby steps.
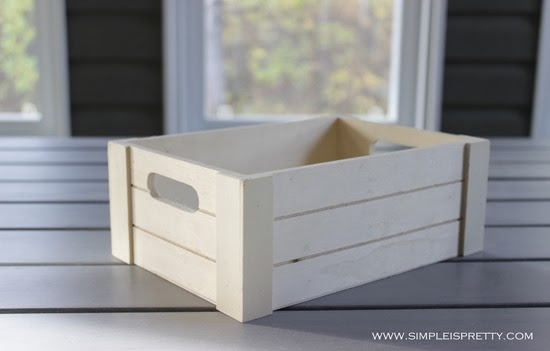
Napkin holder before www.simpleispretty.com
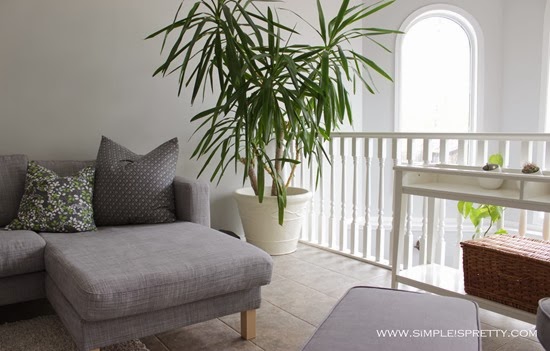
The next item I had plans to paint was the plant pot for my huge and creepy looking Yucca plant.  We have had that plant for years.  The poor thing has seen better days.  If you look at the plant from a different angle you can see that it leans extensively and it has hardly any leaves at the back.  So it stays in the corner of the room and is doing quite well in our new house in its spot.

The brown/terracotta colored plant pot fit in with the decor at the old house, but it seemed to stick out like a sore thumb in this house.  Time for a change.
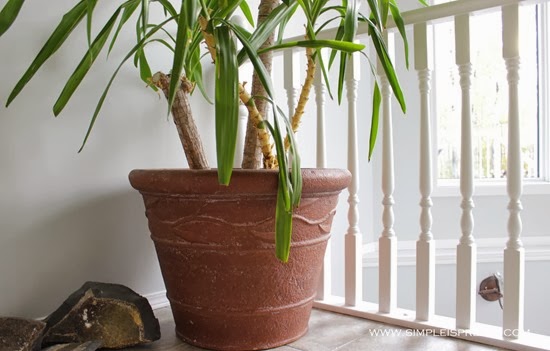
Plant Pot Before  www.simpleispretty.com
So I got to work and first tried my hand at the small dollar store wooden crate that usually lives on our kitchen table and holds our paper napkins.  I wasn’t sure what to expect with the chalk paint but it is very easy to work with and covers very well.  I wanted to see how the paint would hold up on different surfaces and decided to try a plastic plant pot that was passed down from my mom and was in rough shape.

I made a little work table out of a flattened diaper box placed on top of a Superstore green grocery tub.  Yep, you can laugh, I know I did.  But it actually worked pretty well.  Normally, I would paint in the garage but my husband was doing some work in there.  Plus, I had no idea how I was going to move that huge Yucca plant pot to the garage to paint.  So…
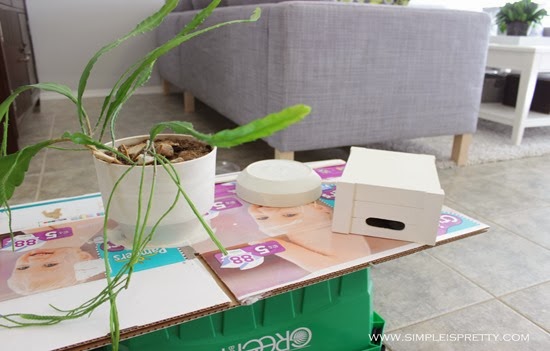
Painting with Chalk Paint  www.simpleispretty.com
I stuck the huge and heavy pot on an old towel/rag and painted it right there in the living room.
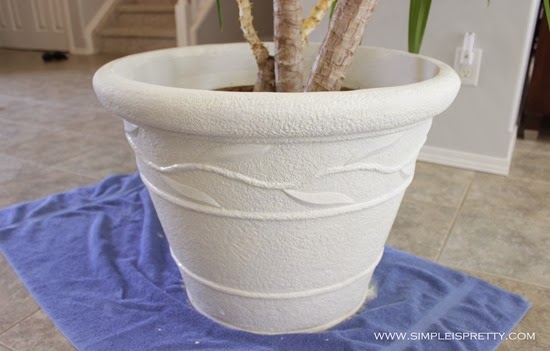
Plant Pot painting with chalk paint
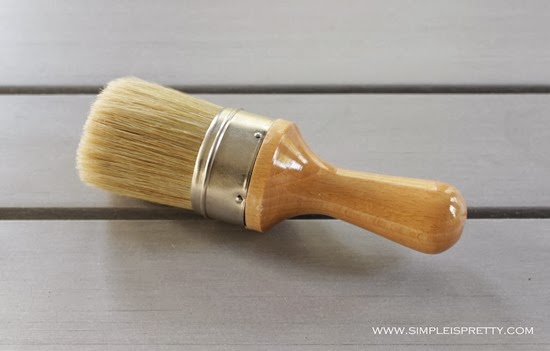
I gave all the items 2 coats of paint using my new Annie Sloan paint brush.

Annie Sloan Paint Brush  www.simpleispretty.com
I have never spent this much money on a paint brush before.  But it is very well made and very comfortable to hold, well worth the money.

The final step is to seal and protect the painted surfaces with wax.  Never having worked with a wax before I didn’t know what to expect.

Even this poor little can got a dint.
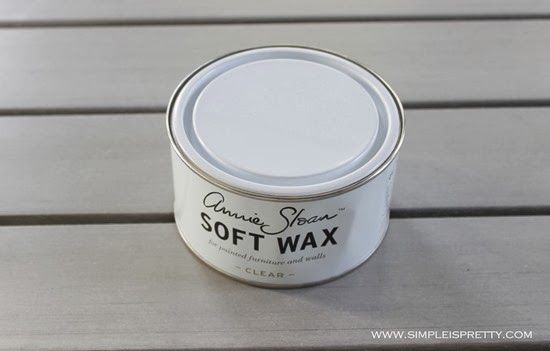
Annie Sloan Soft Wax www.simpleispretty.com

Wax brush for Annie Sloan Soft Wax www.simpleispretty.com
Luckily, the clear wax was easy to apply and using the brush worked really well especially because my projects had little groves and corners to work in.  After applying a light layer with the brush I buffed the wax off with a soft painter's rag.
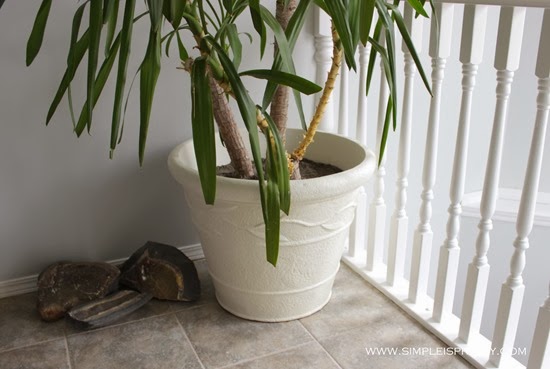
Plant Pot After www.simpleispretty.com
All the projects turned out really well for me and are holding up nicely.  It has been a few months since I have painted the items and even the plastic plant pot from my mom is in great shape.  I was a little skeptical, but so far so good.

Plant Pot Before www.simpleispretty.com
Before

Plant Pot After Painting with Annie Sloan Chalk Paint www.simpleispretty.com
After

The white plant pot looks so much better compared to the terracotta color.


Painting with Annie Sloan Chalk Paint Old White www.simpleispretty.com
My husband thinks I’m going to get sick of white, since I’m painting and adding white everywhere in our new house.  I can’t see it happening.  The good thing about white is I can easily add a pop of color and it will totally change the area and give it a new look.  When I’m bored or want a change, I can just change the pop of color.  Much easier than changing more expensive and staple items when I get tired of a color.

I can’t wait to try painting with this color again!  Have you used chalk paint before?

As Always,
Sandra

Wednesday, December 4, 2013

New Table!

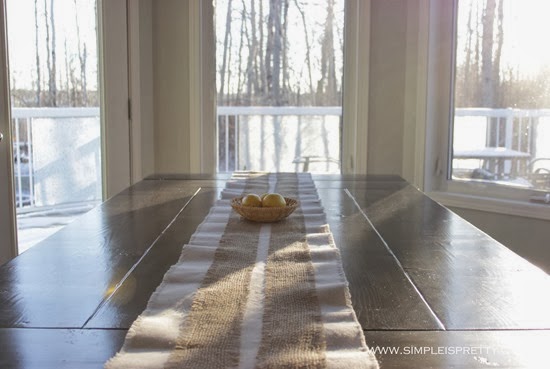
My husband has been working on making a new dining room/kitchen table for us for a few months.  Now the table is done!  Here’s a peek…

New Table from www.simpleispretty.com
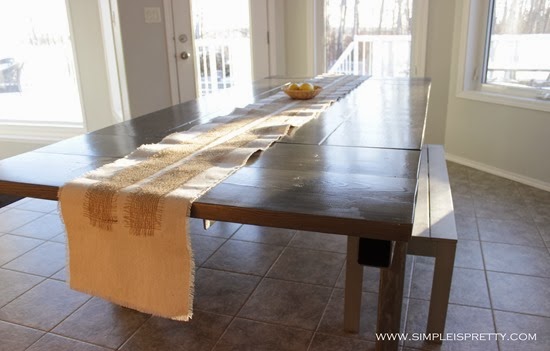
He made the bottom out of 3” steel tubing.  The extensions at both ends are removable, which is great when we have company over.  We can now all fit around the same table!  The table measures 8 feet long when extended and about 5 feet long and 44 inches wide when the extensions are out.

The top is made out of 12” wood planks.  He stained the top grey and finished with clear semi-gloss polyurethane to protect it.

New Dining Room Table from www.simpleispretty.com
I love this table.  Finally, we have a table that matches our style!  Our old $15 clearance-priced dining room table will have a new home in our 4 seasons room.

As Always,
Sandra

Thursday, November 28, 2013

Black Friday Sale!

Black Friday Sale starts now in my shop!

https://www.etsy.com/ca/shop/SimpleisPrettyShop

Use code BLACKFRIDAY2013 for 20% off all items!  Happy Thanksgiving and Happy Shopping!


As Always,
Sandra

Thankful For...

I know Thanksgiving for us in Canada has already passed for the year but today is Thanksgiving in the US.  So today, I'm going to take a little time to reflect on my last year.

The last year has been filled with good memories.  I have so much to be thankful for.  My family and I said goodbye to our house and moved to a new home.  In this last year, we have been busy and have managed to make time for each other.  I treasure all the memories.

I'm thankful for my loving and supportive family.   Without their support, I wouldn't have been able to start my own Etsy shop.  I've always wanted to own my own shop/store and although I have only started building my shop, I'm so happy to start something that is my own and to start realizing my dream.

I'm thankful for all the support I have received from my readers and bloggy friends.  Your kind words give me motivation to keep going.  Anyone who blogs knows how time consuming blogging becomes and how hard it is to put yourself out there.  I appreciate all your kind words of encouragement, they mean so much.

As Always,
Sandra

Thankful Link Up

Thursday, November 21, 2013

Guest Post for Pretty Organized, and a Giveaway!

I'm over at Pretty Organized today share my laundry tips.  I'm giving away some of products from my Etsy shop, plus everyone receives a 15% coupon code for my shop.  Be sure to check out the post and enter at Casey's lovely blog... Pretty Organized!

Enter the Lovely Laundry Giveaway at PrettyOrganized.com

As Always,
Sandra

Monday, November 18, 2013

Master Bedroom

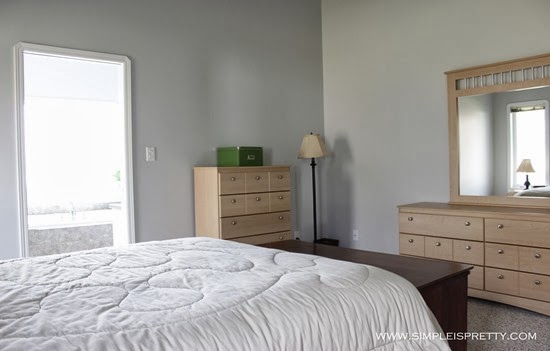
Here is a peek at our master bedroom in our new house.  I say “new” but we have been living in it since the end of May!

Master Bedroom from www.simpleispretty.com

Master Bedroom from www.simpleispretty.com

Master Bedroom from www.simpleispretty.com

Master Bedroom from www.simpleispretty.com
Currently, nothing on the walls and this room needs some personality.  Recently, I bought some new bedding (which I LOVE).  Guess what color... You guessed it... White!  I will take some pics and get them up soon.  So now I need to start looking at other pieces to bring into this room to add some style.  Hmmmm…..

As Always,
Sandra

Monday, November 4, 2013

Recaulking Our Master Bath Shower…

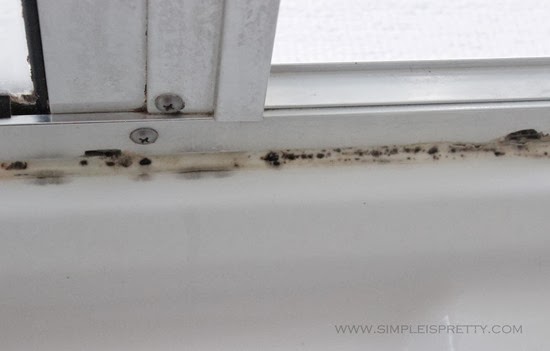
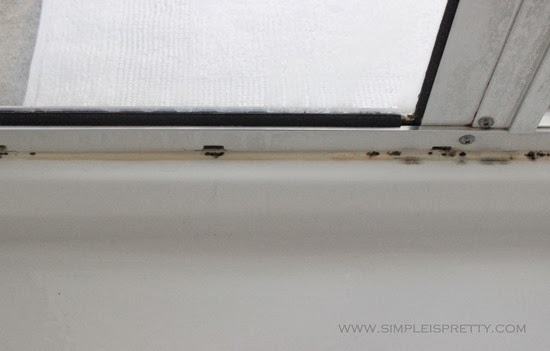
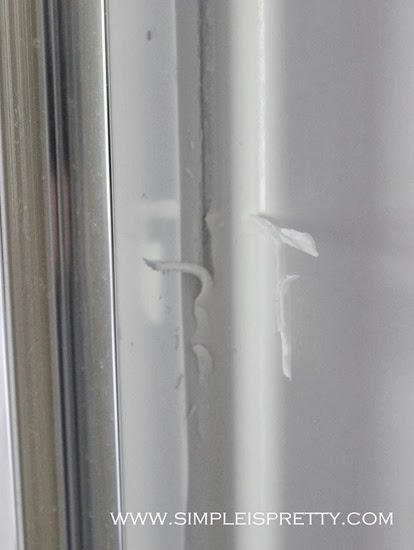
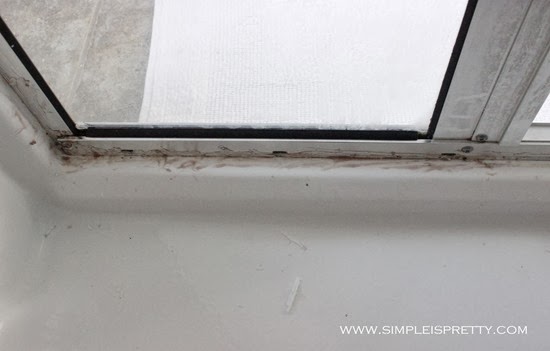
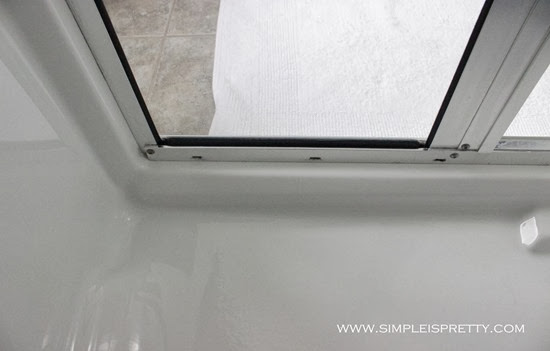
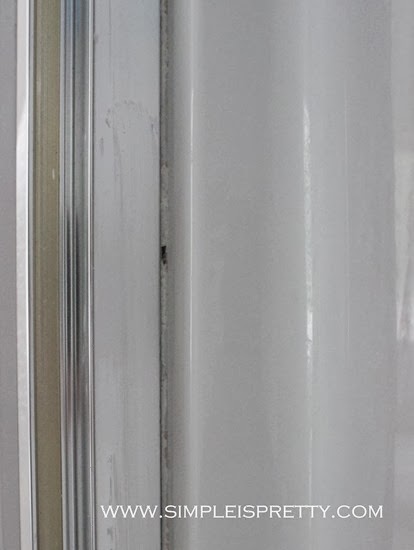
When we first moved into our house the master bath shower was in bad shape.  All the caulking was black with mildew and mold.  It was GROSS, to put it mildly.

Recaulking Our Master Bath from www.simpleispretty.com

Around Door Before from www.simpleispretty.com
I decided to give re-caulking the shower a try.  I knew it couldn't get any worse that what it was.

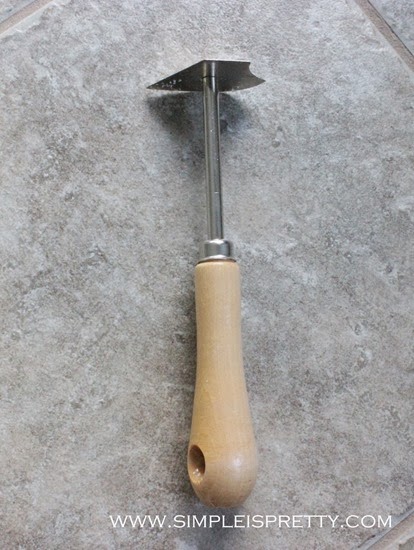
caulking scraper from www.simpleispretty.com
First, I got to work with my scraper and scraped off and cut off as much caulking as I could.

Scrape caulking from www.simpleispretty.com
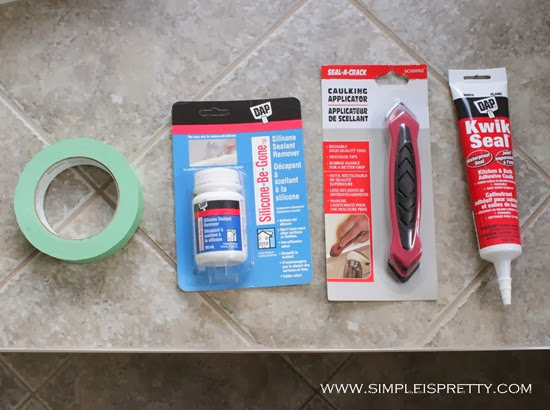
Here are the rest of the supplies I used to complete the recaulking…

Supplies for caulking from www.simpleispretty.com
Next, I used the silicone remover gel.  I just needed to brush it on with the attached little brush and wait.

Caulking remover applied bottom of door from www.simpleispretty.com

Caulking remover applied from www.simpleispretty.com
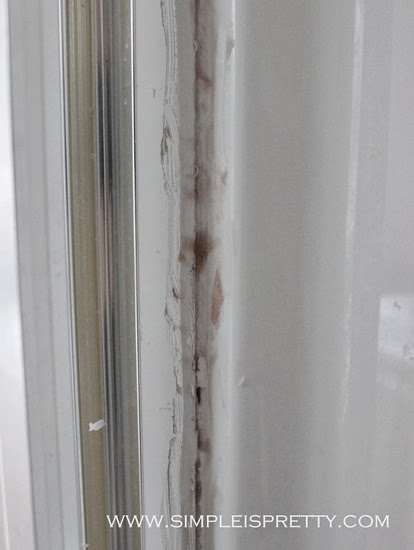
Then I used paper towel and my scraper to remove more silicone caulking.  I had to repeat this process a couple of times in areas, depending how much caulking had to be removed.

after caulking removed from bottom of door from www.simpleispretty.com

after caulking removed from www.simpleispretty.com
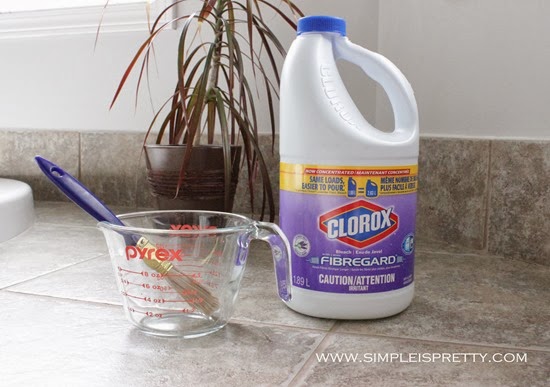
Next, I got to work on killing the mold and mildew.  I used an old paint brush and brushed on the bleach, being very careful not to spill or splash any.  Make sure to wear protective glasses and gloves, and old clothes.  I brushed the bleach onto any surface that had mold or potential for mold to grow.

bleach mold from www.simpleispretty.com
After leaving the bleach sit for about an hour, I rinsed it well with water using a rag.  To get off any soap scum and hard water build up, I sprayed and washed the whole shower with vinegar and rinsed well.

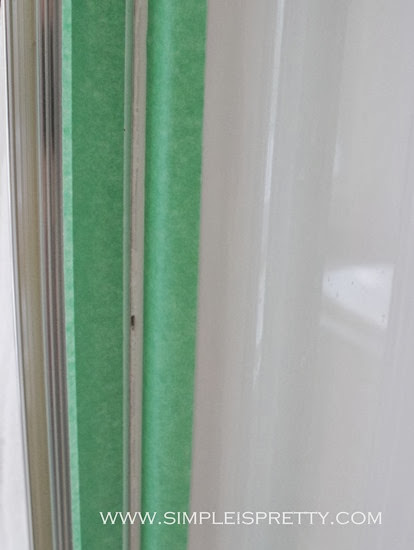
Painter's tape applied to bottom of door from www.simpleispretty.com

Painter's tape from www.simpleispretty.com
I let the shower dry fully for 2 days before I could finally begin caulking.  I used painter’s tape to mark off where I wanted to caulk.  I also wore gloves because caulking is hard to get off skin.

cut caulking tube on an angle from www.simpleispretty.com
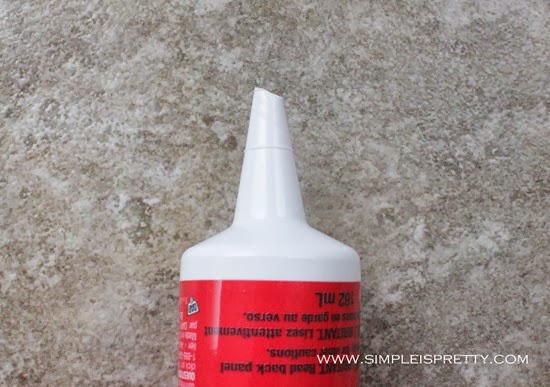
I cut the caulking tube on an angle and squeezed the silicone into the areas to caulk.  I find the squeezable tubes easier to control compared to the tubes that require a caulking gun.

Be sure to use caulking formulated for a bath or shower.  After applying the caulking, I spread it with my caulking applicator tool.  So much easier than using your finger and less messy too.  I find it easier to remove the tape when the caulking is still wet.

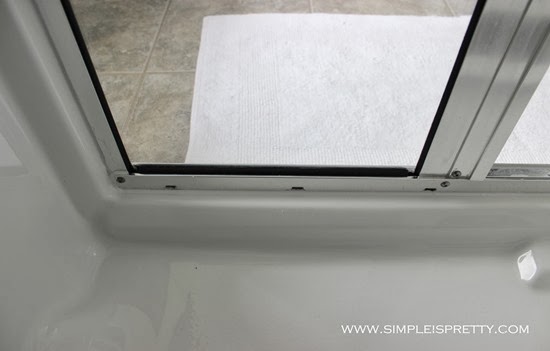
Caulking by door completed from www.simpleispretty.com

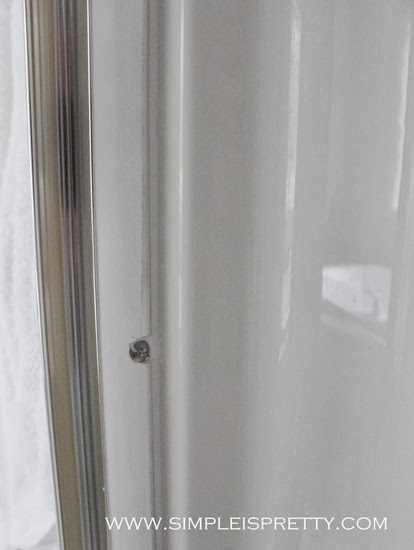
Caulking complete from www.simpleispretty.com

Such a huge difference!

As Always,
Sandra

Monday, October 28, 2013

Recovering a Footstool

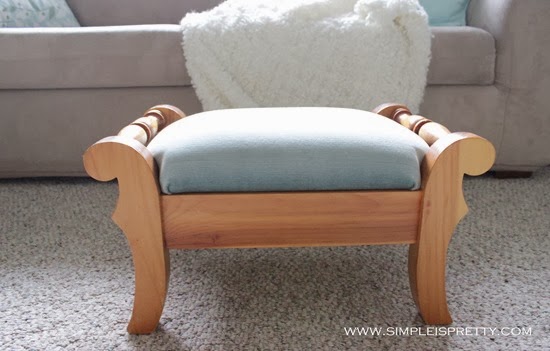
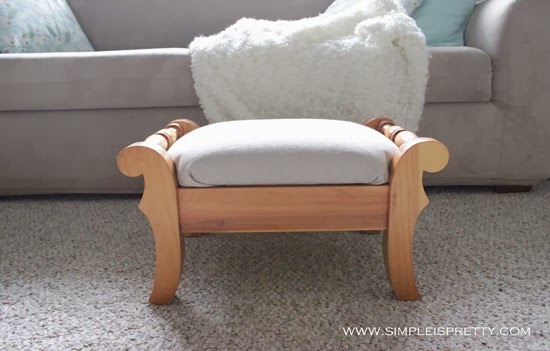
Recovering a Footstool with Dropcloth from www.simpleispretty.com
I made this footstool in high school during shop class.  Yep, I used a lathe and everything, but don’t ask me to repeat the process.  I really don’t remember what I learned from that class or any class from high school for that matter!

I have wanted to recover this footstool for a while now as it doesn't really match anything.  Originally, I covered the cushion in a light green fabric.

Footstool before from www.simpleispretty.com
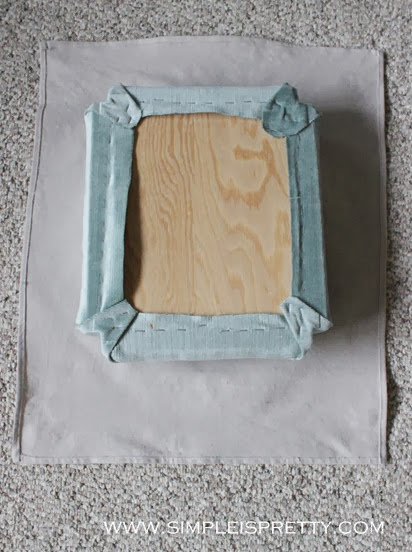
I decided to give recovering with canvas drop cloth a try. I turned the footstool over and cut a piece of drop cloth to cover.  After making sure it fit, I quickly made a seam on the edge to prevent fraying.

Cut dropcloth to fit from www.simpleispretty.com
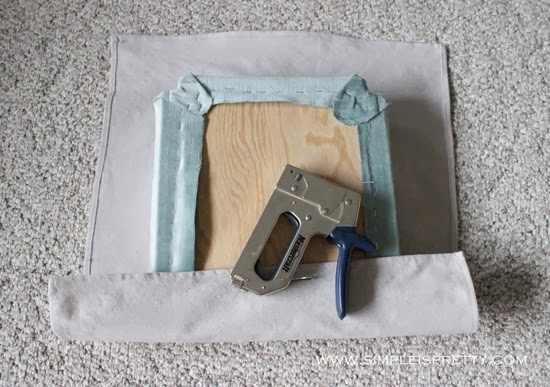
Using a staple gun I secured the drop cloth to the bottom of the footstool.

Staple gun from www.simpleispretty.com
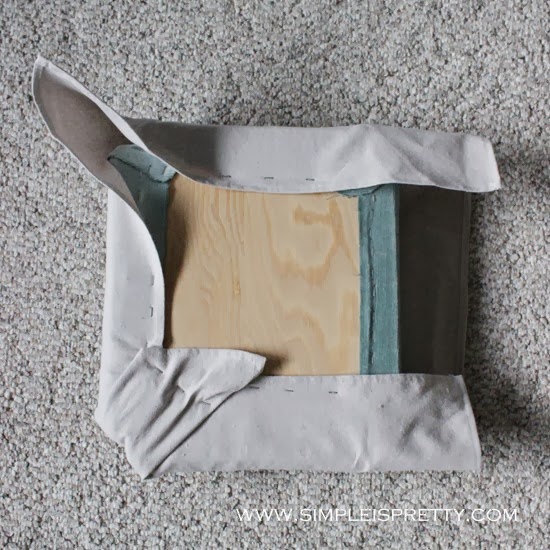
Now, I know this doesn't look pretty but who really sees the bottom side anyway?

Staple to bottom of footstool from www.simpleispretty.com
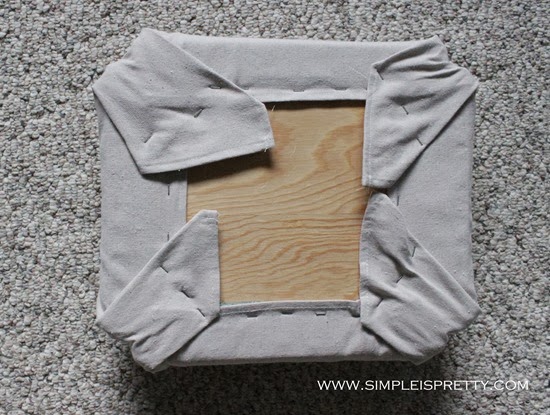
Just pull the fabric and staple when smooth.  I find it works better to place a staple in the middle and work your way out to the edges with your staple gun.

Bottom of footstool after from www.simpleispretty.com
And now the finished top…

Top of footstool after from www.simpleispretty.com
Quick and cheap fix.  If I want to change the fabric, it will be easy just to take out the staples and repeat the process with a new patterned fabric.

Footstool After from www.simpleispretty.com
As Always,
Sandra

Monday, October 21, 2013

Sprucing Up Register Covers

I’m sure many homes have this same problem…

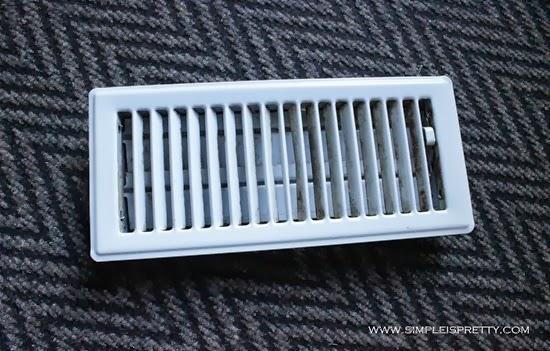
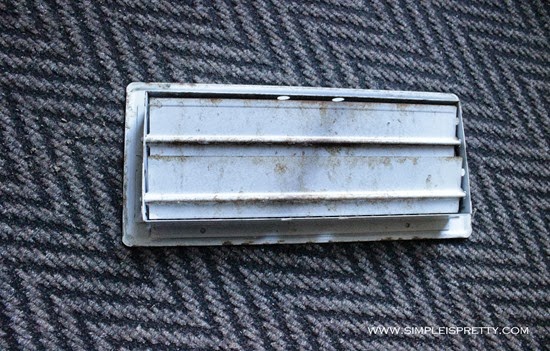
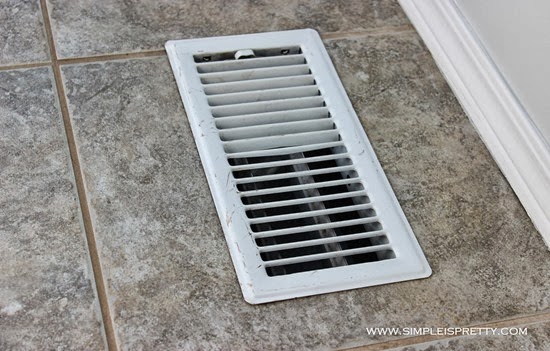
Dirty and rusty register covers.  We have a forced air system to heat and cool our house.  As a result, we have register covers in all of the rooms in the upper levels.  After a while, register covers get dirty and can even start to rust.  The register cover in our main bathroom was looking pretty gross with rust.

Register Cover before from www.simpleispretty.com

Register Cover Underside Before from www.simpleispretty.com
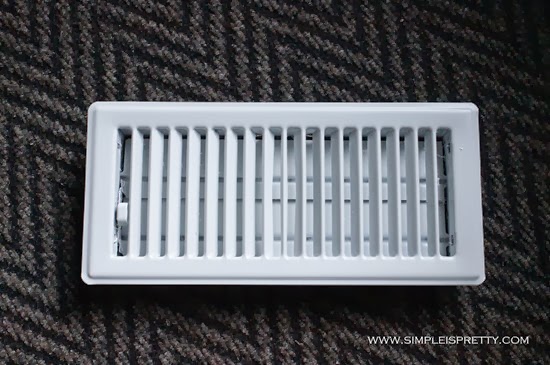
Here is what you can do to make your register covers look better without spending lots of cash to replace them.  Give spray paint a try.  I used Rustoleum Semi-Gloss in White (costs about $10 for a large bottle, which would be enough to cover multiple register covers).

First, wipe the covers clean with a wet paper towel or rag.  You don’t need to clean them super well, try to get most of the dust off if nothing else.  Make sure the register covers are completely dry before you start spray painting.

I took my register covers outside on a large piece of cardboard (a flattened diaper box actually).  I also wear gloves so I don’t get spray paint all over my hands.  I’m a pretty messy painter!

Start by turning over the register cover so the underside is facing up.  Give it a few quick light coats of spray paint to avoid runs.  My cover was pretty rusty so I made sure to coat it well.  Let it dry.  I brought my cardboard with the register covers into the garage for the night.

The next day, I took them outside again and turned them over and spray painted the other side (the side you normally see).  I coated mine well with light coats to avoid drips and runs.  Again, I brought them in the garage to dry for the night.  Depending on your climate, the covers may dry faster or slower.  If they are tacky to the touch, give them more time before turning them over to finish painting.

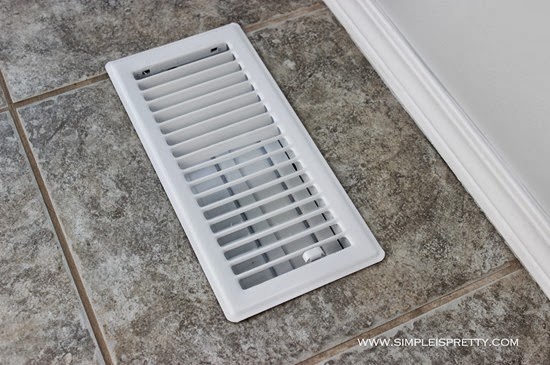
Register Cover After Spray Painting from www.simpleispretty.com
This register cover is for our bathroom but I gave it a try in our dining room to see the difference once the register cover is in the floor. Since our bathroom does not have any natural light, pictures hard to take in there, so I decided to show you how it looks in the dining room instead.

Here is the Before…

Register Cover in Floor Before from www.simpleispretty.com
And the After…

Register Cover in Floor After
So much cleaner.  Do you have any quick ideas for spray paint to save money and give something a new clean look?

As Always,
Sandra
Monday, October 14, 2013

Cleaning a Jet Tub…

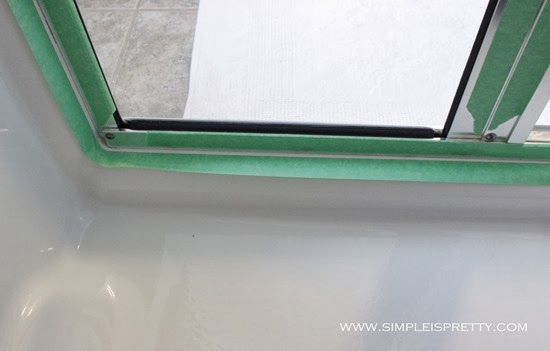
Our new house has a jet tub in the master bath.  I have never owned a jet tub before and had no idea of the best way to clean it.  As a result, pink grossies keep appearing in and around the jets and mildew would collect inside the jets and litter the bath water with black chunks. ICK.  I needed a solutions so I could enjoy baths again.

How to Clean a Dirty Jet Tub from www.simpleispretty.com
After a little research, here is what I needed to do.

How to Clean a Dirty Jet Tub from www.simpleispretty.com
A whirlpool or jet system should be flushed twice a month or more, depending on usage.  Check your tubs instructions, but this is what I needed to do:

1. Close air volume controls by turning the jet clockwise.

2. Fill the bath with hot water to a level 2” above the highest jets.

3. Add 4 ounces of household bleach to the water.

4. Run the whirlpool for 5 to 10 minutes, then shut off the whirlpool and drain the water.

How to Clean a Dirty Jet Tub from www.simpleispretty.com
5. Fill the bath with cold water to a level 2” above the highest jets, and run the whirlpool for another 5 to 10 minutes to rinse.  Drain the bath and wipe it dry with a soft cloth.

I don’t use the jet tub lots especially since we get our water hauled out (we have a cistern).  But I do enjoy an occasional bath and I’m glad I found a pretty easy way to clean and sanitize it.  Now I can enjoy baths again!

As Always,
Sandra