Tuesday, September 24, 2013

Laminate Office Furniture-- I'll Take it!

So when we sold our house this year, we also decided to get rid of lots of our old furniture.  Over the years, we had collected mismatched furniture.  When my husband and I were furnishing our first home we shopped garage sales and took freebies.  Don’t get me wrong, I was fortunate to have found these deals and donations.  Till this day, I still can’t believe the dining room table and 8 dining chairs we scored for $40.  We still have the dining room chairs, although I did have to make some slipcovers to cover their pink seats and brown faux leather backs.  Ick.  Thank goodness for slipcovers.

In our old office, we had garage sale mismatched IKEA shelves, a clearance priced filing cabinet and a desk my husband had from his college days.  None of the furniture had any style.  They were not made out of solid wood and were laminate pieces.  In my error to try and force some cohesion on the room, I decided to paint the desk and filing cabinet white.  Bad move.  Learn from my mistake… Don’t just use any kind of primer.  Make sure it is an OIL based primer (eg. Zinsser Cover Stain Oil based primer) then use whatever latex paint you want on the next coats.  The paint never adhered properly and would come off in chunks easily.  My Bad.  Lesson learned.

Needless to say, we garage saled our poor desk and filing cabinet before we moved.  After we were in to the new house, we needed to find a new desk solution.  I wanted to find pieces of furniture on Kijiji and refinish them white for our new office.  My husband was quite leery of this option (I can’t blame him, especially since my last office furniture painting experience was a disaster).  We compromised and settled on getting new furniture from Source Office Furnishings.  I know… still laminate, not my first choice.  But at least it all matches, has a clean look and is not as expensive as real solid wood. 

Here is what we chose…
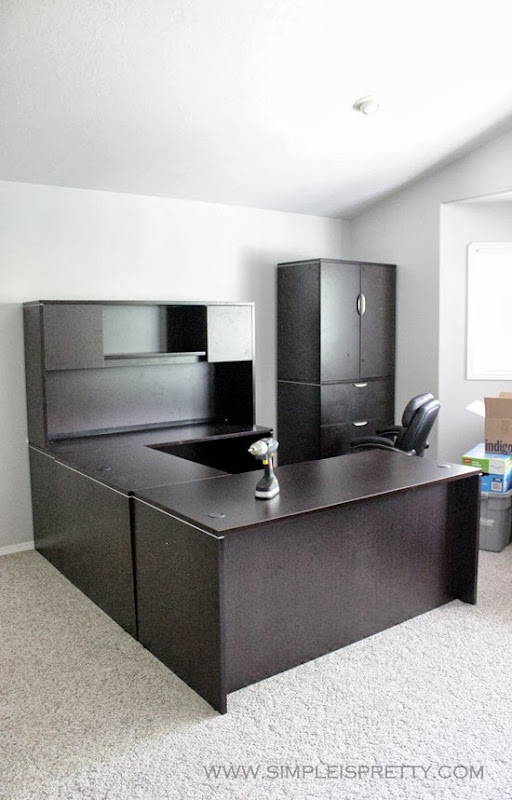
New Office Furniture from www.simpleispretty.com

We got a 3 drawer filing cabinet and a storage cabinet, which we placed in the corner by the window.  Then a ‘U’-shaped desk with a hutch on top.  All pieces are espresso in color. 
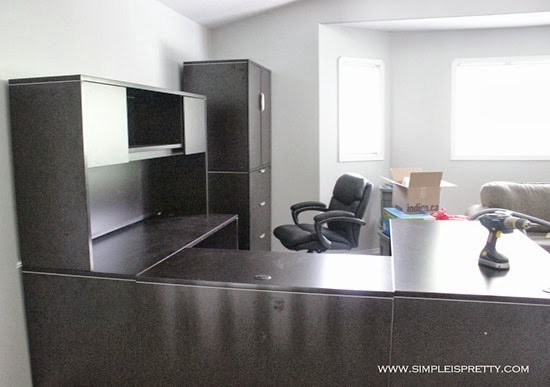
New Office Furniture 2 from www.simpleispretty.com

So far, so good.  Looks like I’ll have to find some other furniture to experiment on!

As Always,
Sandra

Tuesday, September 17, 2013

New Slipcovers…

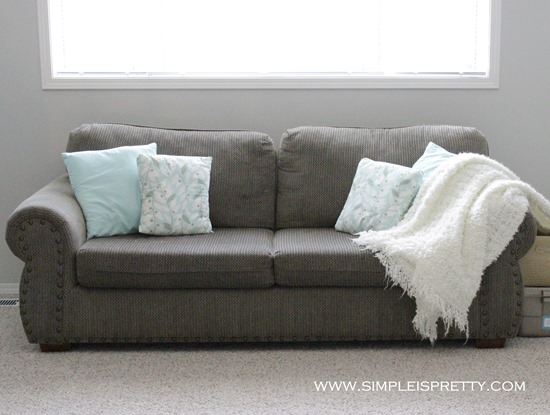
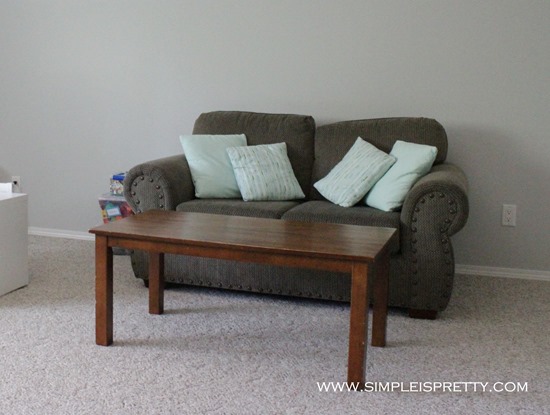
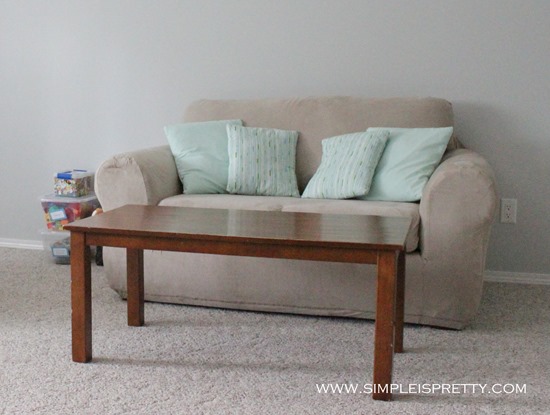
Our old sofa and loveseat found a home in the office/bonus room of our new house.  This old furniture had seen better days.  We purchased it many years ago and was one of the first big purchases my husband and I made together.  It was time to give the poor things an update. 

Here is what our old sofa and loveseat looked like…

Couch Before from www.simpleispretty.com

Loveseat Before www.simpleispretty.com

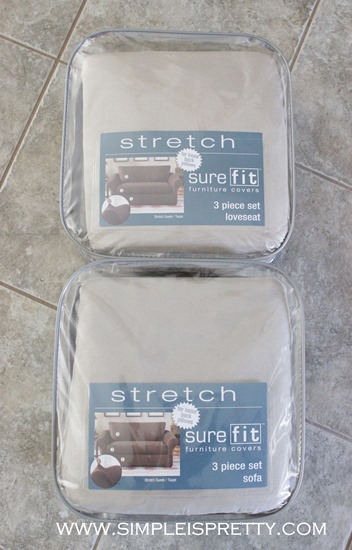
I cheated.  I did not make time to sew slipcovers.  I ordered some from Surefit.net. (I have not been compensated or paid for this post, I'm just sharing a home solution that has worked for my house).

Upstairs slipcovers www.simpleispretty.com

Tuck Once Grips www.simpleispretty.com

I also got some “tuck once grips”.  Which are basically 3-sided plastic chunks to stick at the back of the seat cushions and around the sides.  I dislike having to re-tuck and rearrange slipcovers.  Since the kids were going to be using this room, I didn’t want to spend time daily re-tucking or fixing slipcovers or worse... I didn't want the slipcovers to get a loose edge caught on a toy and rip.

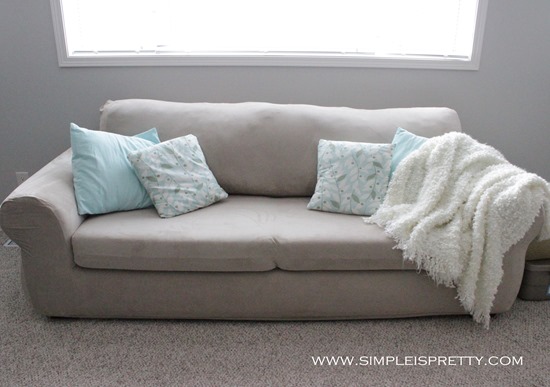
Here is the After…

Couch After www.simpleispretty.com

Loveseat After www.simpleispretty.com

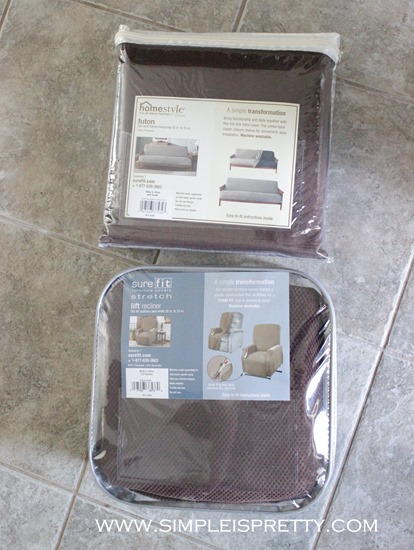
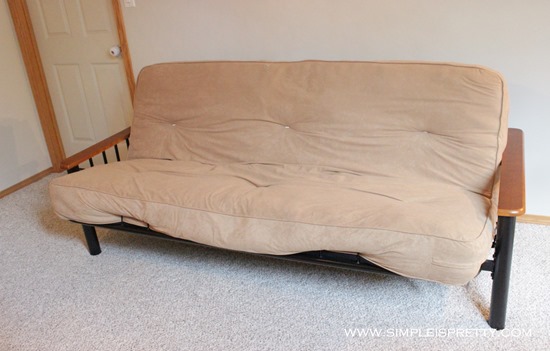
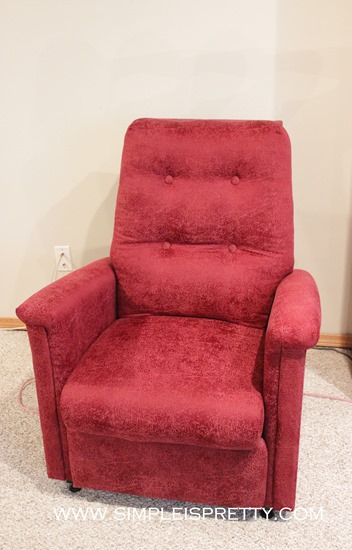
I also decided to try out their futon and lift chair covers.  We have a futon in the basement that is in the kid’s play area.  We also have a lift chair stored in the basement for a family member when they come to visit.

Downstairs slipcovers www.simpleispretty.com

Since the futon is located where the kids play, I wanted to protect it and make it easier to clean.

Futon Before www.simpleispretty.com

The lift chair is bright red and sticks out like a sore thumb among our other furniture downstairs.  So to make both the futon and chair fit in, I decided to choose a dark brown fabric for both.

Downstairs Chair Before www.simpleispretty.com

Here is the After…

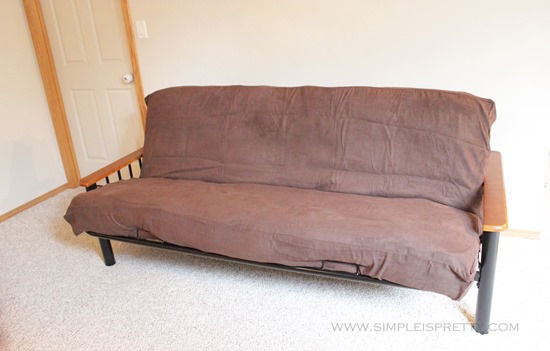
Futon After www.simpleispretty.com

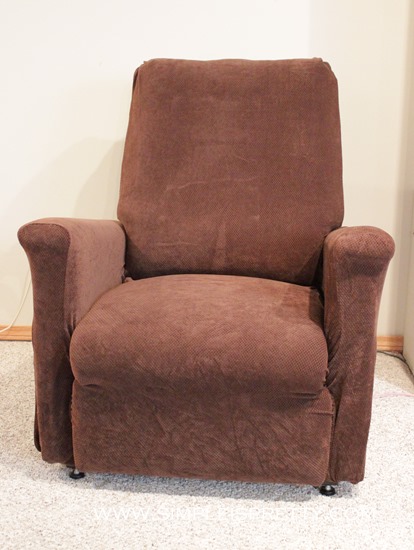
Downstairs Chair After www.simpleispretty.com

So much better!  I’m glad I found a solution that works for us.  I’ve had the slipcovers for a few months now, and they are in great shape and fit well.  I took these pictures right after I took the slipcovers out of their boxes.  The wrinkles in the fabric have fallen out and are no longer there today.

Tell me about your slipcovering stories (homemade or purchased).  I’d love to see pics!

As Always,
Sandra

Sunday, September 8, 2013

My NEW and First Etsy Shop!

I’ve been wanting to open my own shop for years now.  I’ve finally taken the plunge and opened my very first Etsy shop!  I’d love for you to visit!

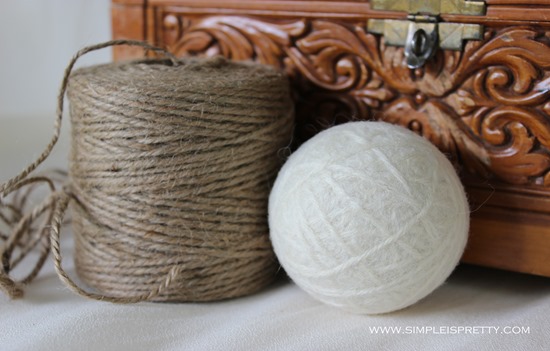
Cream Wool Dryer Ball 1.25oz from SimpleisPrettyShop http://www.etsy.com/ca/shop/SimpleisPrettyShop

Check out my Etsy shop here... http://www.etsy.com/ca/shop/SimpleisPrettyShop

I made my first product listings yesterday.  This is a big step for me because I like to have things perfect.  And things are far from perfect.  I don’t even have business cards yet!  I decided that even though I’m not 100% ready to be open (in my eyes), what business is ever 100% ready to be open when they open their doors for the first time?

This is huge learning curve for me as I have never opened an Etsy shop or any other store for that matter.  I am excited and nervous and SCARED.  What if no one buys my products?  I know this is a common fear.  I’ve also read that it can take weeks and even months to get your first Etsy sale.  YIPES.  And I think this is one reason why I decided to open my shop when it is not 100% ready.  I tend to over think things.  I’m hoping that I will keep my mind occupied with making my products, figuring out the Etsy system and studying all the tips to becoming a successful Etsy seller.  Hopefully, that way, if I don’t get my first sale for a while I will still be busy. Having said that, if I do sell one of my products I will be thrilled and I'll figure things out quick ;)

So the first step, which is announcing my store is open is now completed.  Whew! A slight relief.

I’d love to hear your feedback about my Etsy store.  Both good and bad--although try to be gentle Smile

As Always,
Sandra

Friday, September 6, 2013

Chair Remodel for a Baby’s Room–Guest Post

Check out this amazing transformation from one of my readers who remodelled a chair for her expecting friend’s nursery. 

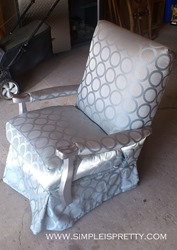
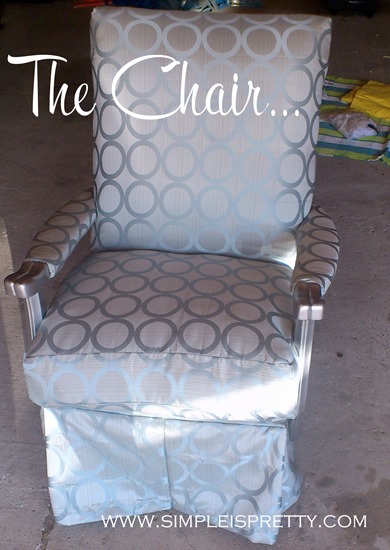
Hard to believe it is the same chair!…

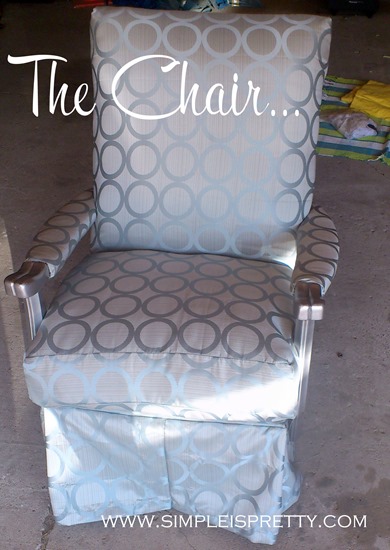
The Chair Completed from www.simpleispretty.com

The Story:


So the chair was found on kijiji…

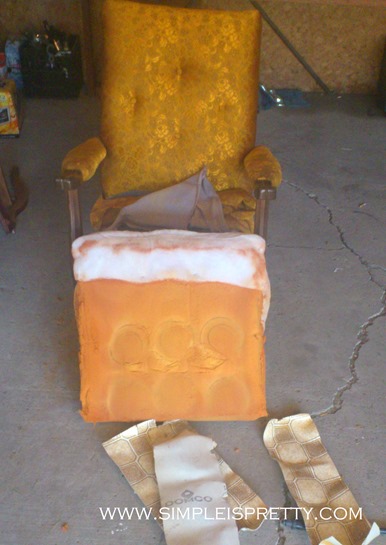
Chair Before from www.simpleispretty.com
First things first, I started by removing all the old fabric, and of course I discovered linoleum and duct tape hold back the springs... good thing I decided to redo the chair and not just fabric paint it!! ...

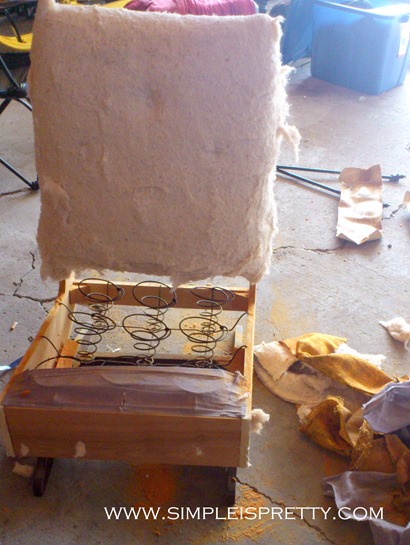
Chair being disassembled from www.simpleispretty.com
There I stripped it all down.  I decided not to reuse any of the old batting, I didn't want any allergens contaminating the baby's new room.  Next, I used new burlap over the springs to hold them back ($4.99 for an 18" x 18" section at WalMart).  Then, I did a layer of quilt batting over all the wood and cushion areas (over the wood because it is in a baby’s room.... didn't want any extreme hard edges).  When attaching the batting, remember to fasten the staples farther away from any finishing edges, you don't want to run the risk of doubling staples when putting on your finish fabric.

The cushion for the seat was originally built in, but for ease of cleaning, I made it into a separate piece. I used 1 inch thick memory foam pieces and layered 4 of them to give the correct cushion height ( 1" x 20" x 24" at WalMart for around $10.00 each).  Each layer will adhere to the next pretty securely, but just to be safe use spray adhesive between each layer.

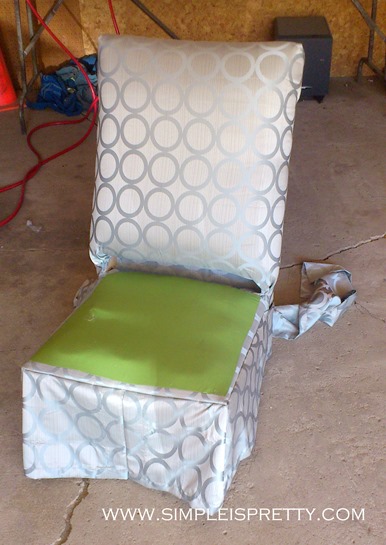
Chair being recovered from www.simpleispretty.com
Then, I recovered the chair with the fabric ... I used curtains ... yup curtains ... they were the perfect style of fabric... and the perfect weight and since I don’t live near a fabric store it was fate.  It took 2 panels (40" x 84").  I used the already seamed edges on the curtain to use as the skirt, it saved some time.  I used an old green bed sheet as a hidden pop of colour underneath the seat cushion. PS: fabric shower curtains are a great alternative too (especially if you need something that will resist stains on smaller projects). 

Chair Completed 3 from www.simpleispretty.comChair Completed 2 from www.simpleispretty.com       

An air compressor and a staple gun is your best friend for this project.  Place staples about every 3" apart, and add extra staples in every corner.  Start at the top and work your way down, start at the front and work your way back.  Your back panel is always the last piece to go on.  You can use a cardboard tack strip for any straight edges, it'll help make the perfect straight edge.  I didn't use it on this project, but I don't recommend it for beginners.  Oh and measure once add 6 inches and don't bother measuring again.  The fabric moves, stretches, shifts while you are lining up patterns and tucking corners. It is easier to cut off excess than to try and get it perfect prior to getting it on the chair. 

I sanded down the arms and did a few coats of Krylon Dual Paint + Primer Silver spray paint then a clear coat.

TA DAAA! 

The Chair Completed from www.simpleispretty.com
Thanks to Anita for submitting this post!  All the best to the soon-to-be Mom who will be enjoying the updated chair!

As Always,
Sandra