Tuesday, July 30, 2013

Make your own Homemade Laundry Detergent

Make Your Own Liquid Laundry Detergent - www.simpleispretty.com


So EASY!  You can save money and cut down on chemicals your skin is in contact with by making your own Homemade Laundry Detergent...

Make your own homemade liquid laundry detergent with these simple ingredients... from www.simpleispretty.com...

The first step to making your own laundry detergent is to buy or make washing soda.  Check out my post here to make your own washing soda (VERY EASY).

Washing Soda www.simpleispretty.com

Here is what you’ll need:

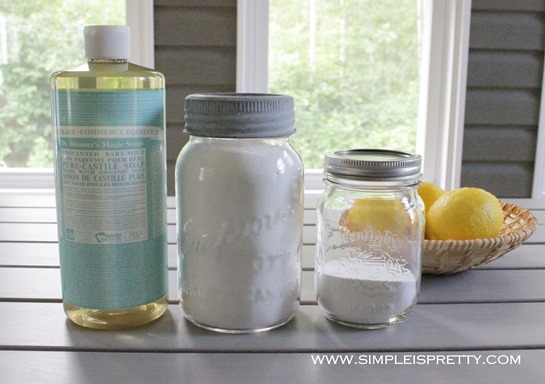
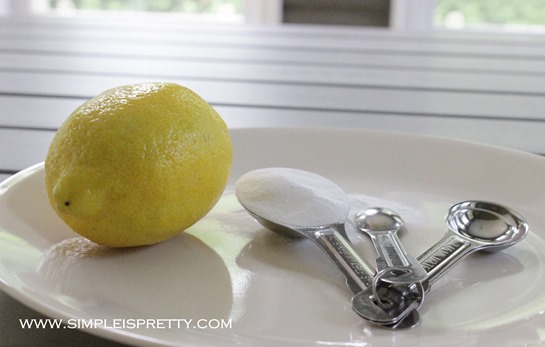
6 tbsp Washing Soda

6 tbsp Borax

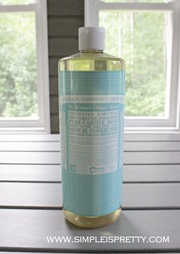
6 tbsp Liquid Castile Soap (I use Dr. Bronner’s Baby Mild Unscented Liquid Castile Soap,—I use unscented so I can scent with whatever essential oil I choose at the time I do laundry, or leave unscented)

Essential Oil (optional)

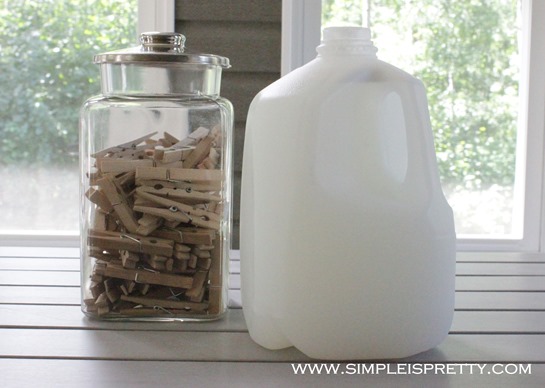
Empty Milk Jug or other mixing container (you can use a empty ice cream pail)

Water


Steps:

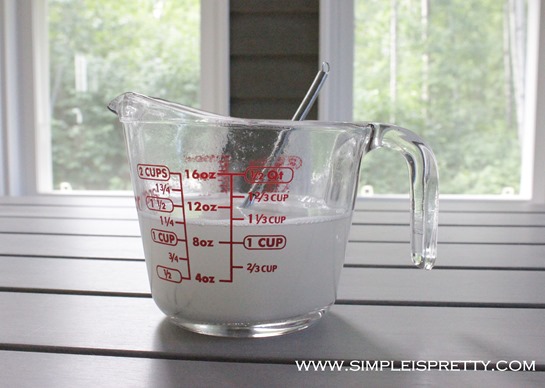
1.  Put 1 cup of hot water in a 2 cup measuring cup.  Add washing soda and borax.  Stir to completely dissolve washing soda and borax in the hot water.  If water is not hot enough to dissolve the ingredients, try microwaving the mixture. 

Mix Borax and Washing Soda with Hot Water www.simpleispretty.com

I have used 20 Mule Team and Eco-Pioneer Borax and like them both.

Borax 20 Mule Team www.simpleispretty.com  Borax www.simpleispretty.com

2. Add castile soap to washing soda and borax mixture and mix to combine.  Pour the mixture into a 4 litre (1 gallon) milk jug or other container.  Optional: Add essential oil to the milk jug mixture, about 20 drops.

Dr Bronners Baby Mild Castile Liquid Soap www.simpleispretty.com  Lavender Essential Oil www.simpleispretty.com

I buy my Dr. Bronner’s Castile soap from London Drugs, Well.ca or you can find it here.  I bought my Lavender Essential Oil from Well.ca.

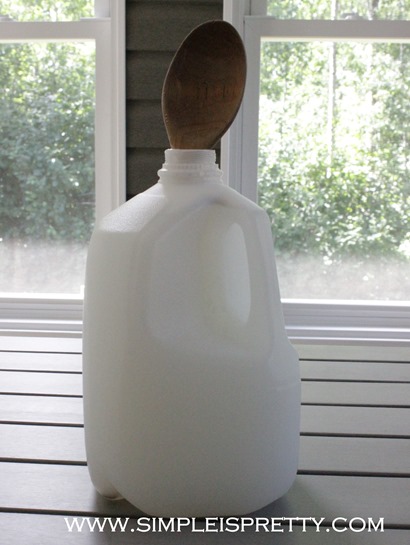
3. To fill the milk jug, add cold water slowly –so lots of suds don’t form.  DON’T the shake container.  Leave some room in the jug to mix (i.e. Don’t fill jug with water to the very top).  Mix with a spoon or gently rock or tilt the jug from side to side to prevent lots of suds from forming.

Mix Laundry Detergent in Clean Milk Jug www.simpleispretty.com

4. It is best if you can leave the mixture overnight and then gently stir or tilt to mix and then pour it into other containers if desired.

Homemade Laundry Detergent www.simpleispretty.com

Use a few tablespoons of your new laundry detergent per load and add more for large or extra soiled loads of laundry.  Use vinegar as fabric softener (don’t worry, the vinegar smell rinses away). 

As Always,
Sandra

Simple is Pretty Parties Here…

Thursday, July 25, 2013

Make Your Own Washing Soda

For years now, I have bought fragrance free and sensitive skin laundry detergents.  My son has sensitive skin and he is easily irritated by detergents, fabric softeners and stain removers.  I have been wanting to make my own laundry detergent for a while now, and I’ve finally made the time to try it.  It’s so EASY!  I should have tried making it years ago.  I would have saved so much money and it is so much healthier without all the chemicals!

Making or buying washing soda is the first step to making your own laundry detergent.  You can find washing soda in the laundry isle of most grocery stores.  You can also make your own washing soda, like I did…

Washing Soda www.simpleispretty.com

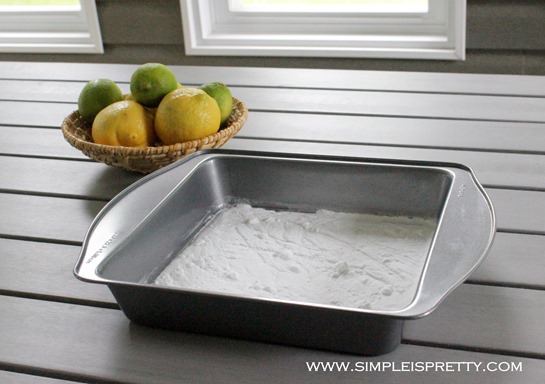
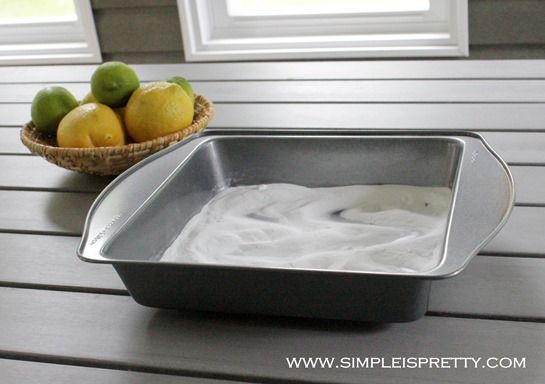
All you need is baking soda, a cookie sheet (or cake pan) and an oven!  (No lemons needed… but lemons always make for prettier pictures)

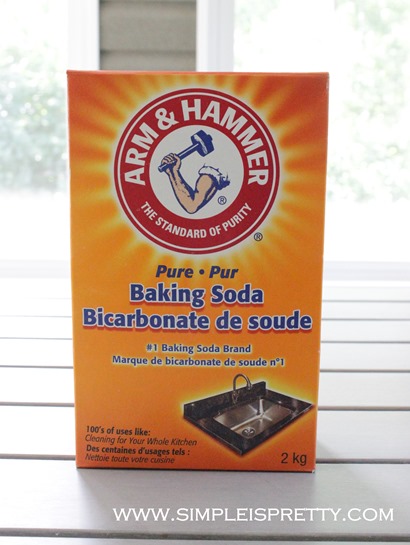
Baking Soda www.simpleispretty.com

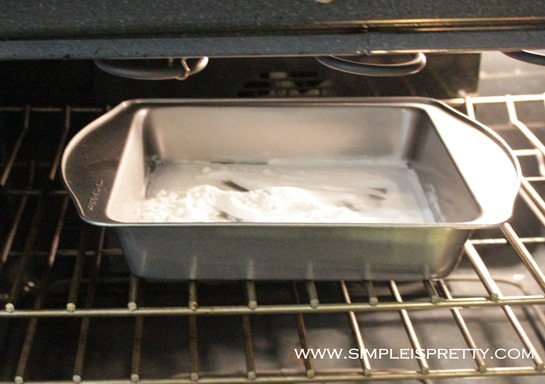
Preheat your oven to 400 degrees F.  Pour some baking soda into the cookie sheet or pan.  No measurements, just pour (this is my kinda recipe!)  Bake for about 1 hour in the oven, and stir it occasionally.

Baking soda in pan www.simpleispretty.com
Baking Soda in oven www.simpleispretty.com

The baking soda will change in consistency and will become grainy.

Make Your Own Washing Soda www.simpleispretty.com

Remove the baking soda (now washing soda) from the oven to cool. 

Baking Soda turned Washing Soda www.simpleispretty.com

Transfer the washing soda to a container for storage or later use.  I used a jar to store my new washing soda.  Done!

Stay tuned for how your can make your own Laundry Detergent (another Super EASY recipe!)…

As Always,
Sandra

Simple is Pretty Parties Here…

Saturday, July 20, 2013

IKEA Chaos

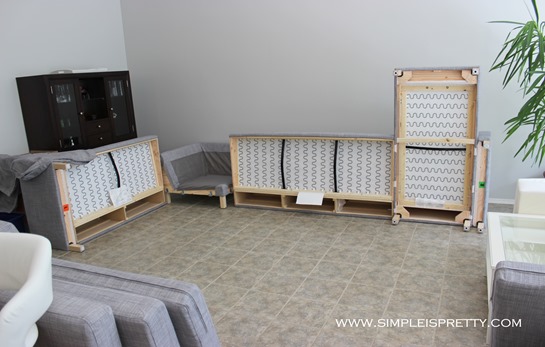
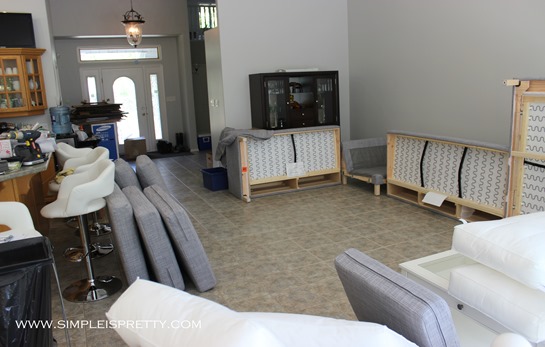
We decided to get a new sectional from IKEA to furnish the living room on the main level of our house.  Our old sofa and love seat which were in the living room of our old house, found a new home in our bonus room above the garage.
IKEA Chaos 6 www.simpleispretty.com
I wanted something modern for our new space.  Originally, I wanted this Karlstad set in Blekinge White.

IKEA Chaos 1 www.simpleispretty.com
I somehow convinced my husband to join me for a shopping trip to IKEA.  Not his favorite place to be.  So, I was really excited when he also showed interest in the Karlstad sofa, love seat, and chaise set that I loved.

I wanted the white slipcover because I thought it would be easy to take off and wash or replace if necessary.  I’m so glad my husband convinced me to choose the Isunda Grey slipcovers.  Good and bad, they will hide the dirt better than the white covers.  I like things clean, and I’m happy with the grey.  The white probably would have drove me insane, trying to keep it clean.  The slipcovers were time consuming to put on, so I could not imagine trying to take the white slipcovers off to wash them weekly or even monthly, and then put them back on the furniture.

One drawback is the Isunda Grey slipcovers are dry clean only.  But if I decide they are getting too gross even after dry cleaning or I get tired of them, I can always get new slipcovers from IKEA.  One of the perks of IKEA furniture.

IKEA Chaos 2 www.simpleispretty.com
I love our new Strandmon wingback chair and footstool in Svanby grey.  This chair is my most favorite new piece of furniture in the whole house.  Best part… the only thing to assemble was to put on the feet.

IKEA Chaos 4 www.simpleispretty.com
We got a Liatorp sofa and coffee table.

Warning:  Glass Breaks.  So… putting it together, please be more careful than we were.  We had the sofa table nearly completed and just the top piece with the glass needed to be attached.  Don’t flip the glass insert piece over, especially not onto a tile floor.  Glass breaks if it hits a hard surface.  Definitely don’t break the glass near stairs.  You will have to clean up broken glass on the main level, the stairs and the lower level.  Glass flies a long way and takes hours to clean up.  Just thought I’d tell you so you can hopefully avoid our mistake.  IKEA’s instructions tell you to also be careful, you just need to READ the instructions and the warning attached to the glass ;)

IKEA Chaos 5 www.simpleispretty.com

IKEA Chaos Completed www.simpleispretty.com
I’m really liking our new living room.  Even if my plants need to sit inside the sofa table until we get a new piece of glass for the top.

IKEA Chaos Completed www.simpleispretty.com
Overall, it was well worth the crowds at IKEA and all the furniture assembly.

I'm still working on accessorizing and decorating.  And I still need to make pillow covers for some throw pillows for our new sectional.  First, I need to find some fabric that has colors I'm looking for in modern and fresh prints.  Easier said, than done in Canada!  Especially hard to find good fabric when I want to avoid steep shipping fees and long wait times due to customs.

As Always,
Sandra

Tuesday, July 16, 2013

Growing Lavender

As I have decided to forgo planting a garden, I planted a few container pots instead.  On the deck, I wanted to try planting lavender.  I’ve never planted lavender before.  Just an FYI, I found my lavender plants in the perennial section of the greenhouse.  I was going to buy smaller lavender because it would have been cheaper but I asked a worker and the larger plants took 3 years to get to that size.  I decided to opt for the larger plants even though they were more expensive ($35 each) because I was only planting 2 pots on the deck.

I planted the lavender at the beginning of June.

Lavender in Pot right after planting www.simpleispretty.com

Lavender close up in the beginning www.simpleispretty.com

I planted Hidcote Blue Lavender.  As it is a perennial, I’m hoping the plants will survive the winter. 

Lavender Plant Hidcote Blue www.simpleispretty.com

Lavender info www.simpleispretty.com

The lady working at the greenhouse told me that lavender is hard to keep over winter because our winters can be harsh.  I might try bringing them into our covered deck area for the winter.  Since they were $35 each it would be great if they could last more than one season!

They are just starting to flower now.  They don’t have a fragrance yet that I’ve noticed.

Lavender Plant with Buds beginning of July www.simpleispretty.com

Lavender starting to flower www.simpleispretty.com


As Always,
Sandra

Update:  Check out how my lavender turned out for the year...click here.

Thursday, July 11, 2013

No Garden

So this year I decided to not plant a garden.  And I don’t miss it!  All the weeding and caring for the garden was a lot to handle.  Especially, when we would pick up and take off and leave the garden plants to fend for themselves for a week at a time.  I would come home and the whole garden would be over run with weeds!  It is a very defeating and frustrating feeling.  I’m sure anyone who has a garden can relate.  Here is my garden from last year at the old house…

Garden 2012 www.simpleispretty.com
Garden 2012

When we purchased our new house we just recently moved into, the previous owners didn’t have a garden.  And there was no really good place to put a garden so it would get the sun exposure it needed.  It was kinda strange because I found this to be a huge relief.  I wasn’t going to have a garden and I was more than OK with that.

I thought about not having a garden some more and I realized I don’t really like gardening, and I was left wondering why I had a garden in the first place.  I think I felt pressure.  No one was saying “plant a garden”. But while I was growing up my mom had a garden and I just always thought that one day I would have a garden.  My husband’s family also had a garden growing up.  In a weird way, I didn’t want to let anyone down.  I know how silly this is to say but it is how I felt.  I know that no one will really care if I have a garden or not.  But I am a perfectionist and a people pleaser and this has really warped my thinking!

So this year, I decided to plant 2 tomato plants for the kids in planters, 1 small planter by the front door with a white flowering annual in it (I think it is lobelia), and 2 lavender planters on our deck.  I’m very happy with my decision.  Much happier than I have been in the past with planting a full sized garden.

Garden 2012 Old House www.simpleispretty.com
Garden 2012

I can’t be certain that I’ll be done with gardens forever.  I just know that right now having a garden is not a good fit for me.  I have other things I want to focus my attention on besides pulling out weeds!

As Always,
Sandra

Monday, July 8, 2013

Painting Progress… Before and After Pics

We decided to paint our whole main level before we moved in.  I’m so glad we did!  Click here for our paint choices.

Lets start with the entrance…

Entrance Before www.simpleispretty.com
Entrance Before

Entrance Before 2 www.simpleispretty.com
Entrance Before

Entrance After www.simpleispretty.com
Entrance Mid Painting

Entrance After

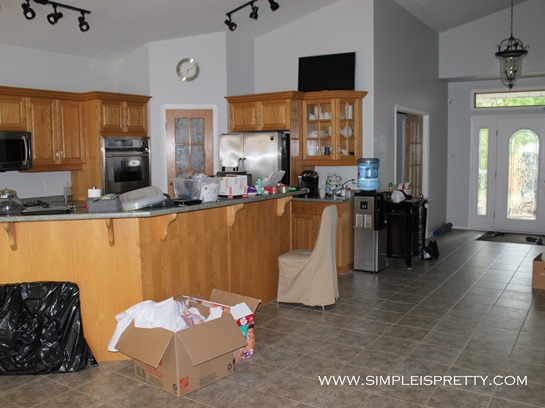
Kitchen…

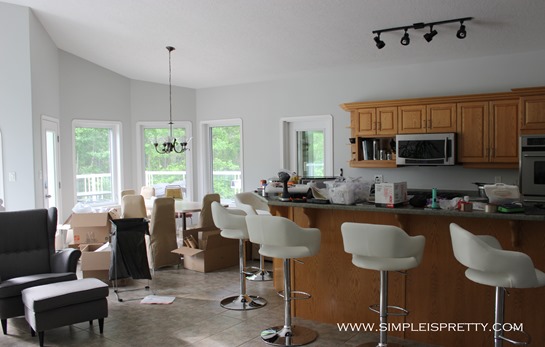
Main Level Before www.simpleispretty.com
Living Room, Kitchen and Dining Room Before

Kitchen Before www.simpleispretty.com
Kitchen Before

Kitchen mid move www.simpleispretty.com
Kitchen in the Middle of Moving

Living Room and Dining Area After www.simpleispretty.com
Living Room, Dining Room and Kitchen After

Kitchen After www.simpleispretty.com
Kitchen After

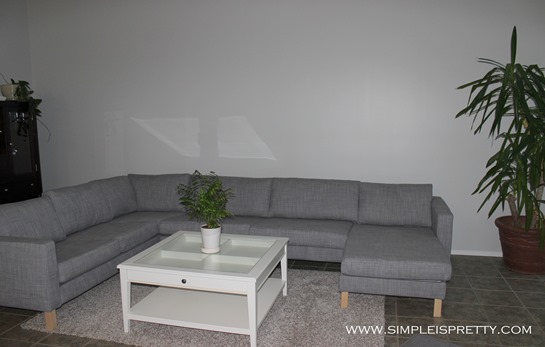
Living Room...

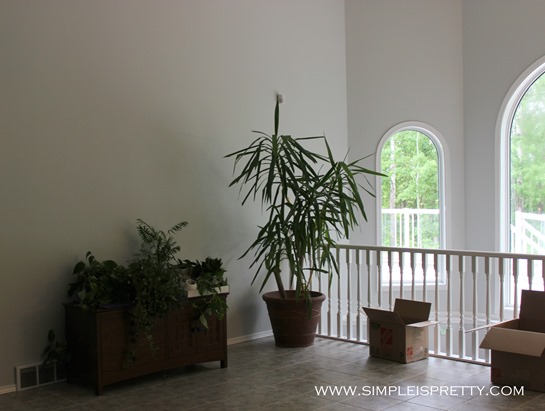
Living Room After without Furniture www.simpleispretty.com
Living Room in the Middle of Moving

Living Room After www.simpleispretty.com
Living Room After

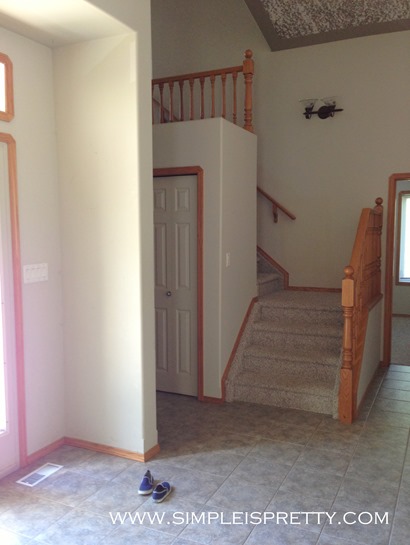
Staircase to Basement…

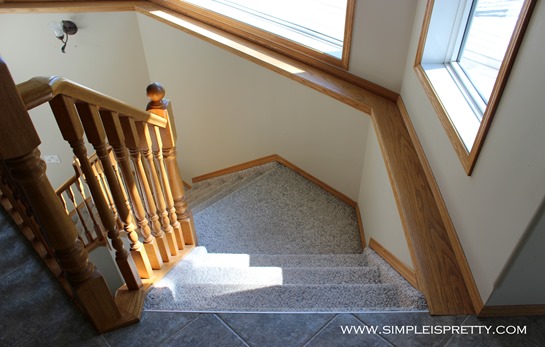
Basement Stairs Before www.simpleispretty.com
Basement Staircase Before

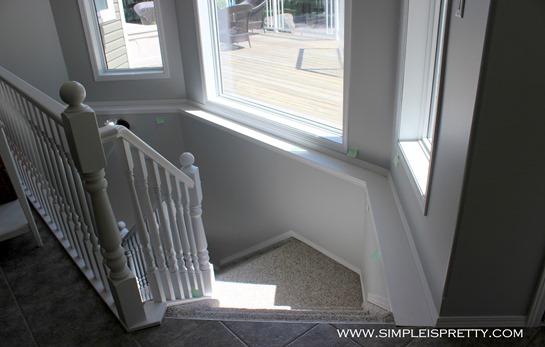
Basement Staircase After www.simpleispretty.com
Basement Staircase After

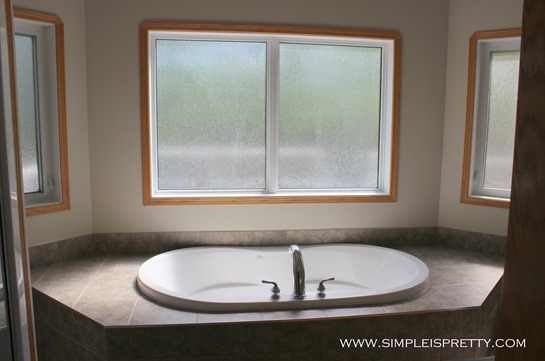
Master Bath…

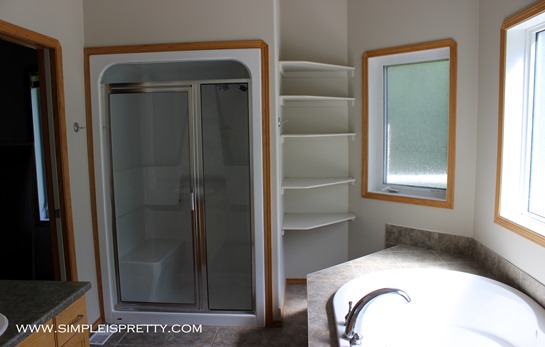
Master Bath Before www.simpleispretty.com
Master Bath Before

Master Bath Before 2 www.simpleispretty.com
Master Bath Before

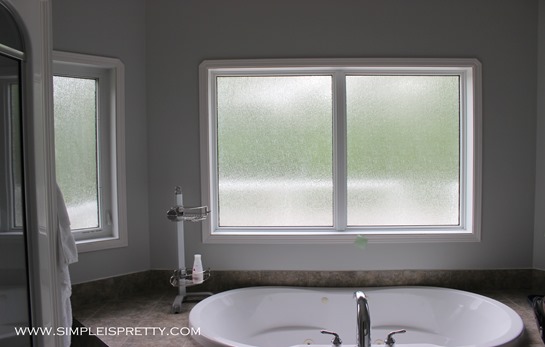
Master Bath After www.simpleispretty.com
Master Bath After

Now that we have painted the trim, I can’t imagine going back to the original oak.  I love the white!

As Always,
Sandra

Simple is Pretty Parties Here…

Thursday, July 4, 2013

Painting our New Home

Our new house was really, REALLY dusty (sorry previous owners).

Yuck www.simpleispretty.com

So we got in cleaners to help us out.  I’ve never hired cleaners before, but I would definitely hire them again.  We hired cleaners to clean the kitchen cabinets, wash the walls downstairs, clean the light fixtures, clean the carpets and tile and wash the windows.  Basically, the whole house got a spring cleaning.  And it needed it.  There was no way I would have had time to clean this new house, finish packing and still watch the kids.  Not to mention, the painters were still painting right up until we moved our first box and piece of furniture in on Saturday, May 25th.

We hired painters to paint the main floor including the bedrooms and the bonus room above the garage.  The house had oak trim and beige walls and a dark ceiling.  The previous paint colors were General Paint’s Tequila (8672W) for the walls, Muddy River (8674M) for the ceiling border and fan blades and Wooden Oar (8675D) for the textured ceiling.

Previous paint colors www.simpleispretty.com

Our new house was built in the year 2000 and needed to be repainted badly.  The walls were full of nail holes and scuffs.  I didn’t mind the colors they originally chose but I wanted to brighten the place up.  So together, my husband and I chose a white and gray color scheme.  The ceilings were painted white and the walls were painted Gray Owl by Benjamin Moore.


We originally used Gray Owl in our old house in the upstairs bathroom.  For our new house, I wanted a paint color that would be good in all rooms on the main level including the bedrooms and baths.  I also wanted a color that would go well with our stainless steel appliances in the kitchen and also with the oak kitchen cabinets.  We may decide to paint the kitchen cabinets white in the future.  Before we moved in, we just didn’t have enough time to paint the cabinets and it would be fairly expensive to complete.  Right now, I feel I can live with the original oak cabinets being unpainted because all the oak trim was painted white instead.

Yep, I said it… ‘all the trim was painted white’.  I know many people will be mad/sad that we decided to paint the oak trim.  I felt the oak trim was overwhelming and distracting.  I wanted to freshen up our new house and make it look more modern.  The oak trim was painted Oxford White by Benjamin Moore.


I’m very happy with our decision to paint the trim, ceiling and the walls.  The fresh coat of paint makes the new house feel more like ours now.

We did paint the garage on our own.  Originally, I believe the walls and ceiling in the garage were the same color as the walls in the rest of the house.  We used 2 coats of Benjamin Moore’s semi-gloss in white (straight from the can white, no tinting) to repaint the walls and ceiling.  We didn’t worry about patching any nail holes, since it is only a garage.  But we did take the time to clean the walls with a TSP solution, thanks to my paint store expert.

T.S.P. www.simpleispretty.com
Personally I’ve never heard of TSP, but I’m also not a professional painter.  I just asked Wikipedia and here is a little info: ‘Trisodium phosphate (TSP) is a cleaning agent, lubricant, food additive, stain remover and degreaser. It is a white, granular or crystalline solid, highly soluble in water producing an alkaline solution.  TSP is still in common use for the cleaning, degreasing and deglossing of walls prior to painting. TSP breaks the gloss of oil based paints and opens the pores of latex based paint providing a surface better suited for the adhesion of the subsequent layer.’   Who knew, not me.  It definitely works because we only used it on the walls and not on the ceiling and I noticed a difference on how the paint adheres.

Our garage is so much better and brighter!  Now we can actually see in there! In the pic below I just cut in with the paint around the door.  BIG difference…
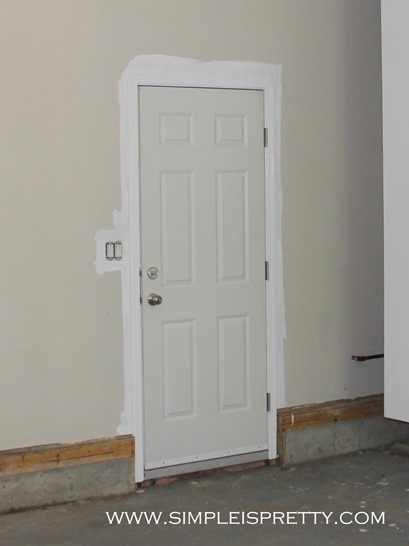
Garage Door www.simpleispretty.com
We haven't painted anything in the basement.  Likely, that will wait for at least 6 months.  We have plenty of other things to complete around here.  Like… unpacking the minefield of boxes littering our basement.

As Always,
Sandra

I'm closing comments for this post due to numerous spam comments.  If you would like to comment or ask a question, please contact me at sandrapaul@live.ca.  Thanks!