Sunday, January 27, 2013
Downstairs Bathroom Remodel…
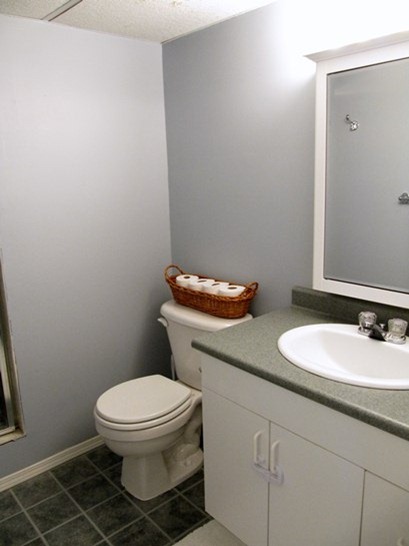
We are FINALLY finished the downstairs bathroom. Here is the before…
The room was painted a light blue with a blue lino floor.
Ick. Not Pretty. We actually never had a working shower downstairs. This room has been the same since we moved in.
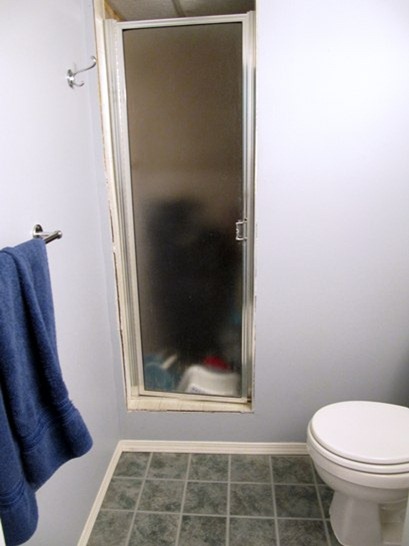
Since it is only the two of us and 2 small kids in our family, we could get away with only one working shower in our house. Although, it was always a pain for company who stayed over. The guest bedroom is downstairs, but any guests who stayed over would have to have a shower upstairs. We used the shower area downstairs to store our golf clubs and other miscellaneous things.
The shower walls were bare drywall. At one time, the drywall had tiles on it but the tiles were removed by the previous owners. (Isn't that sad, this poor bathroom has sat like this for over 5 years). I wasn't even sure plumbing and drain worked when we decided to start this project a month ago.
My husband decided to tackle this project. He really did all the work and I helped out where I could. We worked with a small budget and came in under $500 for the project.
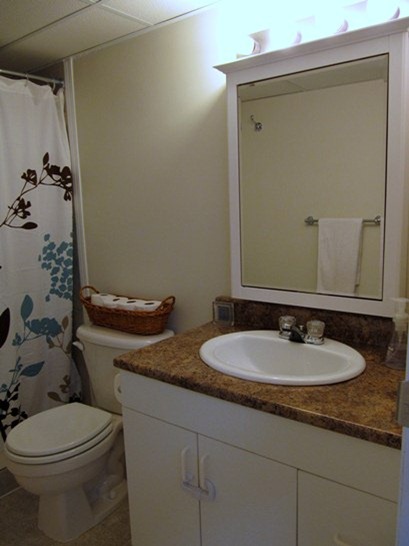
We were able to reuse the sink, cabinet, medicine cabinet, lighting and toilet. Nothing was wrong with them, and they weren’t terribly out-dated.
My husband replaced the blue and green counter top with a new brown neutral top. This in itself made a huge difference to the room.
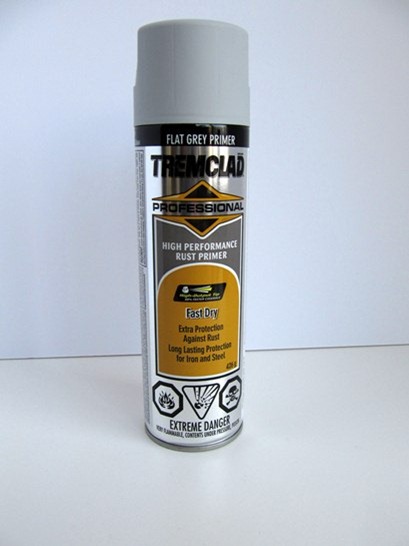
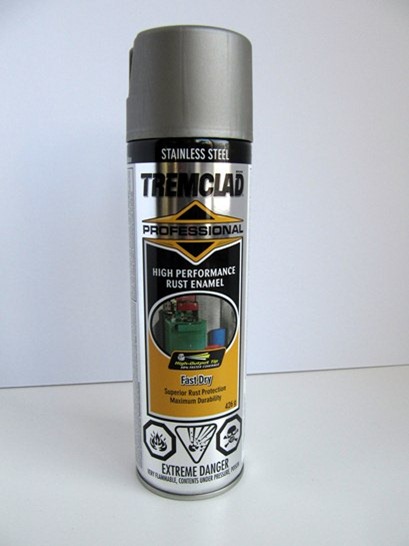
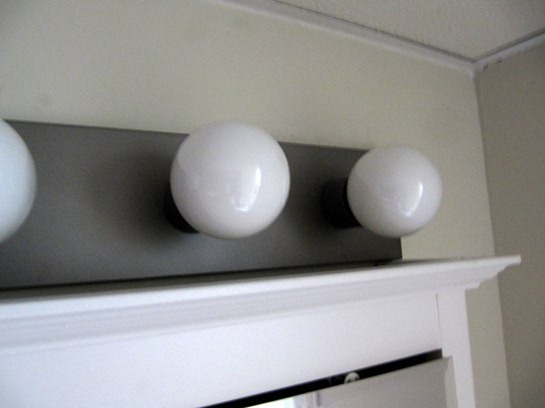
The light fixture was brass before. We just removed the bulbs, took it down and spray painted it.
First, I used the Flat Grey Primer above then followed by the Stainless Steel Paint below.
Here is how the light fixture turned out. Not a great pic, but no natural lighting in the bathroom. But it gives you an idea…
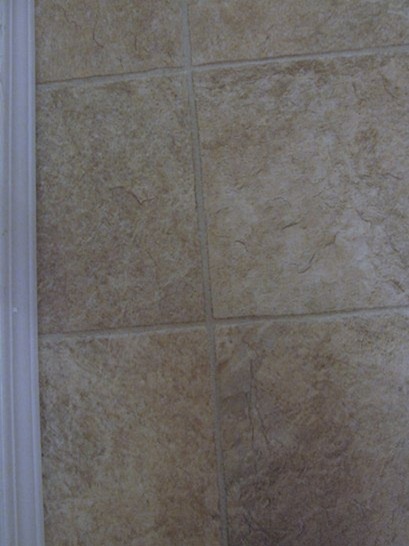
My husband laid the linoleum on the bathroom floor and did all the tiling in the shower. Here’s a closer look at the lino, neutral and light…
Here is how the shower looked before…
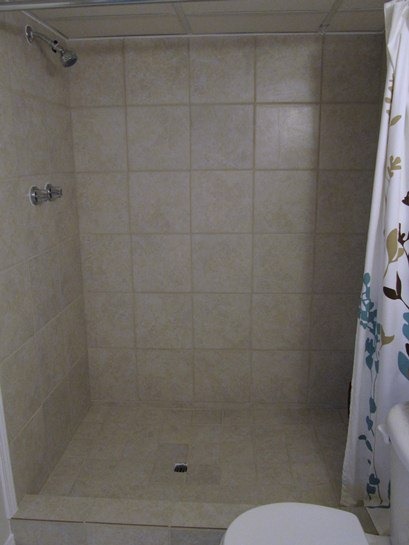
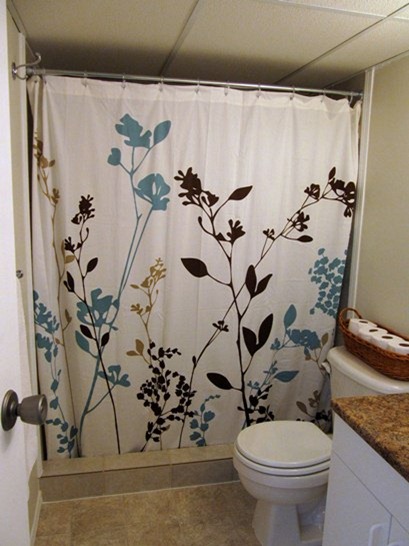
And here is the new finished shower…
Much better! Quite large and spacious, my husband prefers using this shower over the upstairs one now.
We picked a neutral tile for the shower with light grout. One thing I would recommend is using smaller tile spacers. We used 1/4” which was alright, but you have to use way more grout. I think 1/8” would have worked well in this space looking back on it.
We had to get new taps and a shower head because the old shower didn't have taps or anything.
The shower floor is not level so it can drain. My husband cut each large tile into 4 smaller squares. This way the tiles could conform to the unlevel floor easier.
We used the same paint color throughout the downstairs, including in the bathroom. We wanted to keep it light and keep a continuity between all the rooms to enlarge the space downstairs.
Another addition to the room was a new drop ceiling. Since the shower area did not have any ceiling, we had to remove all of the old ceiling in the rest of the bathroom. This way the room would have a new continuous ceiling throughout. Much better and brighter!
A new shower curtain from Bed, Bath & Beyond, and we now have a fully functioning bathroom! YAY! (which also meant we could now redo the upstairs bathroom and shower. --- I’ll save that project for another post!)
This bathroom feels so much larger than it once did. What are some of your tricks for renovating a bathroom on a budget?
As Always,
Sandra
Subscribe to:
Post Comments (Atom)







I love how you opened up the shower. That small door that was there before must've made it feel very crammy. The warmer colors are perfect for a downstairs bathroom, and the shower curtain is nice and fresh looking. (Sounds like your husband earned a bunch of brownie points!)
ReplyDeleteThanks Shauna! The bathroom is now so different. You are very right, the shower before was kinda scary, especially if you are claustrophobic like I am! My husband did good :)
DeleteI love the shower curtain' s strong graphic statement without being too busy. Thanks for sharing.
ReplyDeleteThanks Yvonne :)
DeleteWow Sandra, what a big difference! That shower looks so much better now, and the whole room just seems warmer and happy! You guys did a great job!
ReplyDeleteThanks so much Lindsey! Love your site! Thank you for visiting :)
Delete