We have a small space beside our microwave that used to be a plate rack, which drove me crazy so I took out the dowels that would make the plates stand up. This created a shelf I could place my knife block and a few other items.
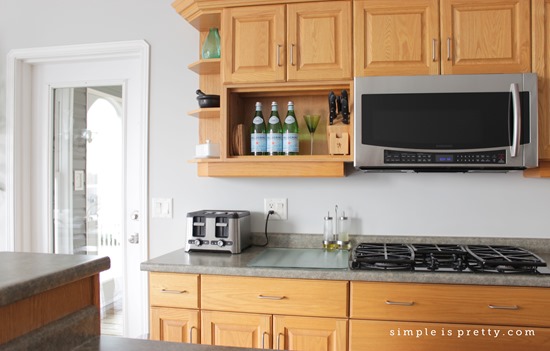
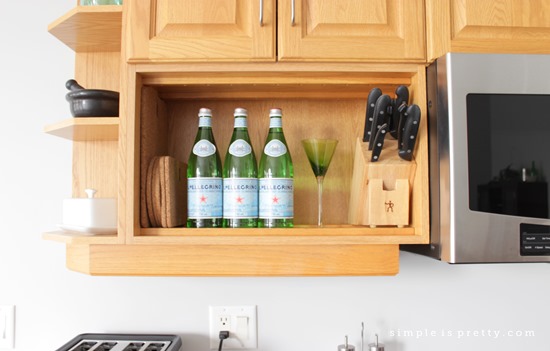
I was not happy with this space, so I decided to try livening it up with some white patterned gift wrap.
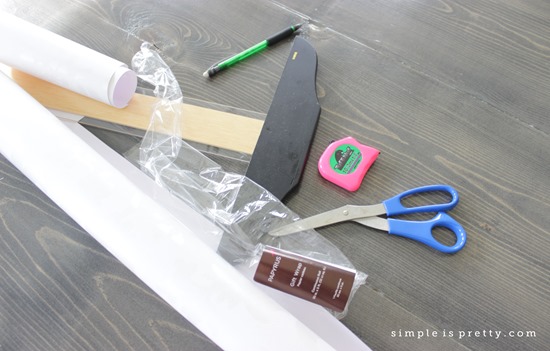
I cut the gift wrap slightly larger than the back of the cupboard. After I cut the size I needed, I steamed the piece of paper with a towel over it using my iron. This way, I could protect the paper and also get some of the curl out of the gift wrap.
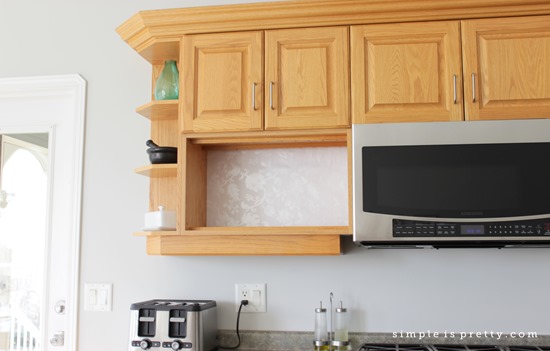
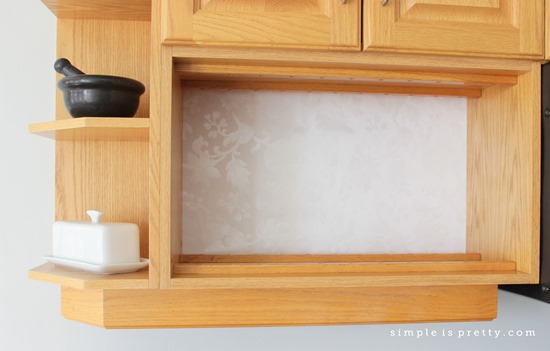
At the back of the cabinet, there was a small space I could tuck the gift wrap in all around to keep it from falling down, so I didn’t use glue or any adhesive. Which is great, in case I want to change it or remove it later.
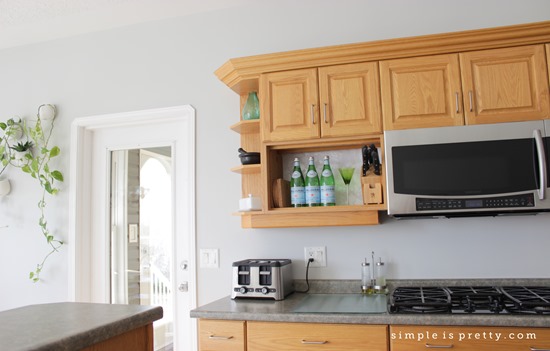
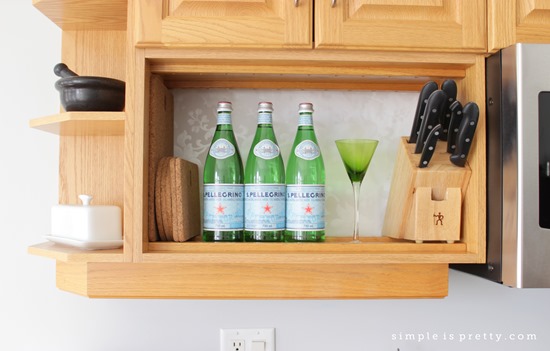
Much better and brighter. I also tried gift wrap at the back of one more cabinet, I’ll share that project in my next post.
As Always,
Sandra
I shared this post at A Bowl Full of Lemons, Satori Design for Living, Joy in Our Home


So neat! I recently did that to amend table and much easier than trying to paint a design on! Love your kitchen! Would love for you to share this or any of your DIY at our link up party on my blog please :) Have a super week!
ReplyDeleteKendra @ wow.joyinourhome.com
Thanks Kendra, I'll pop over :) See you soon!
DeleteGreat idea. I thought I had come up with every possible use for wrapping paper, except wrap gifts. :)
ReplyDeleteThank you Maggie :)
DeleteWhat a great idea! I never would have thought of gift wrap. That space looks much more "finished" now. So pretty!
ReplyDeleteThank you, Katie! I agree, it completes the space now.
Deletereally brightens it up there
ReplyDeleteThank you, Chris :)
DeleteWhat a great idea, and I can't believe what a difference the wrapping paper made to brighten things up! Great job!!
ReplyDeleteThanks Sheila!
Deletegenius! such a simple and effective solution!
ReplyDeleteThank you Heather ;)
DeleteThat is a fun update… so easy to change out for the seasons!!
ReplyDeleteThanks Cynthia, changing it for the seasons is a great idea :)
DeleteGreat idea! Adds another dimension without being permanent, and I love Cynthia's idea of changing it with the seasons.
ReplyDeleteThanks, Shauna :)
DeleteIncredible! I've never done this but now i want to
ReplyDeleteThank you, and thanks for stopping by!
DeleteThat looks great!! It does and you can't beat the price either. If you change your mind and want another pattern or colour then it's so easy to change too!
ReplyDeleteThank you Heather! I agree, inexpensive and easy fix!
DeleteThat's a great way to update your shelf! Sometimes an easy project can really add a lot.
ReplyDeleteThanks Dani :)
DeleteThis is so clever! Thanks for linking to Motivational Monday!
ReplyDelete